Introduzione
Save money by replacing just the LCD rather than the whole display assembly.
Cosa ti serve
-
-
Use your fingers to push both battery release tabs away from the battery, and lift the battery out of the computer.
-
-
-
Remove the three identical 2mm Phillips screws from the memory door.
-
Lift the memory door up enough to grip it and slide it toward you, pulling it away from the casing.
-
-
-
Remove the two 2.8 mm Phillips screws in the battery compartment near the latch.
-
-
-
Lift up at the rear of the case and work your fingers along the sides, freeing the case as you go. Once you have freed the sides, you may need to rock the case up and down to free the front of the upper case.
-
There are four plastic clips above the DVD slot, and another above and to the left of the IR sensor. These clips can be very difficult to disengage without prying. They can also be difficult to re-engage during reassembly.
-
-
-
Disconnect the two or three antenna cables attached to the Airport Extreme card. Depending on your model, one of the three cables may be unused and capped with a black shrink tube.
-
-
-
-
Support the display with one hand while removing the following screws:
-
One 9.5 mm silver T6 Torx screw with threads on only 3 mm of the shaft on the inside of the display hinges.
-
One 9.5 mm silver T6 Torx screw with threads on the entire shaft on the outside of the left hinge.
-
One 9.2 mm full thread T6 Torx screw securing the iSight cable ground loop to the fan.
-
-
-
Remove the 4.5 mm Phillips screws from the lower left and right corners of the display (two screws total). These screws have a .8 mm thick head.
-
-
-
Insert the flat end of a spudger perpendicular to the face of the display between the plastic strip attached to the rear bezel and the front bezel.
-
With the spudger still inserted, rotate it away from the display to separate the front and rear bezels.
-
Work along the right edge of the display until the rear bezel is evenly separated from the front bezel.
-
-
-
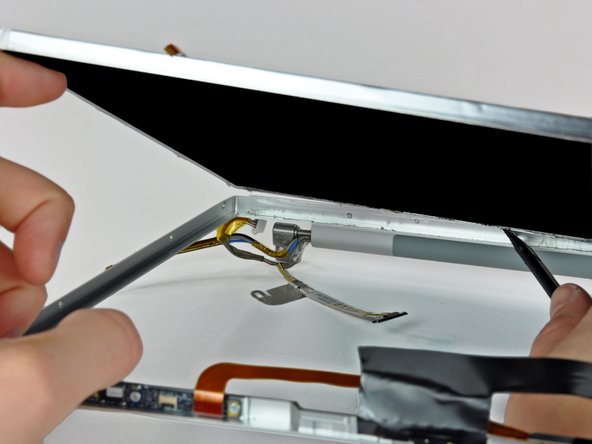
Insert the flat end of a spudger into the gap between the rear display bezel and the clutch cover.
-
Twist the spudger to separate the lower edge of the rear display bezel from the clutch cover.
-
Work along the lower edge of the rear bezel until it is evenly separated from the clutch cover.
-
-
-
Slightly lift the lower edge of the display and pull it away from the rear display bezel.
-
Go here for the guide to continue replacing the screen: MacBook Pro 15" Core 2 Duo Models A1226 and A1260 LCD Panel Replacement
-
-
-
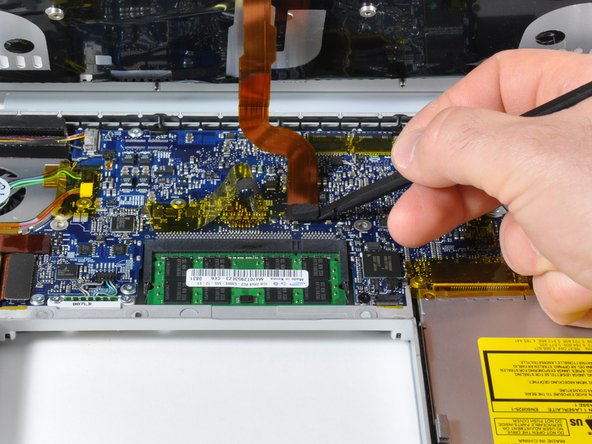
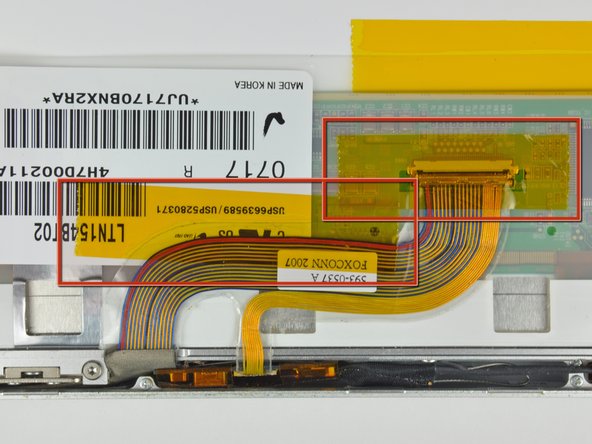
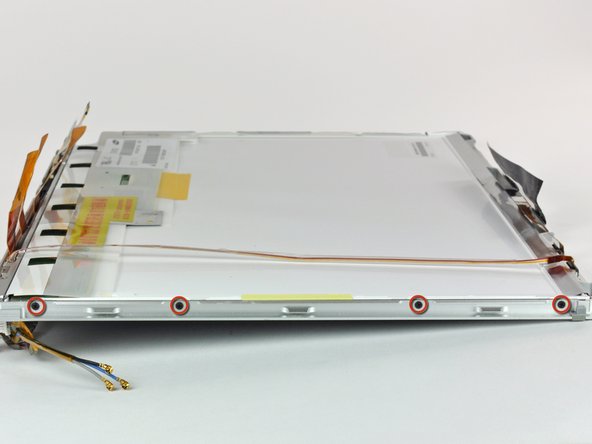
Peel the large piece of black tape off the LCD near the latches at the top edge of the display.
-
-
-
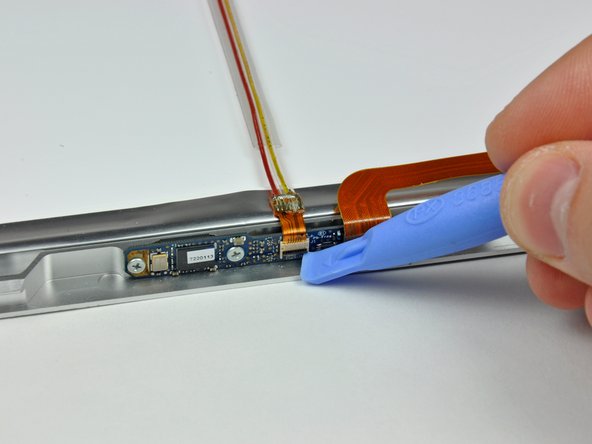
Now that the top edge is free, slightly lift the LCD out of the front bezel for enough room to pry the steel strip along the lower edge of the LCD away from the front bezel.
-
Pry along the lower edge of the LCD until it is freed from the adhesive on the front bezel.
-
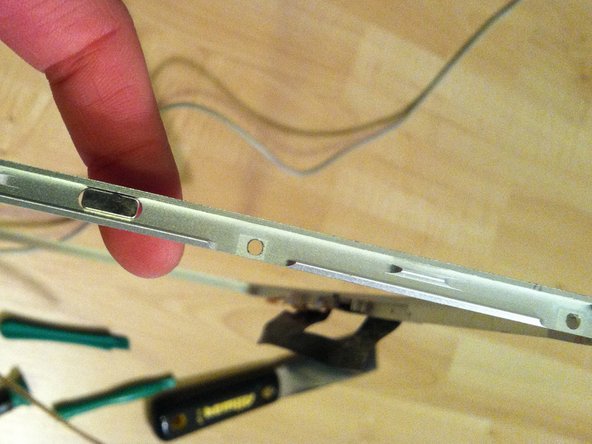
Avoid pulling the edge of the LCD unit from the screen. Be sure to insert the tool between the metal of the bezel and the metal of the LCD. If the adhesive is very strong, make a couple trips across the bottom edge to avoid applying too much pressure.
-
To reassemble your device, follow these instructions in reverse order.
To reassemble your device, follow these instructions in reverse order.
Annulla: non ho completato questa guida.
Altre 139 persone hanno completato questa guida.
7 Commenti
I didn't have any trouble getting this apart - I used a small screwdriver from a jewelry repair kit (the set of six super small screwdrivers). I slide it in on the left front where it was open and slid it towards the IR thing. After that clip opened up I just slid it over towards the DVD drive... presto. Will update when I put this back together in a couple days. This guide should warn in the beginning to keep the screws identified in some way or you'll have a %*^! of time putting it back together.
I didn't have a spudger handy, but I got by just fine using an old credit card. Don't use a current one, as I dented up the edges pretty good in the process.
I've disassembled many a pc laptop without instructions, but macs are special ;) it was very helpful to have all the details spelled out for me. Thanks!
Be very carefull and bee patience. It´s very helpfull to have something like the ifixit magnetic project mat to keep the screws in order, otherwise you will have a hard time to put the parts together.


