Salta al contenuto principale

MacBook Air 13" Mid 2013 Display Assembly Replacement

Solo Prerequisita
Questa guida è destinata a essere usata solo come prerequisito per altre guide. Da sola è incompleta.

Cosa ti serve

  1. MacBook Air 13" Mid 2013 Display Assembly Replacement, Display Assembly: passo 1, immagine 1 di 1
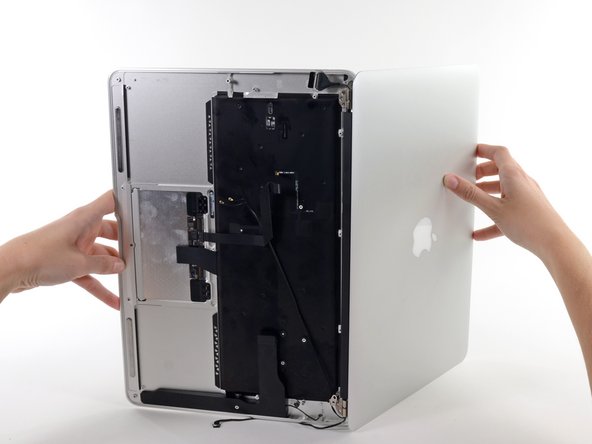
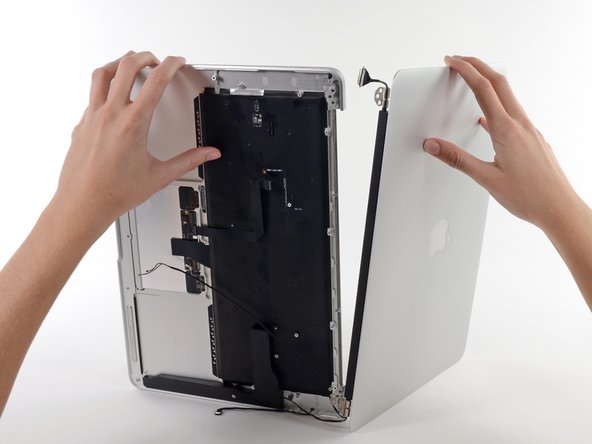
    • Remove the inner two 4.9 mm T8 Torx screws securing the right display hinge to the upper case.

    • Leaving the third screw in place for now will aid in rest of the procedure.

    I did not remove the display assembly at all. I replaced both the trackpad and keyboard without removing the display assembly.

    airshack - Replica

    If you purchase the upper case with the keyboard as one unit you then have to remove the display assembly as the keyboard is part of the upper case

    jheller105 - Replica

  2. MacBook Air 13" Mid 2013 Display Assembly Replacement: passo 2, immagine 1 di 1
    • Open the display so that it is perpendicular to the upper case and place it on a table as shown.

  3. MacBook Air 13" Mid 2013 Display Assembly Replacement: passo 3, immagine 1 di 1
    • While holding the Air steady, remove the remaining 4.9 mm T8 Torx screw from the display bracket.

  4. MacBook Air 13" Mid 2013 Display Assembly Replacement: passo 4, immagine 1 di 1
    • Flip the computer over so the last display screw is more easily accesible.

    • Before removing the final display screw, be sure to hold the display and upper case steady with your other hand. Failure to do so may allow the components to fall onto the table, causing potentially expensive damage.

    • Remove the last 4.9 mm T8 Torx screw securing the display to the upper case.

  5. MacBook Air 13" Mid 2013 Display Assembly Replacement: passo 5, immagine 1 di 3 MacBook Air 13" Mid 2013 Display Assembly Replacement: passo 5, immagine 2 di 3 MacBook Air 13" Mid 2013 Display Assembly Replacement: passo 5, immagine 3 di 3
    • Open the Air slowly until the hinges slide out of their notches.

    • Once the two display hinges have cleared the upper case, remove the display and set it aside.

Conclusione

To reassemble your device, follow these instructions in reverse order.

0 Commenti

Aggiungi Commento

Visualizza Statistiche:

Ultime 24 Ore: 0

Ultimi 7 Giorni: 6

Ultimi 30 Giorni: 6

Tutti i Tempi: 155