Introduzione
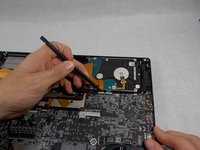
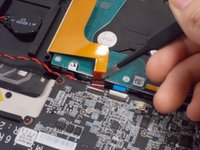
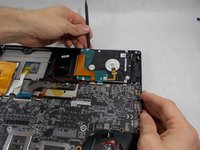
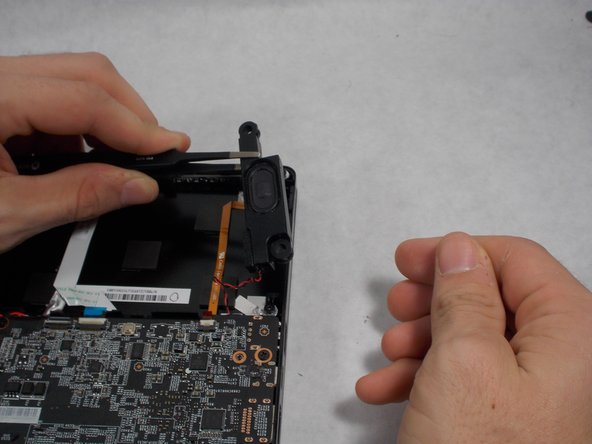
Solid state drives are built to make the device super fast. Don't be content waiting minutes for something that would take seconds. If you believe you need to replace your SSD, here is how to do it.
Cosa ti serve
-
-
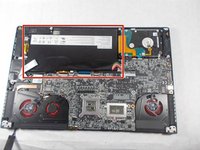
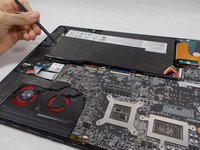
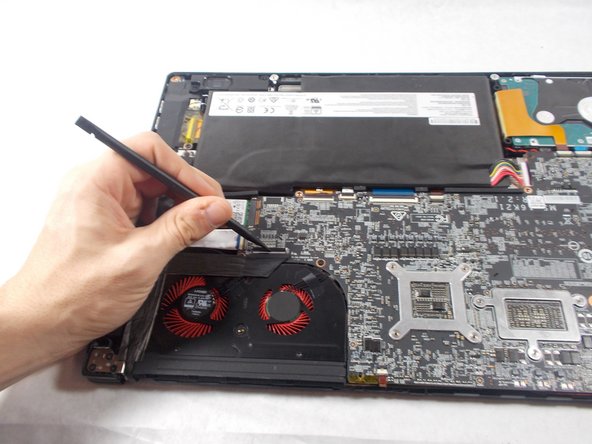
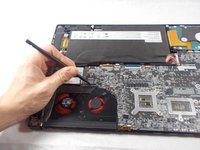
Use the spudger to separate the back plate from the rest of the computer with the screen up like in the picture.
-
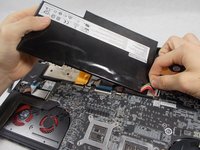
Once the back plate is loose, close the screen for an easier time properly removing it.
-
-
-
Using a Phillips Head #1 screwdriver, unscrew the 15 screws on the bottom of the device
-
After all the screws are unscrewed, remove the bottom plate. If this is the first time that you are removing this back cover, the last screw is hidden under the "factory seal" label. You will need to break that label to reach that screw.
-
-
-
Attrezzo utilizzato in questo passaggio:Tweezers$4.99
-
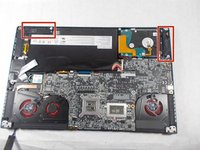
First locate the speaker(s).
-
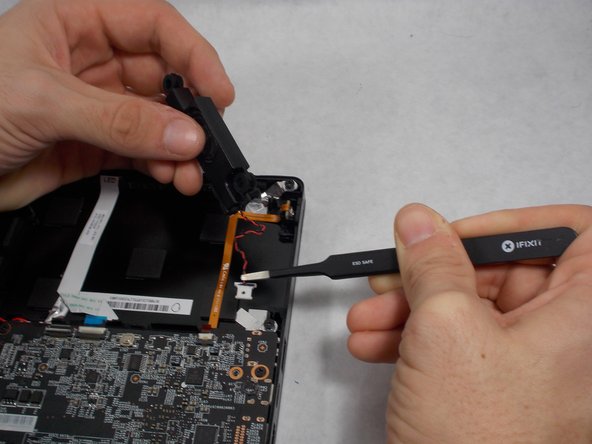
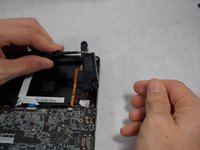
Use the tweezers to lift the speaker from its position.
-
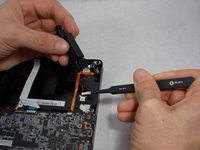
Grab the multi-colored wire with the tweezers and gently pull back until the speakers releases from its socket.
-
-
Attrezzo utilizzato in questo passaggio:Tweezers$4.99
-
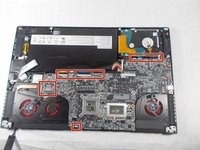
First, locate all the ribbon cables that are connected to the motherboard.
-
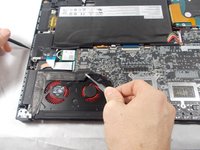
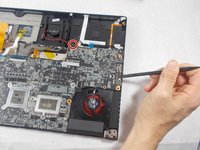
Lift the ribbon cable connector tabs with the spudger gently.
-
Using the tweezers, gently pull back on the ribbon cable until it is completely out of the socket.
-
-
-
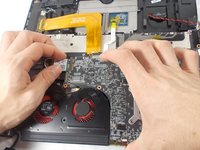
Use the spudger to lift the motherboard up and remove it from the laptop, then flip the now separated motherboard over.
-
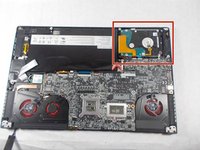
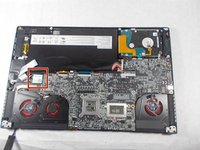
Using tweezers, disconnect the red wire circled in the picture; where the hard drive would be.
-
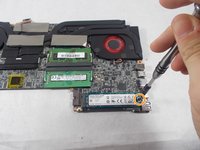
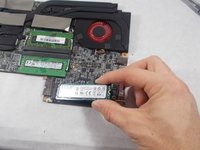
Locate the SSD and the screw holding it in.
-
Unscrew the one Screw using a #1 Phillips Head screwdriver.
-
The SSD will want to lift with that screw being removed, from here grab it and pull it out gently.
-
To reassemble your device, follow these instructions in reverse order.
Annulla: non ho completato questa guida.
Altre 13 persone hanno completato questa guida.
5Commenti sulla guida
Thanks. I’ve seen some videos on YouTube regarding the MSI Stealth Pro GS63VR. This helps a lot.
I notice the stock SSD is an M-B key type. Does the board support M-key SSDs?
This was a great guide. My only suggestion for Step 9 would be to clarify removing the wifi chip. I found that lifting the motherboard helped me better access the chip for removal. It’s a tight fit.
Thanks for the guide, I need some replacement screws for my MSI GS73VR Stealth Pro. Any idea what size they are? Or where I could find out? Thanks you, I’d really appreciate any help!


