Salta al contenuto principale

MSI GE72 6QF Apache Pro Optical Drive Replacement

Cosa ti serve

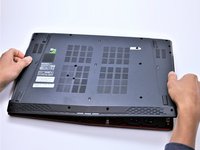
  1. MSI GE72 6QF Apache Pro Optical Drive Replacement, Battery: passo 1, immagine 1 di 2 MSI GE72 6QF Apache Pro Optical Drive Replacement, Battery: passo 1, immagine 2 di 2
    • Make sure the laptop is off and unplugged (not charging).

    • With the laptop closed and upside down, unscrew the nineteen 5.5mm Phillips #1 screws that keep the back cover in place.

  2. MSI GE72 6QF Apache Pro Optical Drive Replacement: passo 2, immagine 1 di 1
    • Slide the optical drive out of the laptop.

  3. MSI GE72 6QF Apache Pro Optical Drive Replacement: passo 3, immagine 1 di 1
    • Use a Phillips screwdriver to remove the three screws along the edge of the optical drive bay.

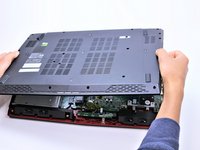
  4. MSI GE72 6QF Apache Pro Optical Drive Replacement: passo 4, immagine 1 di 2 MSI GE72 6QF Apache Pro Optical Drive Replacement: passo 4, immagine 2 di 2
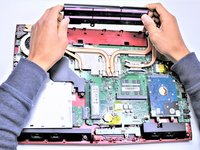
    • Using your fingers, gently loosen the edges of all four sides of the back cover.

    • Gently pull off the back cover.

  5. MSI GE72 6QF Apache Pro Optical Drive Replacement: passo 5, immagine 1 di 2 MSI GE72 6QF Apache Pro Optical Drive Replacement: passo 5, immagine 2 di 2
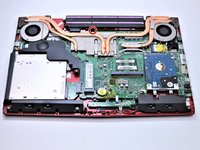
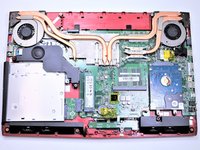
    • Unscrew the single 5.5mm Phillips #1 screw keeping the battery secure.

  6. MSI GE72 6QF Apache Pro Optical Drive Replacement: passo 6, immagine 1 di 2 MSI GE72 6QF Apache Pro Optical Drive Replacement: passo 6, immagine 2 di 2
    • Grab the battery with your fingers and gently pull it up and away from the rest of the laptop.

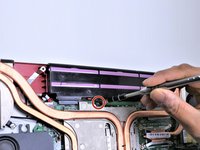
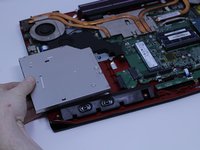
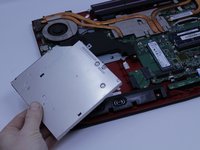
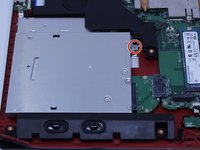
  7. MSI GE72 6QF Apache Pro Optical Drive Replacement, Optical Drive: passo 7, immagine 1 di 3 MSI GE72 6QF Apache Pro Optical Drive Replacement, Optical Drive: passo 7, immagine 2 di 3 MSI GE72 6QF Apache Pro Optical Drive Replacement, Optical Drive: passo 7, immagine 3 di 3
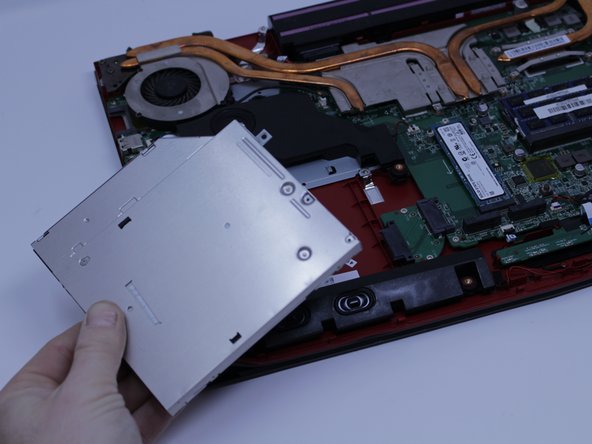
    • Carefully slide the Optical Drive off of the SATA connector.

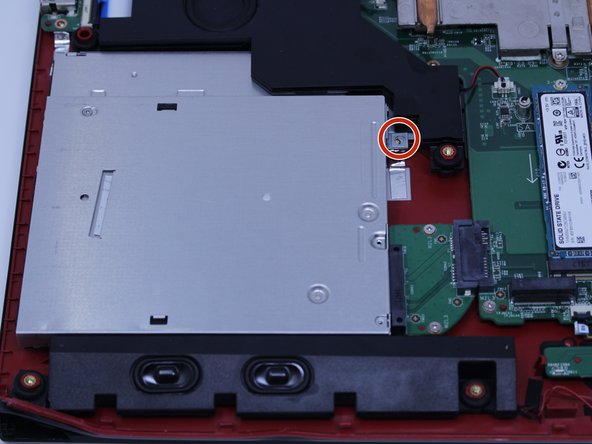
    • The red marker shows the location for where the retaining screw comes through the back panel to hold the Optical Drive.

Conclusione

To reassemble your device, follow these instructions in reverse order.

Un'altra persona ha completato questa guida.

2 Commenti

Why do you have to remove the battery first?

Kevin - Replica

So you don’t have power running through it while working on it.

croberts1290 - Replica

Aggiungi Commento

Visualizza Statistiche:

Ultime 24 Ore: 0

Ultimi 7 Giorni: 2

Ultimi 30 Giorni: 5

Tutti i Tempi: 1,436