Questa versione può contenere modifiche errate. Passa all'ultima istantanea verificata.
Cosa ti serve
-
Questo passaggio è privo di traduzione. Aiuta a tradurlo
-
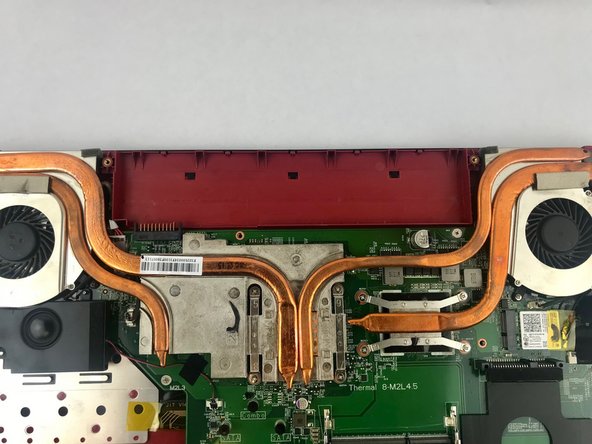
Start with the bottom of the laptop facing up.
-
-
-
Questo passaggio è privo di traduzione. Aiuta a tradurlo
-
Remove the 15 screws from the bottom of the laptop with a PH1 screwdriver.
-
Remove the bottom plate
-
-
Questo passaggio è privo di traduzione. Aiuta a tradurlo
-
Remove the screw holding down the battery with a PH1 screwdriver.
-
Pull out the battery.
-


Annulla: non ho completato questa guida.
Altre 6 persone hanno completato questa guida.
Team

USF Tampa, Team S15-G5, Boczar Spring 2018 Membro di USF Tampa, Team S15-G5, Boczar Spring 2018
USFT-BOCZAR-S18S15G5
4 Membri
5 Guide realizzate