Introduzione
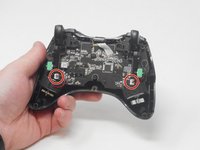
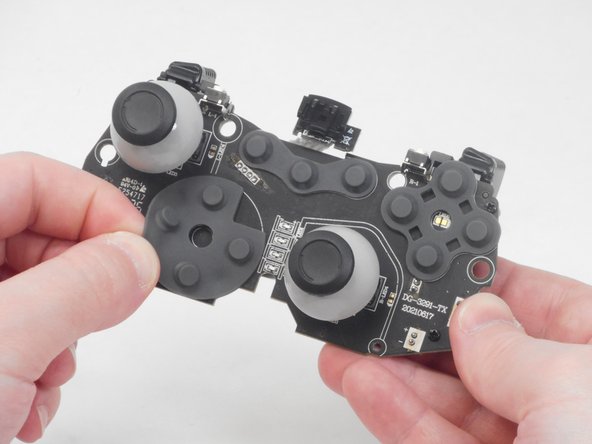
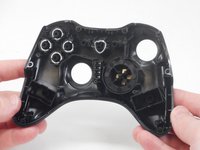
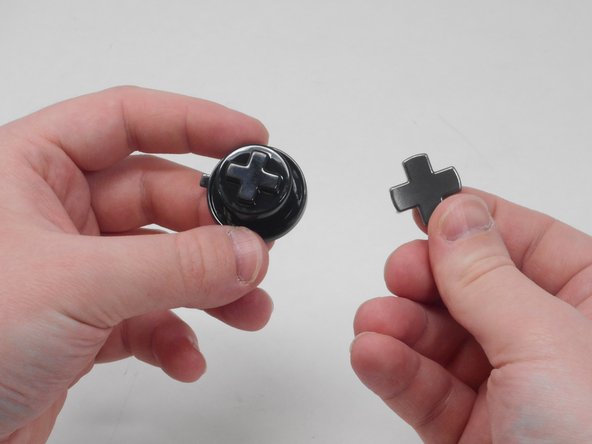
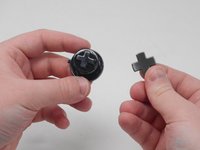
In this guide we have a MSI Force GC30 V2, model number/name is MSI Force GC30 V2 and we are replacing the D-Pad (Directional Pad). The D-Pad is a directional controller for the controller itself or it could also be used for various other inputs. The D-Pad may become damaged with prolonged use or rough play. The MSI Force GC30 V2 also has an alternate D-Pad that comes with the controller you can use with this guide. One symptom of a bad D-Pad is no game input when pressing the D-Pad.
Cosa ti serve
-
-
Puncture the sticker where indicated using a screwdriver, then remove the 9.1 mm-long Phillips screw.
-
Remove the six 9.2 mm-long Phillips #0 screws.
-
-
-
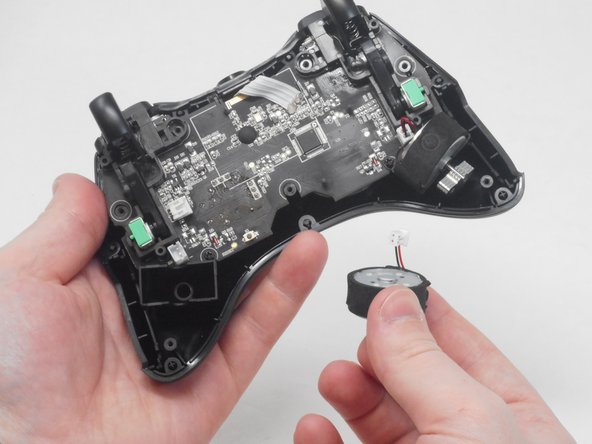
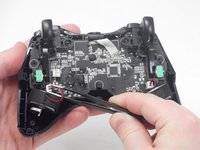
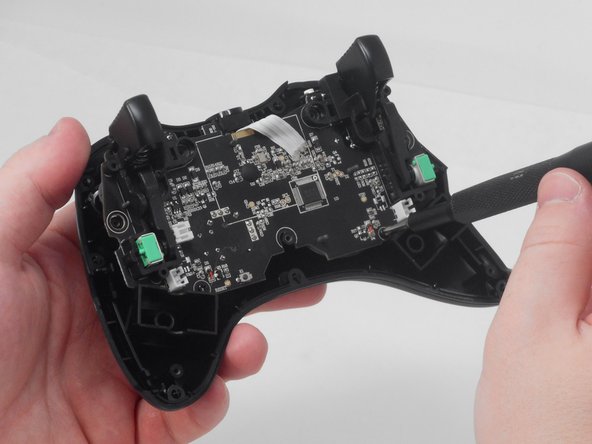
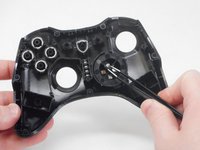
Use blunt tweezers to disconnect both of the vibration motor connectors from the motherboard.
-
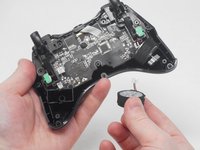
Carefully remove both the right and left vibration motors from their housing.
-
-
-
-
Remove the 7.1 mm-long screw with a Phillips screwdriver.
-
Remove the 7 mm-long screw with a Phillips screwdriver.
-
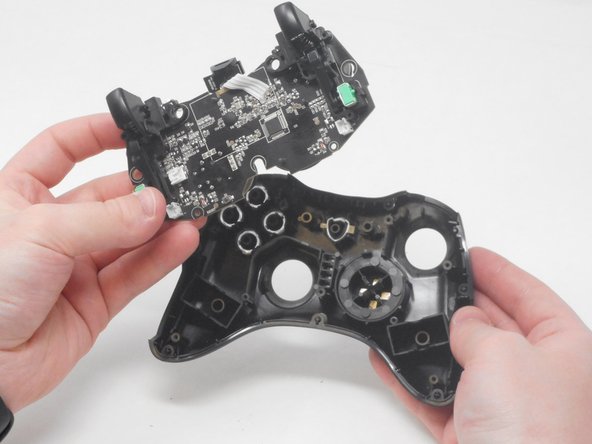
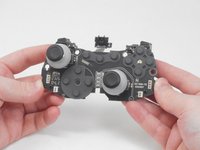
Carefully lift the motherboard out of its housing.
-


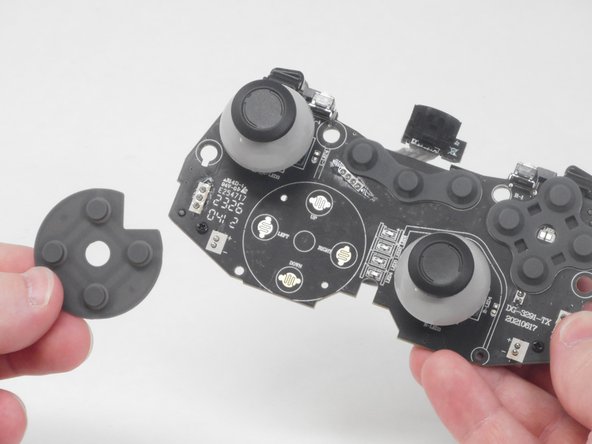


To reassemble your device, follow these instructions in reverse order.
Annulla: non ho completato questa guida.
Un'altra persona ha completato questa guida.

Team

University of Memphis, Team 1-4, Sneed Spring 2024 Membro di University of Memphis, Team 1-4, Sneed Spring 2024
UM-SNEED-S24S1G4
4 Membri
6 Guide realizzate