Questa versione può contenere modifiche errate. Passa all'ultima istantanea verificata.
Cosa ti serve
-
Questo passaggio è privo di traduzione. Aiuta a tradurlo
-
Using a plastic opening tool, remove the phone cord from the phone jack at the base of the headset.
-
-
Questo passaggio è privo di traduzione. Aiuta a tradurlo
-
Remove the 7.5 mm screw.
-
Remove the screw cap.
-
Pull up the phone cord to remove it from the base.
-
-
Questo passaggio è privo di traduzione. Aiuta a tradurlo
-
Remove the battery compartment door (located on the bottom of the radio) by applying thumb pressure to the area indicated on the battery door.
-
Slide the door off of the battery compartment.
-
Remove the battery from the phone.
-
-
-
Questo passaggio è privo di traduzione. Aiuta a tradurlo
-
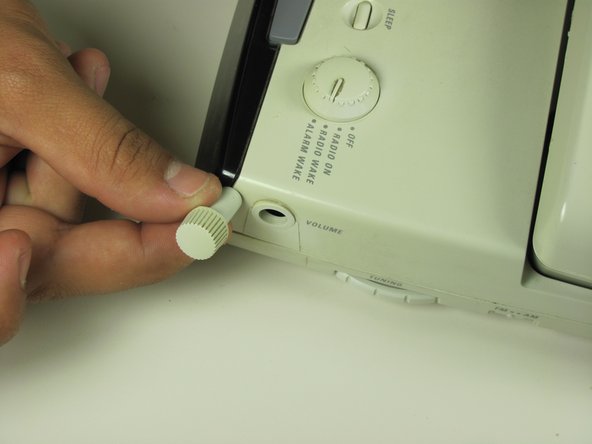
Locate the volume dial on the right side of the telephone.
-
Remove the volume dial by gently grasping it and pulling it away from the base.
-
-
Questo passaggio è privo di traduzione. Aiuta a tradurlo
-
Remove the three 12 mm screws with a Phillips #1 screwdriver.
-
Remove the three 18 mm screws with a Phillips #1 screwdriver.
-
-
Questo passaggio è privo di traduzione. Aiuta a tradurlo
-
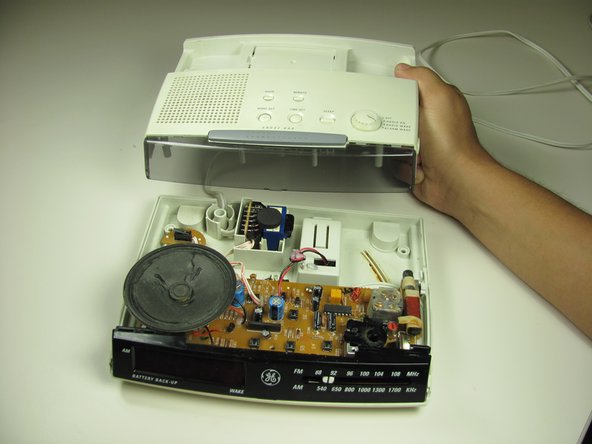
Pry off the base shell using a plastic opener tool.
-
Set the shell aside.
-
-
Questo passaggio è privo di traduzione. Aiuta a tradurlo
-
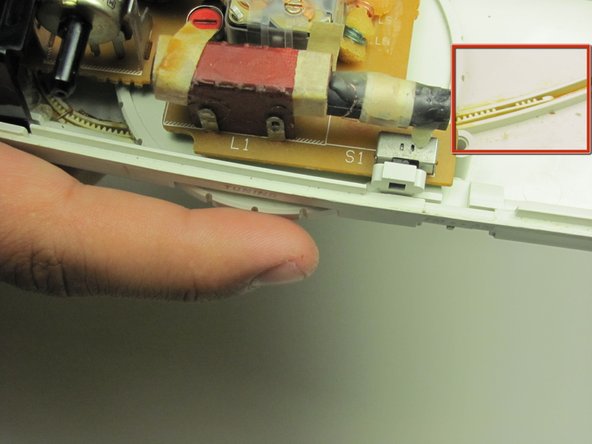
Turn the tuning slider counterclockwise until the slider stops.
-
Apply lubricant to the slider rail.
-
Turn the tuning slider back and forth to distribute the lubricant.
-


Team

Cal Poly, Team 16-59, Forte Fall 2012 Membro di Cal Poly, Team 16-59, Forte Fall 2012
CPSU-FORTE-F12S16G59
4 Membri
17 Guide realizzate