Introduzione
Use this guide to replace a faulty support spring in your Logitech MBJ58 Mouse.
This spring is responsible for keeping the scroll wheel in proper alignment with the components of the mouse. Over time, this spring can start to wear out and lose its ability to do this. Once that happens, it is a good idea to start considering replacing the spring to keep the mouse scroll wheel functioning correctly.
Cosa ti serve
-
-
Hold the mouse so that the bottom is facing up.
-
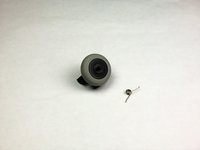
Remove the single Phillips #1 screw from the bottom half of the mouse.
 Chiedi a FixBot
-
-
-
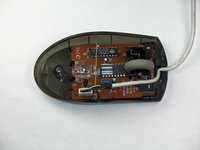
Place the mouse so that the bottom is resting against a hard surface.
-
Lift the top cover of the mouse gently, and remove it.
-
-
-
-
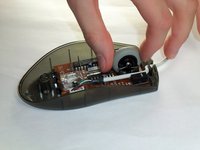
Locate the scroll wheel on the mouse.
-
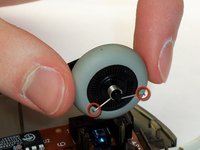
Grab the scroll wheel with your thumb and index finger.
-
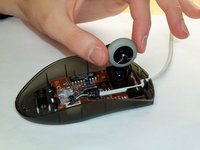
Gently lift up, to remove the scroll wheel from the mouse.
-
-
-
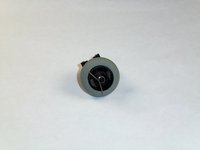
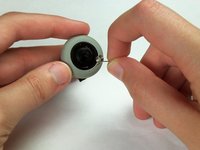
Locate the spring on the scroll wheel, and carefully remove the spring.
-
-
-
Place the replacement spring on the correct side of the wheel (shown in the images) with the prongs pointing down.
-


To reassemble your device, follow these instructions in reverse order.
Annulla: non ho completato questa guida.
Altre 6 persone hanno completato questa guida.
Team

Cal Poly, Team 5-14, Forte Winter 2013 Membro di Cal Poly, Team 5-14, Forte Winter 2013
CPSU-FORTE-W13S5G14
5 Membri
23 guide realizzate
1Commento della guida
The thing with the spring - still in 2024 helpful!
Thanks a lot! :-)