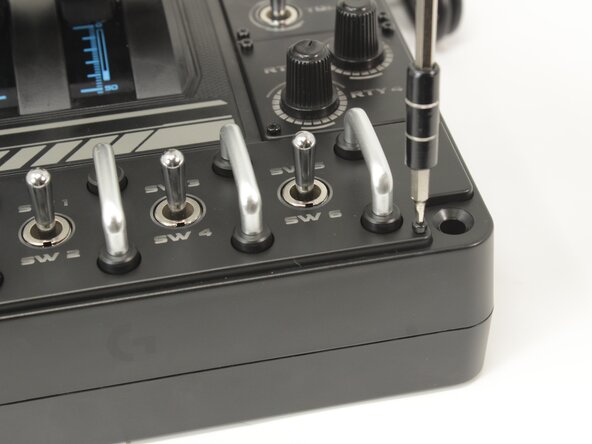
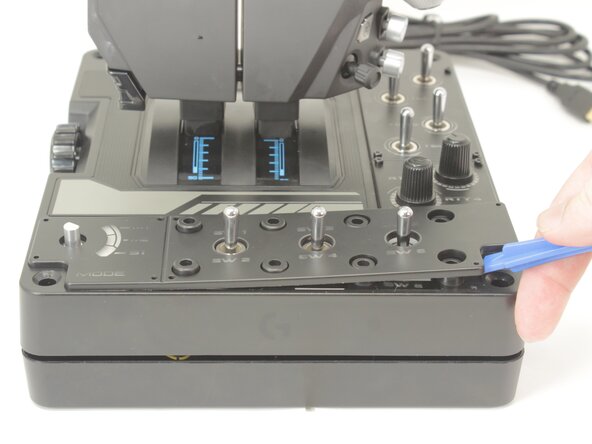
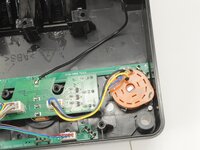
Salta al contenuto principale

Logitech G X56 HOTAS Throttle Mode Switch Potentiometer Replacement

Cosa ti serve

  1. Logitech G X56 HOTAS Throttle Mode Switch Potentiometer Replacement, Label Plate: passo 1, immagine 1 di 2 Logitech G X56 HOTAS Throttle Mode Switch Potentiometer Replacement, Label Plate: passo 1, immagine 2 di 2
    • Remove the eight 8.6 mm long 1.5 mm hex screws from the label plate.

  2. Logitech G X56 HOTAS Throttle Mode Switch Potentiometer Replacement: passo 2, immagine 1 di 1
    • Use an opening tool to pry off the mode switch knob.

  3. Logitech G X56 HOTAS Throttle Mode Switch Potentiometer Replacement: passo 3, immagine 1 di 3 Logitech G X56 HOTAS Throttle Mode Switch Potentiometer Replacement: passo 3, immagine 2 di 3 Logitech G X56 HOTAS Throttle Mode Switch Potentiometer Replacement: passo 3, immagine 3 di 3
    • Remove the eight 12.5 mm long Phillips #1 screws from the underside of the label plate.

    • These screws are plastic! Be very careful when applying force.

  4. Logitech G X56 HOTAS Throttle Mode Switch Potentiometer Replacement: passo 4, immagine 1 di 2 Logitech G X56 HOTAS Throttle Mode Switch Potentiometer Replacement: passo 4, immagine 2 di 2
    • Place the throttle right side up again, using the bottom panel as a coaster.

    • Gently pry the label plate from the body of the throttle.

  5. Logitech G X56 HOTAS Throttle Mode Switch Potentiometer Replacement, Mode Switch Potentiometer: passo 5, immagine 1 di 2 Logitech G X56 HOTAS Throttle Mode Switch Potentiometer Replacement, Mode Switch Potentiometer: passo 5, immagine 2 di 2
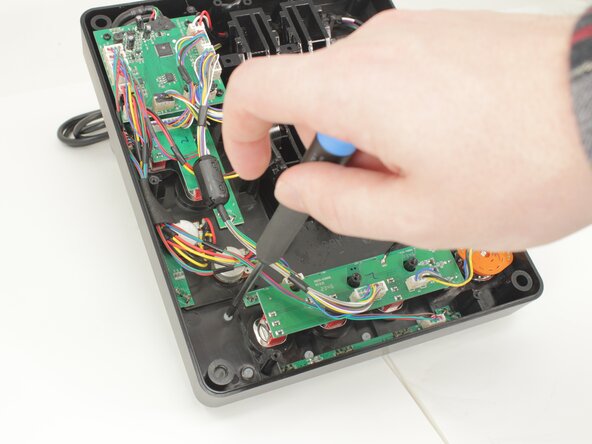
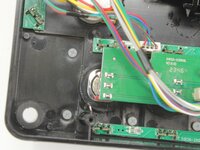
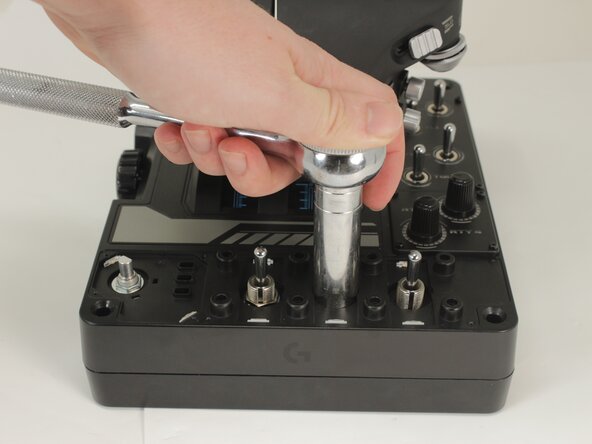
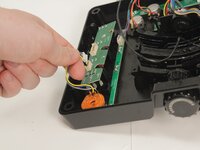
    • Use an 11 mm deep socket to remove the nut from the post of the switch.

  6. Logitech G X56 HOTAS Throttle Mode Switch Potentiometer Replacement: passo 6, immagine 1 di 2 Logitech G X56 HOTAS Throttle Mode Switch Potentiometer Replacement: passo 6, immagine 2 di 2
    • Flip the throttle over.

    • The mode switch potentiometer is identifiable by the orange plastic contact board.

    • Disconnect the potentiometer connector from the PCB by pulling it straight up and out of its socket.

  7. Logitech G X56 HOTAS Throttle Mode Switch Potentiometer Replacement: passo 7, immagine 1 di 1
    • Gently remove the mode switch potentiometer by pulling it straight out of the base plate.

Conclusione

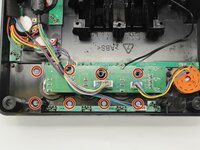
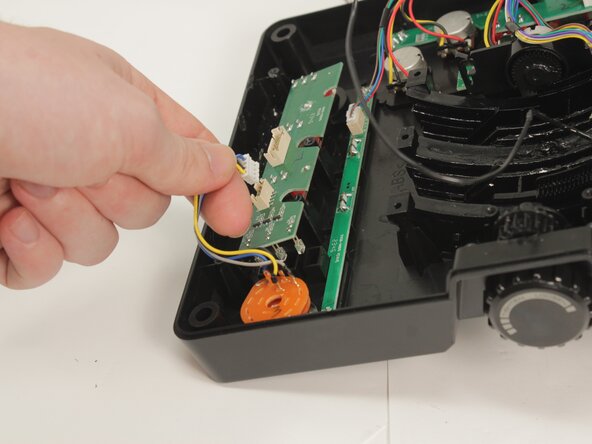
To reassemble your device, follow these instructions in reverse order.

Un'altra persona ha completato questa guida.

0Commenti sulla guida

Aggiungi Commento

Visualizza Statistiche:

Ultime 24 Ore: 1

Ultimi 7 Giorni: 6

Ultimi 30 Giorni: 39

Tutti i Tempi: 184