Questa versione può contenere modifiche errate. Passa all'ultima istantanea verificata.
Cosa ti serve
-
Questo passaggio è privo di traduzione. Aiuta a tradurlo
-
Take note of the wire labeling. Each wire has either a Stripe or Text. When lining up the wires after cutting, it is critical that you keep Stripe with Stripe, and Text with Text. Failure to do so will result in damage to the device.
-
-
Questo passaggio è privo di traduzione. Aiuta a tradurlo
-
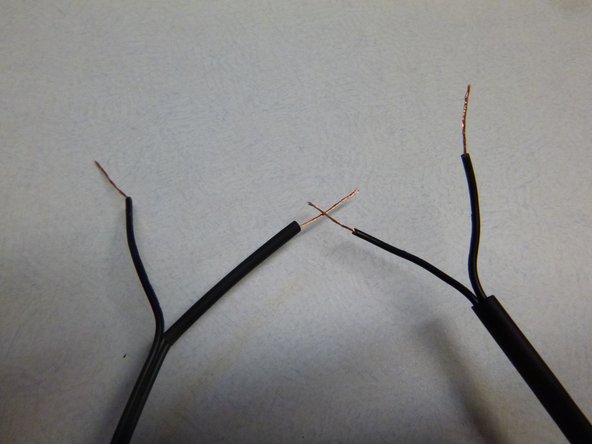
Begin by cutting the wire.
-
Strip the wire.
-
Seperate the two halves of each wire, and split the two with a utility knife. Don't go too far! You will need the extra space to overlay HeatShrink before the soldering is down.
-
-
-
Questo passaggio è privo di traduzione. Aiuta a tradurlo
-
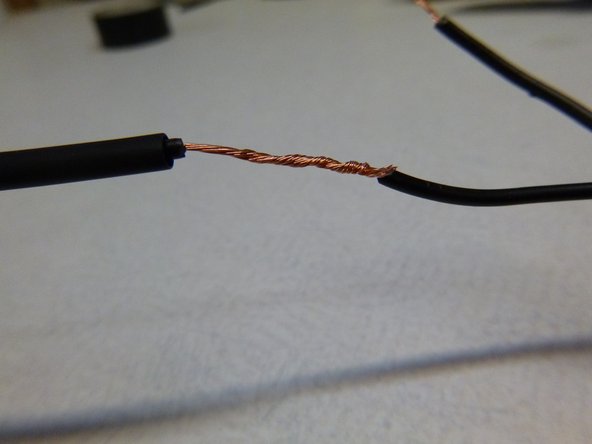
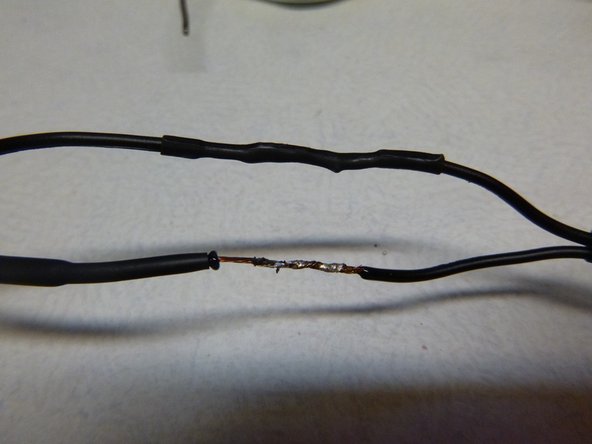
Twist the individual strands together to make a single pigtail.
-
Overlay with the corresponding wire (Step 1), and twist together, but not before sliding on the HeatShrink.
-
-
Questo passaggio è privo di traduzione. Aiuta a tradurlo
-
Pull the wire seperation back far enough on at least one side to permit Heat-Shrink to slip over the wire insulation.
-
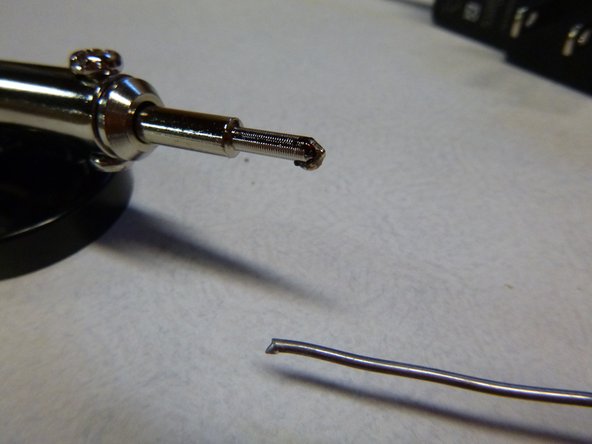
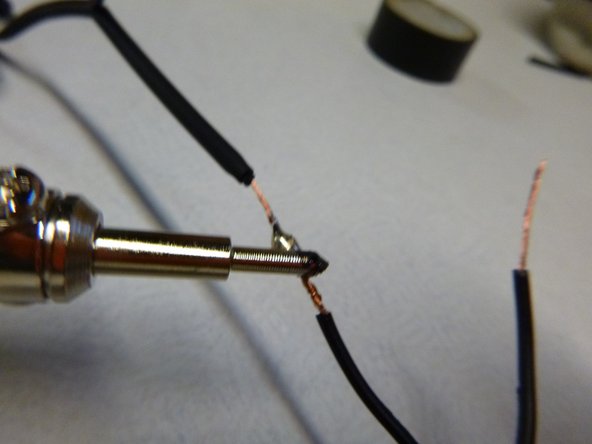
Now the soldering. Place the pre-heated iron on the wires on a heat-resistant, flame proof surface. Make sure that the Heat-Shrink is nowhere near the soldering iron.
-
Let it heat for a few sconds (copper is an excellent conductor of heat), then touch the end of the solder to the wire. If fully heated, it should flow easily into the joint.
-
-
Questo passaggio è privo di traduzione. Aiuta a tradurlo
-
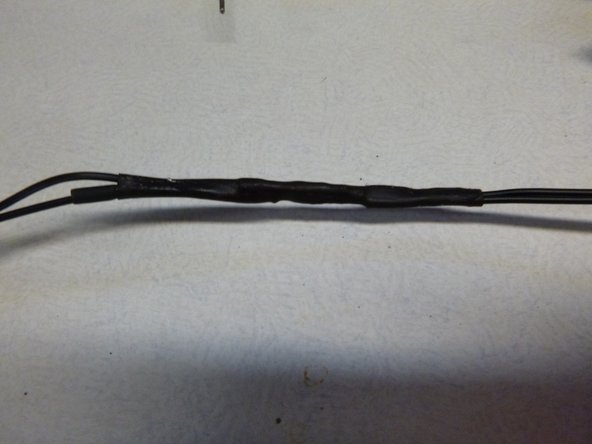
To protect the solder job, you will need to slide the shrink wrap over the patch, then heat it so that it grips the wire securely. You can use a heat gun or the flat side of a soldering iron. Be careful to not let it burn!
-
Repeat for the other wire. Repeat for the overall sheath.
-


