Salta al contenuto principale

Lightahead DV328 Arrow Button Replacement

Cosa ti serve

  1. Lightahead DV328 Arrow Button Replacement, Arrow Button: passo 1, immagine 1 di 3 Lightahead DV328 Arrow Button Replacement, Arrow Button: passo 1, immagine 2 di 3 Lightahead DV328 Arrow Button Replacement, Arrow Button: passo 1, immagine 3 di 3
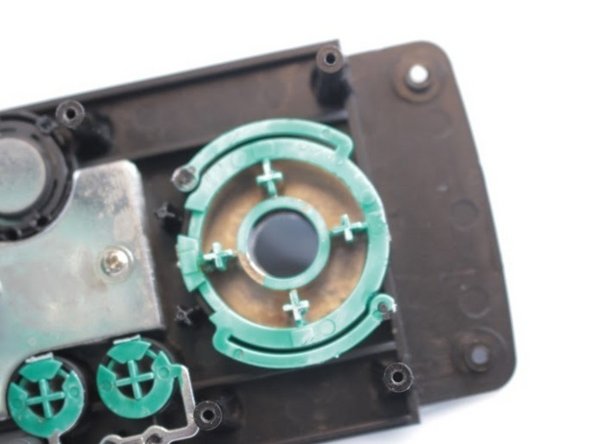
    • Use a spudger to remove the two screw covers.

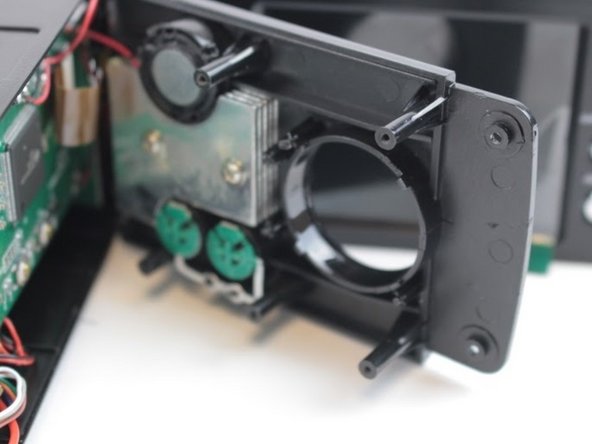
    • Remove the two Phillips #0 screws.

  2. Lightahead DV328 Arrow Button Replacement: passo 2, immagine 1 di 3 Lightahead DV328 Arrow Button Replacement: passo 2, immagine 2 di 3 Lightahead DV328 Arrow Button Replacement: passo 2, immagine 3 di 3
    • Once you are able to lift the cover up, you will then be able to pry off the lens which will allow for the device to open more.

    • Take off the lens cover. Be careful not to pull the device open too much otherwise you will snap it in half since it is made of plastic.

    • Once you have this up, pull up the cover and you will now be able to work on the arrow key button

  3. Lightahead DV328 Arrow Button Replacement: passo 3, immagine 1 di 3 Lightahead DV328 Arrow Button Replacement: passo 3, immagine 2 di 3 Lightahead DV328 Arrow Button Replacement: passo 3, immagine 3 di 3
    • Lay the camcorder on its side. The arrow key button is now in full view.

    • There is a small green piece locking in the arrow key button. Once you remove that, the piece will be able to come out.

    • Gently push on the button and it will come out of the device. Replace as needed

Conclusione

To reassemble your device, follow these instructions in reverse order.

Team

USF Tampa, Team 10-2, Remmell Spring 2016 Membro di USF Tampa, Team 10-2, Remmell Spring 2016

USFT-REMMELL-S16S10G2

3 Membri

3 Guide realizzate

0 Commenti

Aggiungi Commento

Visualizza Statistiche:

Ultime 24 Ore: 0

Ultimi 7 Giorni: 1

Ultimi 30 Giorni: 2

Tutti i Tempi: 164