Introduzione
If you're looking to update the switches in your home or just need to replace a faulty switch, this guide is here to help. Replacing a light switch might seem daunting at first, but with the right tools and a bit of guidance, it can be a simple and rewarding DIY project. In this guide, we'll walk you through the steps to safely and effectively replace a light switch. Whether you're a seasoned DIYer or a beginner, you'll be able to follow along and successfully complete this project.
Cosa ti serve
-
-
Locate the breaker box in your house. This is typically either in the garage or the basement.
-
Open the breaker box.
-
Turn off the breaker that corresponds to the circuit of the switch that is to be replaced.
-
-
-
Remove the face-plate from the light switch by unscrewing the two 7.9mm oval head slotted screws with the 3/16" slotted screwdriver until the plate comes away freely.
-
Flip the light switch on and off to ensure no electricity is flowing through the switch.
-
-
-
Use a Duspol or any other Voltmeter to test if there is voltage at the contacts.
-
-
-
-
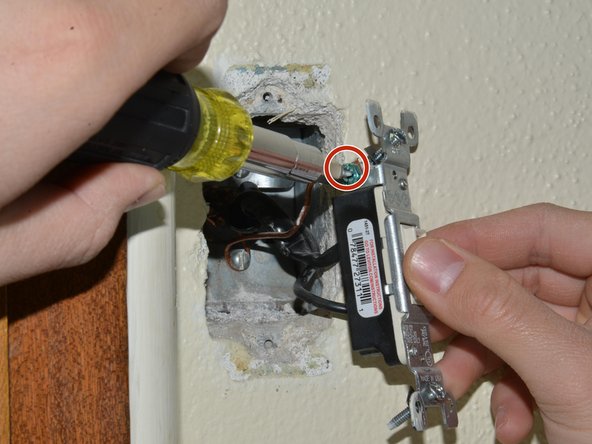
Remove the light switch from the housing by unscrewing the 25.4mm flat head Phillips screws at the top and bottom of the switch, using a Phillips #1 screwdriver.
-
Gently pull the light switch out of the housing.
-
-
-
Pull the old switch out from the box far enough that its connections can be clearly seen.
-
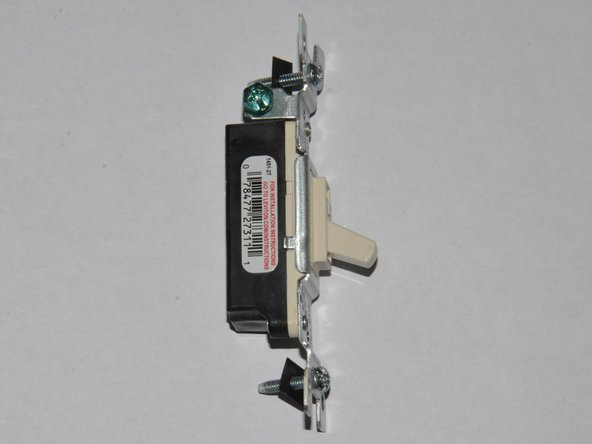
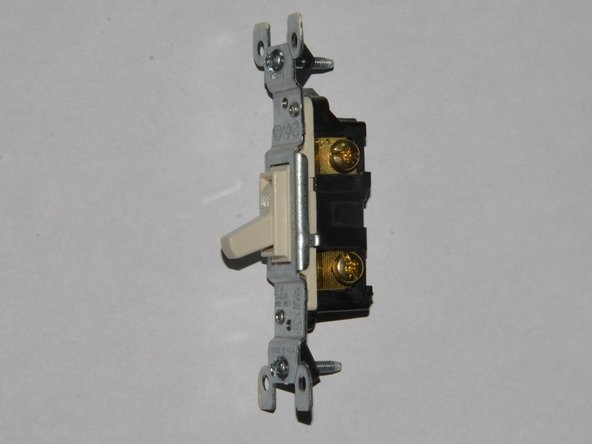
Confirm that the new switch has all the same contacts (screws) as the old switch, with matching colors.
-
-
-
Take note of the existing wiring since the new switch will need to be wired in exactly the same configuration.
-
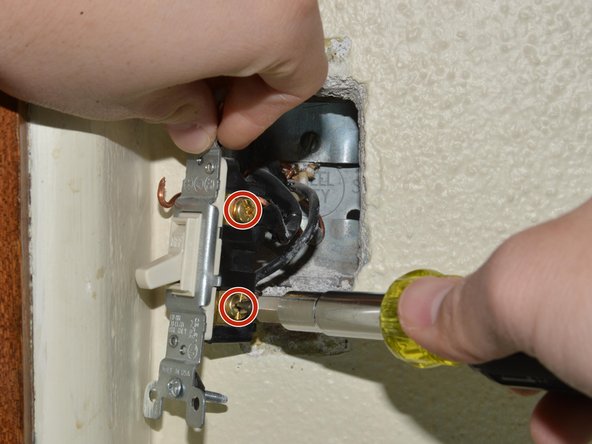
Unscrew the screws on both sides of the the light switch until the wires may be unhooked. If necessary, these screws may be fully removed to prevent the straightening of the wire loops.
-
-
-
Unhook the wires from the screws.
-
Begin connecting the wires to the new switch according to the wiring configuration of the original switch.
-
Push the switch into the housing and begin reassembling.
-


To reassemble your device, follow these instructions in reverse order.
To reassemble your device, follow these instructions in reverse order.
Annulla: non ho completato questa guida.
Altre 4 persone hanno completato questa guida.
Team

Eastern Washington University, Team S27-G17, Munoz Winter 2019 Membro di Eastern Washington University, Team S27-G17, Munoz Winter 2019
EWU-MUNOZ-W19S27G17
2 Membri
1 Guida realizzata