Questa versione può contenere modifiche errate. Passa all'ultima istantanea verificata.
Cosa ti serve
-
Questo passaggio è privo di traduzione. Aiuta a tradurlo
-
Use your fingers two push both latches away from each other to release the battery.
-
Pull the battery out.
-
-
Questo passaggio è privo di traduzione. Aiuta a tradurlo
-
Remove the two Phillips #0 screws from the bottom panel.
-
Slide the panel down slightly, and then lift to pull it off.
-
-
Questo passaggio è privo di traduzione. Aiuta a tradurlo
-
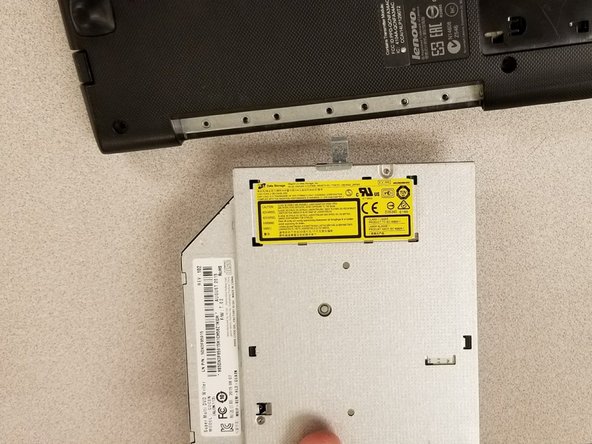
Remove the single 3mm Phillips #0 screw from the optical drive.
-
Pull the optical drive out of the side.
-
-
Questo passaggio è privo di traduzione. Aiuta a tradurlo
-
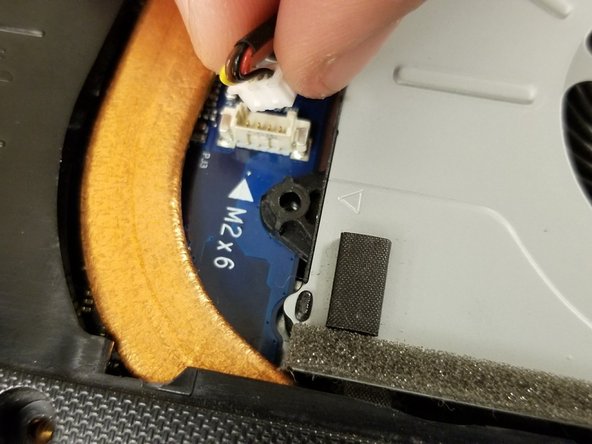
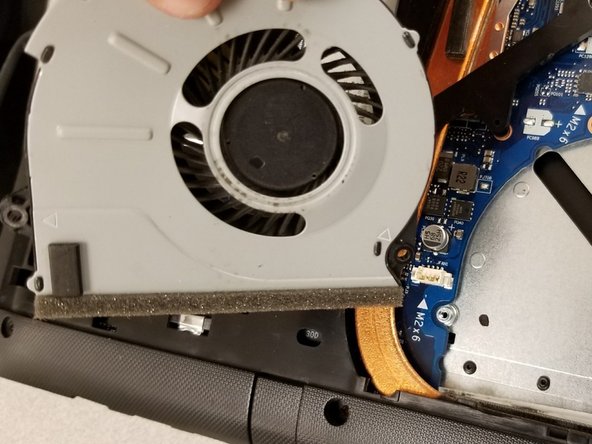
Remove the three 6mm Phillips #0 screws from the fan.
-
Disconnect the fan from the motherboard by pulling up on the plug.
-
-
-
Questo passaggio è privo di traduzione. Aiuta a tradurlo
-
Remove all the 17 7mm Phillips #0 screws.
-
A sticker covers this screw. Remove this sticker to remove the screw.
-
Remove the back cover.
-
-
Questo passaggio è privo di traduzione. Aiuta a tradurlo
-
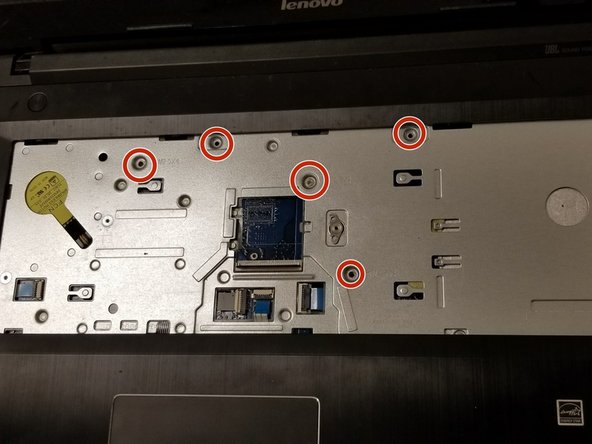
Pry the edges of the keyboard upwards using a spudger.
-
Remove the five 3mm Phillips #0 screws.
-
-
Questo passaggio è privo di traduzione. Aiuta a tradurlo
-
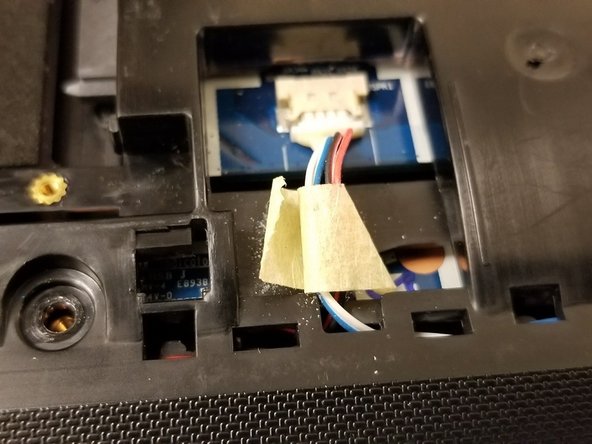
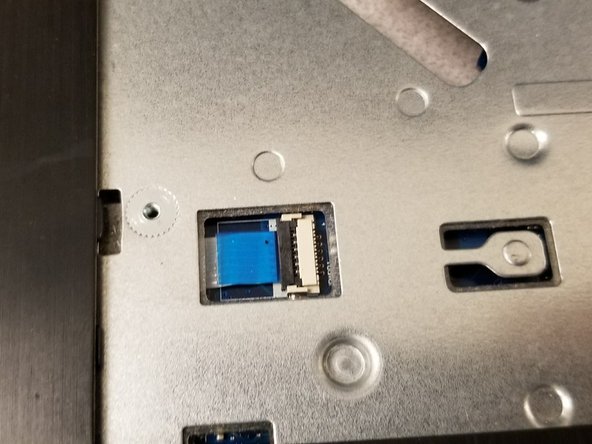
Remove all the ribbon cables and connectors from the front and back of the laptop.
-
-
Questo passaggio è privo di traduzione. Aiuta a tradurlo
-
Remove the 3mm screw and carefully pull out the cables from the hooks holding them in place.
-
-
Questo passaggio è privo di traduzione. Aiuta a tradurlo
-
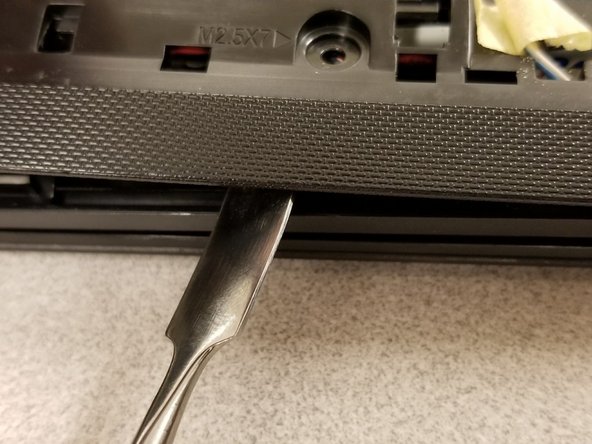
Use a spudger at the edges of the laptop cover to carefully pry upwards, removing the cover.
-
-
Questo passaggio è privo di traduzione. Aiuta a tradurlo
-
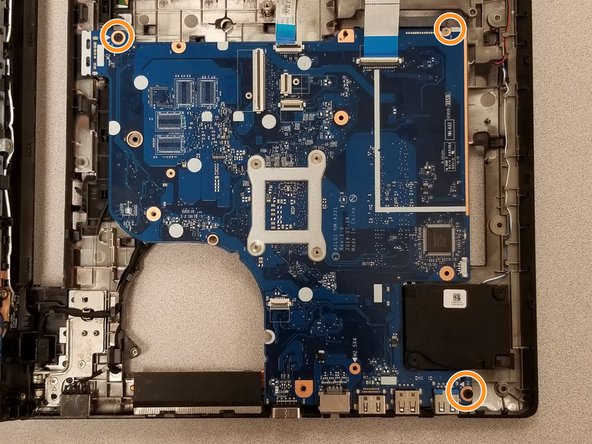
Unplug the two black cables from the motherboard.
-
Remove the three 3mm screws from the motherboard.
-
Remove the motherboard.
-


Annulla: non ho completato questa guida.
Altre 3 persone hanno completato questa guida.
Documenti Allegati

Team

Gateway, Team S1-G4, Johnson Spring 2018 Membro di Gateway, Team S1-G4, Johnson Spring 2018
GCC-JOHNSON-S18S1G4
2 Membri
12 Guide realizzate