Questa versione può contenere modifiche errate. Passa all'ultima istantanea verificata.
Cosa ti serve
-
Questo passaggio è privo di traduzione. Aiuta a tradurlo
-
Using a T5 Torx screwdriver, remove the ten 5.5 mm screws from the back case of the laptop.
-
-
Questo passaggio è privo di traduzione. Aiuta a tradurlo
-
Use a spudger to pry open the back case at the hinges of the laptop.
-
Use your fingers to completely pop off the back cover.
-
-
Questo passaggio è privo di traduzione. Aiuta a tradurlo
-
Remove the five 3.6 mm screws from the battery with a Phillips #00 screwdriver.
-
-
-
Questo passaggio è privo di traduzione. Aiuta a tradurlo
-
Grab the bottom corners of the battery and gently pull the battery until the cable disconnects from the connector on the motherboard.
-
-
Questo passaggio è privo di traduzione. Aiuta a tradurlo
-
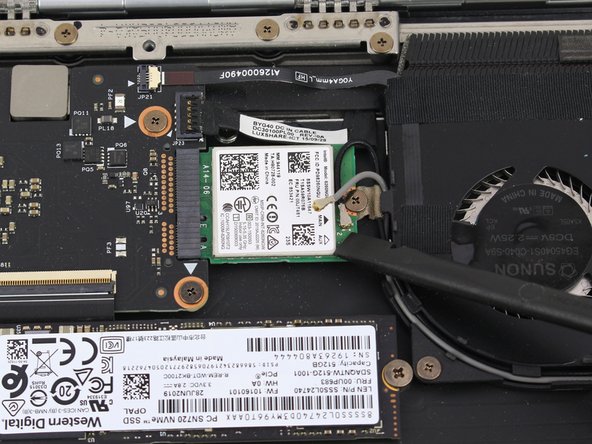
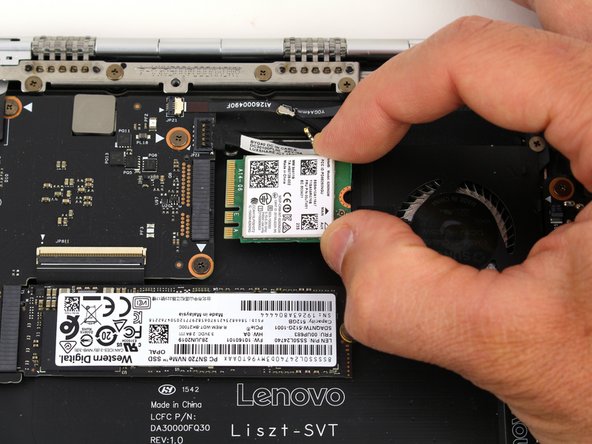
Pry up the white and black coaxial cables from the Wi-Fi card using a spudger.
-
Move the cables to the side.
-
-
Questo passaggio è privo di traduzione. Aiuta a tradurlo
-
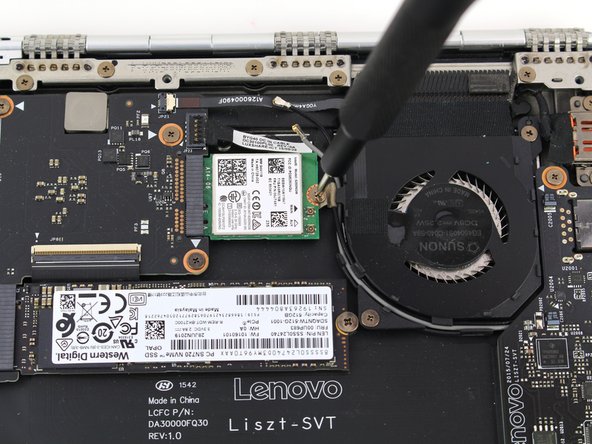
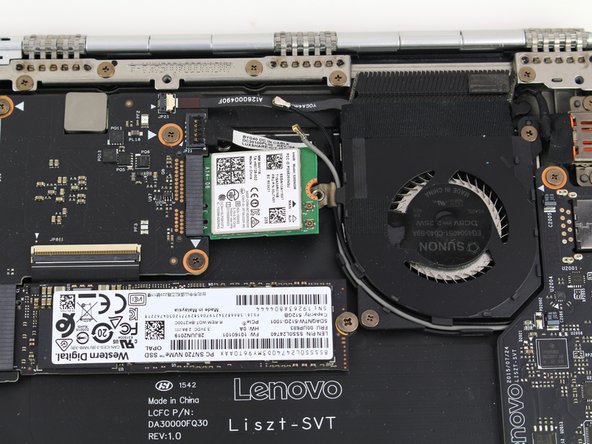
Using a Phillips #00 screwdriver, remove the 2.2 mm screw holding down the Wi-Fi card.
-
-
Questo passaggio è privo di traduzione. Aiuta a tradurlo
-
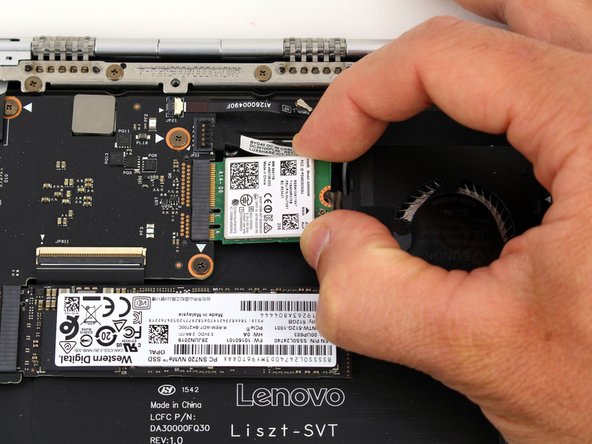
Pull the Wi-Fi card out from the connector on the motherboard.
-


Annulla: non ho completato questa guida.
Un'altra persona ha completato questa guida.

