Salta al contenuto principale

Lenovo ThinkPad S431 Integrated Camera Replacement

Cosa ti serve

  1. Lenovo ThinkPad S431 Integrated Camera  Replacement, Screen Assembly: passo 1, immagine 1 di 1
    • Place an opening tool under the screen cover, and pop it off.

    • Using a metal object to open fragile parts of your laptop could cause damage! Instead use the opening tool listed in the tools section above.

  2. Lenovo ThinkPad S431 Integrated Camera  Replacement: passo 2, immagine 1 di 2 Lenovo ThinkPad S431 Integrated Camera  Replacement: passo 2, immagine 2 di 2
    • Take off the 6 screws using the Philips head #1.

  3. Lenovo ThinkPad S431 Integrated Camera  Replacement: passo 3, immagine 1 di 1
    • Lift the screen out from the top.

  4. Lenovo ThinkPad S431 Integrated Camera  Replacement: passo 4, immagine 1 di 2 Lenovo ThinkPad S431 Integrated Camera  Replacement: passo 4, immagine 2 di 2
    • Remove the connector located at the bottom of the back of the screen.

  5. Lenovo ThinkPad S431 Integrated Camera  Replacement, Integrated Camera: passo 5, immagine 1 di 2 Lenovo ThinkPad S431 Integrated Camera  Replacement, Integrated Camera: passo 5, immagine 2 di 2
    • Unplug the connector. It is located on the top of the screen attached to the camera assembly.
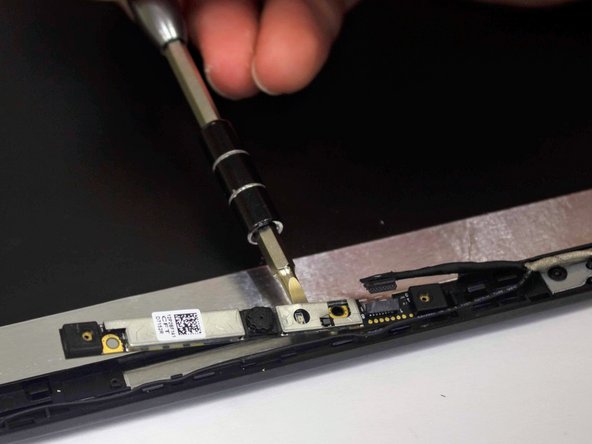
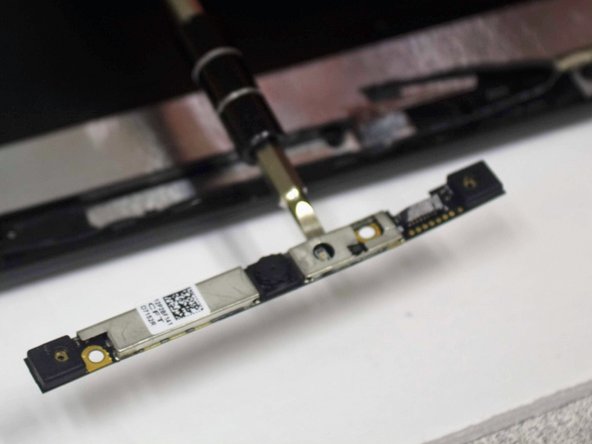
  6. Lenovo ThinkPad S431 Integrated Camera  Replacement: passo 6, immagine 1 di 3 Lenovo ThinkPad S431 Integrated Camera  Replacement: passo 6, immagine 2 di 3 Lenovo ThinkPad S431 Integrated Camera  Replacement: passo 6, immagine 3 di 3
    Attrezzo utilizzato in questo passaggio:
    Flathead 3/32" or 2.5 mm Screwdriver
    $5.49
    Compra
Conclusione

To reassemble your device, follow these instructions in reverse order.

Altre 2 persone hanno completato questa guida.

0 Commenti

Aggiungi Commento

Visualizza Statistiche:

Ultime 24 Ore: 0

Ultimi 7 Giorni: 6

Ultimi 30 Giorni: 16

Tutti i Tempi: 2,250