Questa guida ha delle modifiche più recenti. Passa all'ultima versione non verificata.
Introduzione
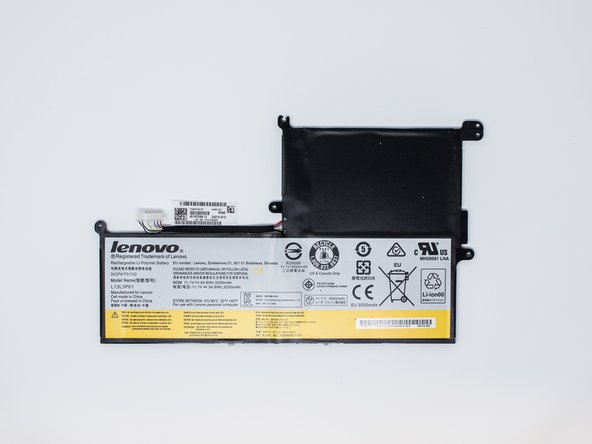
After a period of time or use, the battery may have issues and lose power after a charge. This guide will explain how to remove the battery from the Lenovo N20p Chromebook.
Cosa ti serve
-
-
-
Remove the two rubber feet of the back of the Chromebook using a metal spudger.
-
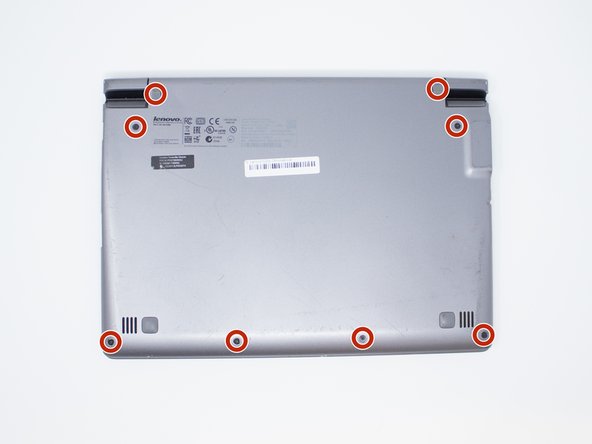
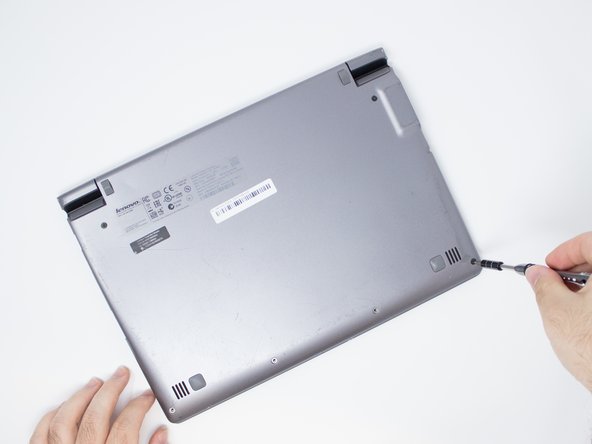
Remove six bottom 3.5 mm Phillips #0 screws and two top 5 mm Phillips #1 screws.
-


To reassemble your device, follow these instructions in reverse order.
To reassemble your device, follow these instructions in reverse order.

Team

UW Tacoma, Team S1-G2, Cardinal Summer 2018 Membro di UW Tacoma, Team S1-G2, Cardinal Summer 2018
UWT-CARDINAL-SU18S1G2
3 Membri
8 Guide realizzate