Salta al contenuto principale

Lenovo IdeaPad FLEX 4-1580 Fan Replacement

Cosa ti serve

  1. Lenovo IdeaPad FLEX 4-1580 Fan Replacement, Battery: passo 1, immagine 1 di 1
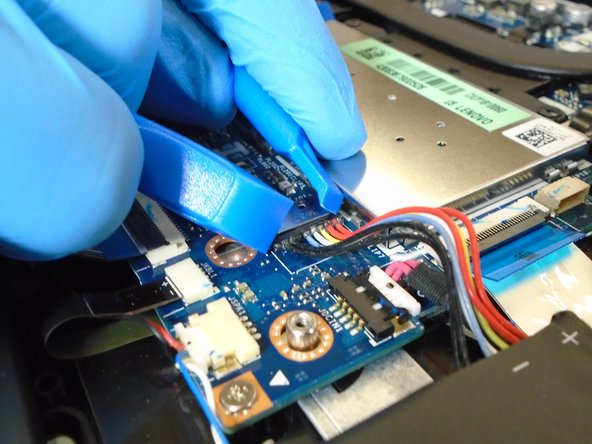
    • Flip laptop over so the model sticker is showing, and begin to unscrew all of the screws.

  2. Lenovo IdeaPad FLEX 4-1580 Fan Replacement: passo 2, immagine 1 di 1
    • Pop off the back panel using a plastic opening tool once all screws are removed.

  3. Lenovo IdeaPad FLEX 4-1580 Fan Replacement: passo 3, immagine 1 di 1
    • Once the panel is fully removed, begin to unscrew the battery.

  4. Lenovo IdeaPad FLEX 4-1580 Fan Replacement: passo 4, immagine 1 di 2 Lenovo IdeaPad FLEX 4-1580 Fan Replacement: passo 4, immagine 2 di 2
    • Use the iFixit Opening tool to disconnect the battery from the circuit board.

    • When all screws are removed from the battery, carefully lift the battery up.

  5. Lenovo IdeaPad FLEX 4-1580 Fan Replacement: passo 5, immagine 1 di 1
    • The battery is completely removed, and can be replaced with a new battery.

  6. Lenovo IdeaPad FLEX 4-1580 Fan Replacement, Fan: passo 6, immagine 1 di 1
    • Remove all screws securing the fan to the laptop.

  7. Lenovo IdeaPad FLEX 4-1580 Fan Replacement: passo 7, immagine 1 di 1
    • Unhook the wire from the fan component using a spudger.

  8. Lenovo IdeaPad FLEX 4-1580 Fan Replacement: passo 8, immagine 1 di 1
    • Now the fan is completely removed.

Conclusione

To reassemble your device, follow these instructions in reverse order.

Un'altra persona ha completato questa guida.

0 Commenti

Aggiungi Commento

Visualizza Statistiche:

Ultime 24 Ore: 1

Ultimi 7 Giorni: 1

Ultimi 30 Giorni: 9

Tutti i Tempi: 422