Introduzione
If you are struggling with the touch pad working and responsivity of the touchpad follow the guide below to replace the touch with a new one.
Cosa ti serve
-
-
Remove the ten 3.3 mm screws securing the back panel using a Phillips #00 screwdriver.
-
Use a Jimmy or your fingernail to pry the back panel off.
-
-
-
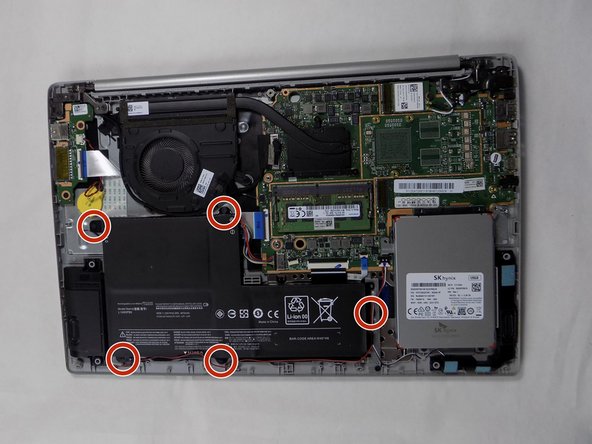
Remove the five 3 mm screws securing the battery using a Phillips #00 screwdriver.
-
-
-
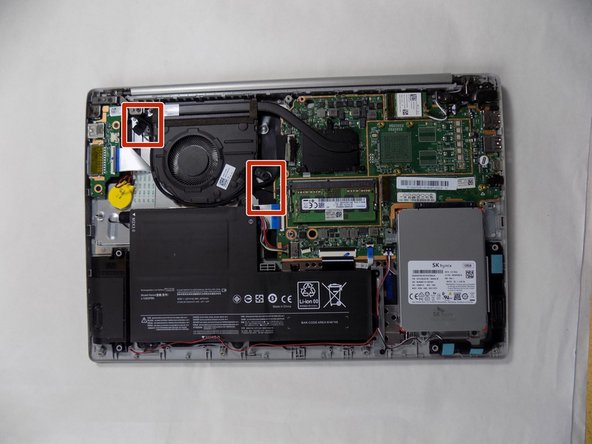
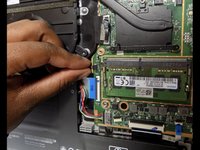
Remove the six 3 mm screws from the black board using a Phillips #00 screwdriver.
-
-
-
-
Remove the six 3 mm screws from the black board using a Phillips #00 screwdriver.
-
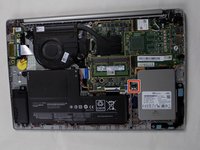
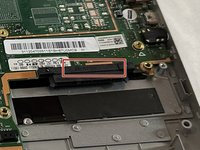
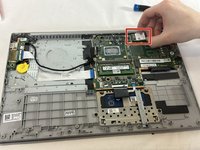
Remove the black board.
-
-
-
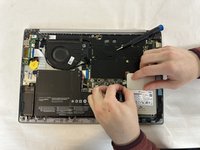
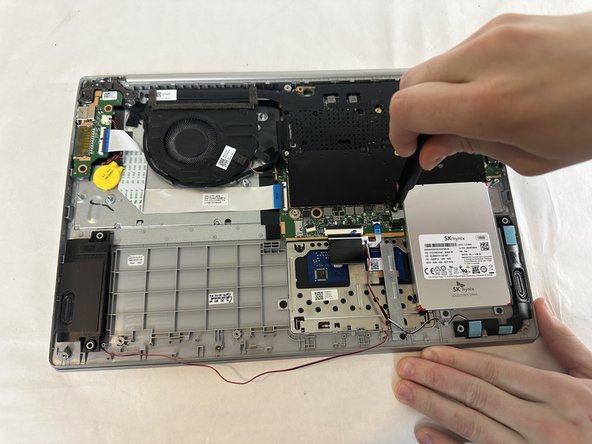
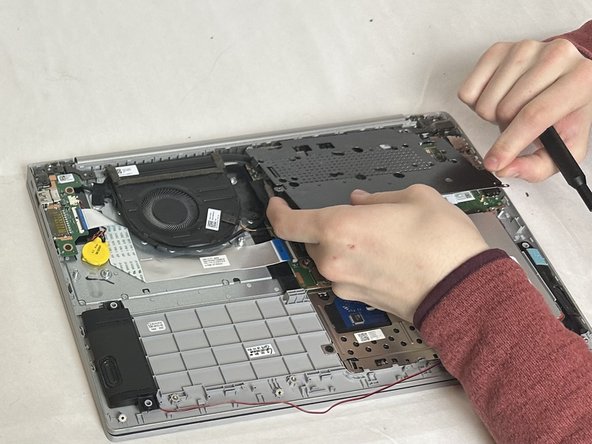
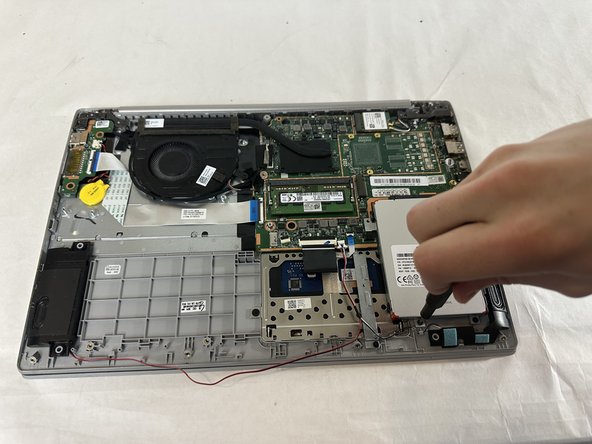
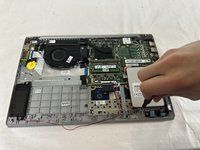
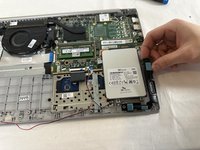
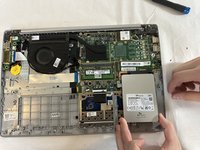
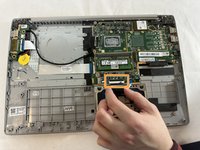
Remove three 3 mm screws connecting the motherboard to the frame of the laptop.
-


To reassemble your device, follow these instructions in reverse order.
To reassemble your device, follow these instructions in reverse order.

Team

UMass Dartmouth, Team 2-4, Konn Fall 2024 Membro di UMass Dartmouth, Team 2-4, Konn Fall 2024
UMASSD-KONN-F24S2G4
5 Membri
4 Guide realizzate