Salta al contenuto principale

Lenovo IdeaPad 330S-15ARR Fan Replacement

Cosa ti serve

  1. Lenovo IdeaPad 330S-15ARR Fan Replacement, Back Panel: passo 1, immagine 1 di 3 Lenovo IdeaPad 330S-15ARR Fan Replacement, Back Panel: passo 1, immagine 2 di 3 Lenovo IdeaPad 330S-15ARR Fan Replacement, Back Panel: passo 1, immagine 3 di 3
    • Remove the ten 3.3 mm screws securing the back panel using a Phillips #00 screwdriver.

    • Use a Jimmy or your fingernail to pry the back panel off.

  2. Lenovo IdeaPad 330S-15ARR Fan Replacement, Fan: passo 2, immagine 1 di 3 Lenovo IdeaPad 330S-15ARR Fan Replacement, Fan: passo 2, immagine 2 di 3 Lenovo IdeaPad 330S-15ARR Fan Replacement, Fan: passo 2, immagine 3 di 3
    • Remove the six 3 mm screws from the black board using a Phillips #00 screwdriver.

    • Remove the black board.

  3. Lenovo IdeaPad 330S-15ARR Fan Replacement: passo 3, immagine 1 di 2 Lenovo IdeaPad 330S-15ARR Fan Replacement: passo 3, immagine 2 di 2
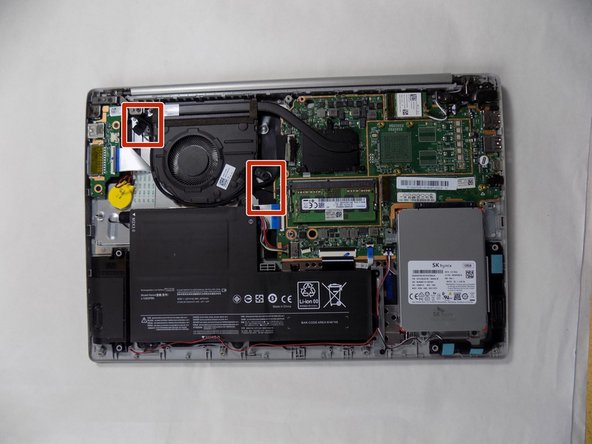
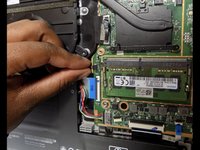
    • Remove the black electrical tape from the fan.

  4. Lenovo IdeaPad 330S-15ARR Fan Replacement: passo 4, immagine 1 di 1
    • Disconnect the fan from the circuit board by pulling on the plastic part of the wire towards the fan.

  5. Lenovo IdeaPad 330S-15ARR Fan Replacement: passo 5, immagine 1 di 1
    • Remove the five 3 mm screws holding the fan in place using a Phillips #00 screwdriver.

  6. Lenovo IdeaPad 330S-15ARR Fan Replacement: passo 6, immagine 1 di 1
    • Lift the fan to remove it from the laptop.

Conclusione

To reassemble your device, follow these instructions in reverse order.

Jacob McPhee

Membro da: 10/16/24

291 Reputazione

2 Guide realizzate

Team

UMass Dartmouth, Team 2-4, Konn Fall 2024 Membro di UMass Dartmouth, Team 2-4, Konn Fall 2024

UMASSD-KONN-F24S2G4

5 Membri

4 Guide realizzate

0 Commenti

Aggiungi Commento

Visualizza Statistiche:

Ultime 24 Ore: 0

Ultimi 7 Giorni: 2

Ultimi 30 Giorni: 28

Tutti i Tempi: 96