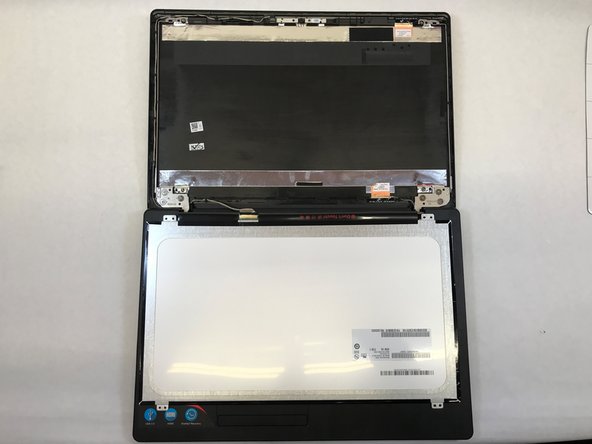
Salta al contenuto principale

Lenovo IdeaPad 110-15IBR Display Replacement

Cosa ti serve

  1. Lenovo IdeaPad 110-15IBR Display Replacement, Display: passo 1, immagine 1 di 3 Lenovo IdeaPad 110-15IBR Display Replacement, Display: passo 1, immagine 2 di 3 Lenovo IdeaPad 110-15IBR Display Replacement, Display: passo 1, immagine 3 di 3
    • Before you proceed, make sure your computer is turned off and it's not connected to any power source.

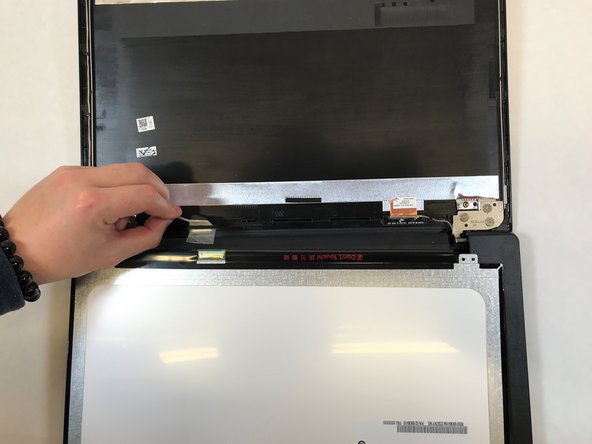
    • Using a plastic opening tool, gently pry the cover off of the display.

    • Lay screen flat down to remove the tabs from each corner.

  2. Lenovo IdeaPad 110-15IBR Display Replacement: passo 2, immagine 1 di 1
    • Using the #1 Phillips head screwdriver unscrew the 4 (9mmx6mm) screws holding the screen in place.

  3. Lenovo IdeaPad 110-15IBR Display Replacement: passo 3, immagine 1 di 2 Lenovo IdeaPad 110-15IBR Display Replacement: passo 3, immagine 2 di 2
    • Carefully lay the screen facing down on the keyboard.

    • Careful not to lift the screen to high up or tug on the screen due to a wire still being connected to the screen and display.

  4. Lenovo IdeaPad 110-15IBR Display Replacement: passo 4, immagine 1 di 2 Lenovo IdeaPad 110-15IBR Display Replacement: passo 4, immagine 2 di 2
    • Remove the tape holding the connected wire to the display.

    • Gently remove the display wire from the connection.

    • Remove the display from the device.

Conclusione

To reassemble your device, follow these instructions in reverse order.

Altre 12 persone hanno completato questa guida.

Team

UW Tacoma, Team S3-G4, Liner Fall 2017 Membro di UW Tacoma, Team S3-G4, Liner Fall 2017

UWT-LINER-F17S3G4

4 Membri

14 Guide realizzate

0 Commenti

Aggiungi Commento

Visualizza Statistiche:

Ultime 24 Ore: 0

Ultimi 7 Giorni: 3

Ultimi 30 Giorni: 16

Tutti i Tempi: 5,096