Introduzione
Disassembly of the laptop is required to remove the power jack.
Cosa ti serve
-
-
Place laptop on a flat surface with the back cover facing up and the hinges facing you.
-
-
-
Remove the three screws securing the outer cover of the laptop using a Phillips #0 screwdriver.
-
-
-
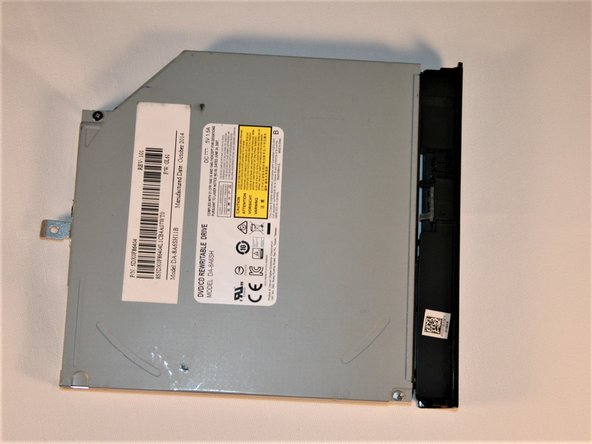
Locate the CD drive.
-
Remove the single #00 Phillips 5.5 mm screw on the centermost side of the drive.
-
-
-
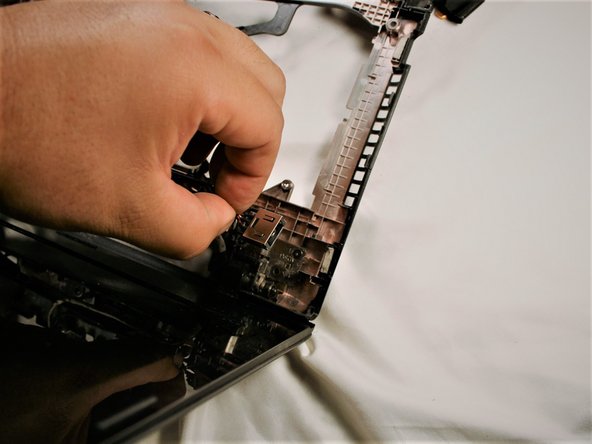
Locate the 3 screws on the bottom, securing the keyboard.
-
One Screw will be located under Lenovo sticker. Break sticker to gain access to screw.
-
-


To reassemble your device, follow these instructions in reverse order.
To reassemble your device, follow these instructions in reverse order.
Annulla: non ho completato questa guida.
Altre 11 persone hanno completato questa guida.
Team

UMass Dartmouth, Team S1-G6, Simcock Fall 2017 Membro di UMass Dartmouth, Team S1-G6, Simcock Fall 2017
UMASSD-SIMCOCK-F17S1G6
4 Membri
10 Guide realizzate
4 Commenti
TY TY fixed myself for 7$
Should the new Power Jack look exactly the same as the manufacturer one? My original Power Jack has prongs but the new one does not and the laptop will not power on.
Does this require soldering as well ?
I would not rate this as a difficult task and I managed to complete the dismantle and reassemble within the 45 Minutes, Overall a pretty good description. The hardest bit was reattaching the wifi wires. I found I did not need tweezers and used a small electrical flat head instead of a spudge. No soldering or other tools. Having bought a new battery and charger (circa $50) the replacement part ($5) and this guide solved the issue. @gifts.fromgod my part was not identical (colour and size of the mid wire join) but fitted more or less and works a charm.