Introduzione
If the trackpad on your Lenovo Flex 6-11IGM (model #: 81A70005US) is not functioning properly, use this guide to help you replace it.
The trackpad allows the user to be able to move the mouse around on the screen and select things on the screen of the laptop. Technically it is a pointing device that translates motion and position of the user’s fingers on it to the screen.
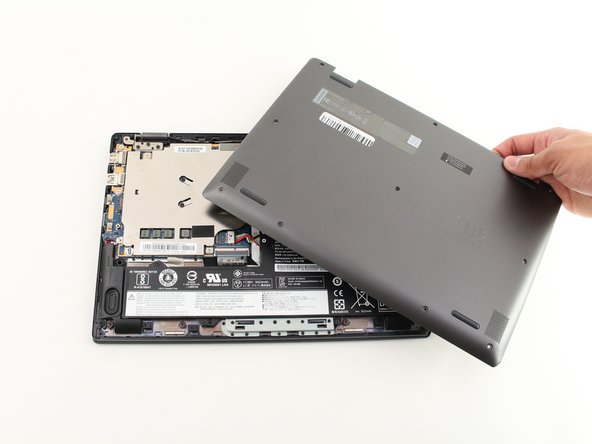
Before beginning make sure you power off the device and make sure the laptop is closed for an easier and safer replacement.
Cosa ti serve
-
-
-
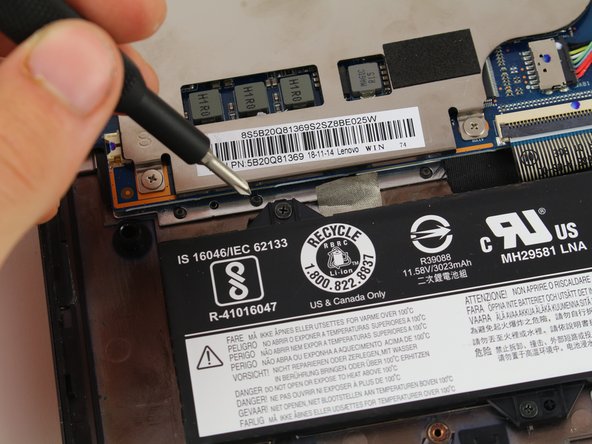
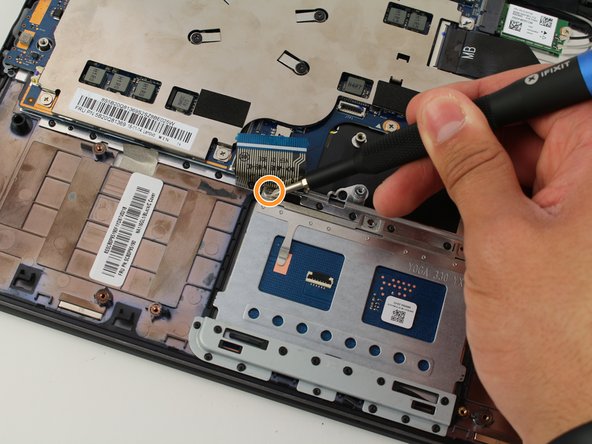
Remove the five 3.9 mm Phillips #00 black screws holding the battery in place.
-
-
-
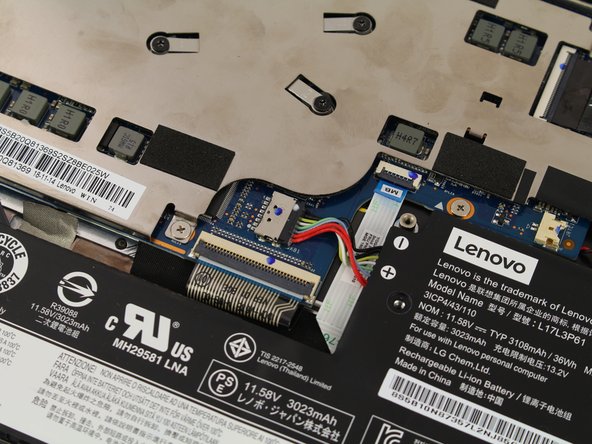
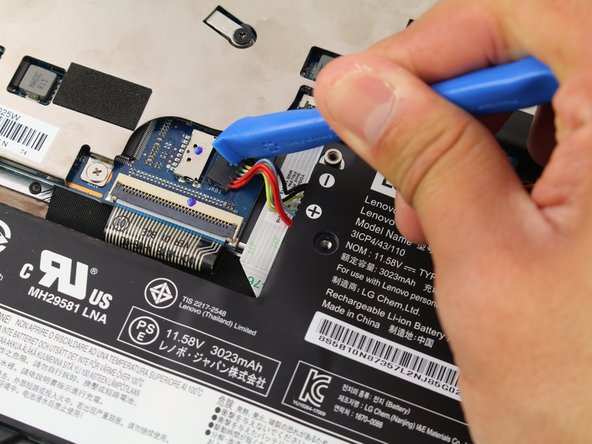
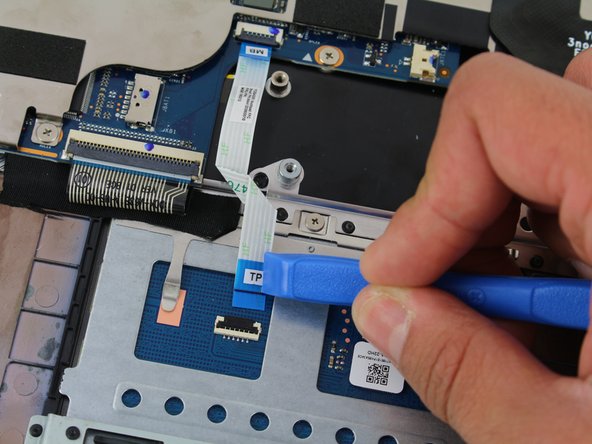
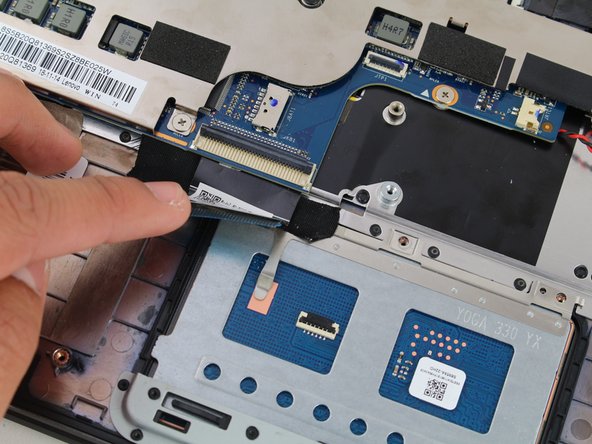
Remove the connecting wire labelled "TP" by lifting the tab with the opening tool.
-


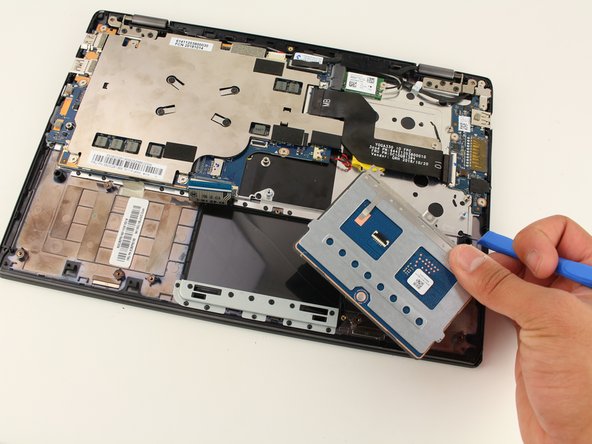
To reassemble your device, follow these instructions in reverse order.
To reassemble your device, follow these instructions in reverse order.
Team

Cal Poly, Team S7-G10, Paton Spring 2020 Membro di Cal Poly, Team S7-G10, Paton Spring 2020
CPSU-PATON-S20S7G10
2 Membri
9 Guide realizzate