Introduzione
If your Lenovo Flex 6-11IGM (model #: 81A70005US) has faulty speakers, use this guide to replace the entire speaker unit.
The speakers in your laptop take in electrical inputs and translate them into vibrations which emulate sounds from your device. The connecting wires which transmit to the speakers can sometimes fail, leading to malformed signals or in worst case scenarios, no signal at all. In this case, you will need to solder new wires to the speaker, or replace the entire part.
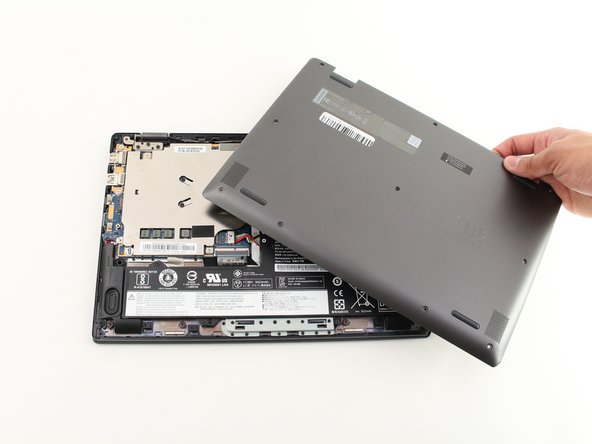
Before beginning, make sure you power off the device and make sure the laptop is closed for an easier and safer replacement.
Cosa ti serve
-
-
-
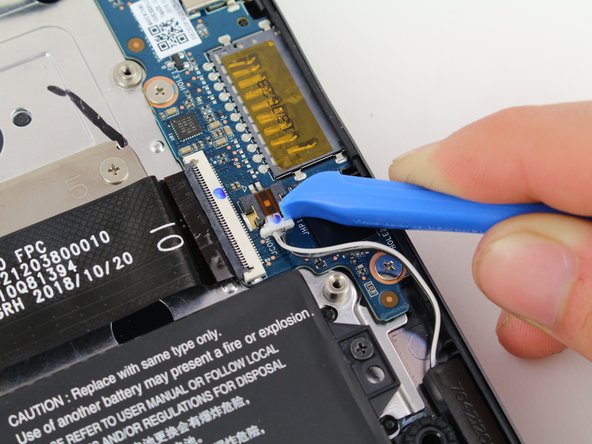
For the right speaker, disconnect the wire using the iFixit opening tool.
-
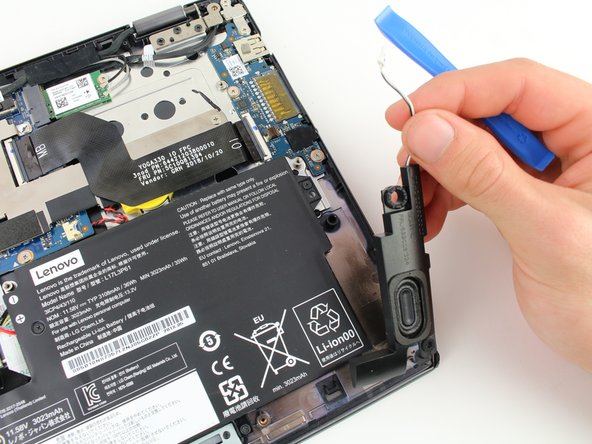
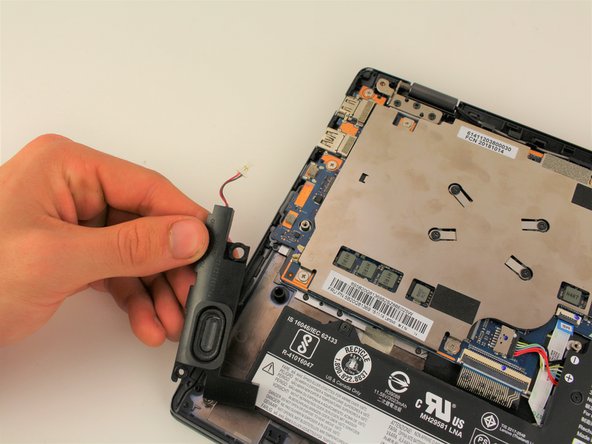
Pull the speaker out.
-


To reassemble your device, follow these instructions in reverse order.
To reassemble your device, follow these instructions in reverse order.

Team

Cal Poly, Team S2-G4, White Winter 2020 Membro di Cal Poly, Team S2-G4, White Winter 2020
CPSU-WHITE-W20S2G4
3 Membri
4 Guide realizzate