Salta al contenuto principale
Unisciti alla Community delle riparazioni - Crea un account

Leather Belt Strap Replacement

Visualizzazioni: 969

Visualizza statistiche:

Ultime 24 ore:
4
Ultimi 7 giorni:
37
Ultimi 30 giorni:
127
Tutti i Tempi:
969
Commenti: 0

Nessuno ha lasciato commenti su questa guida. Sarai il primo?

Vai ai commenti della guida
Completato: 0

Nessuno ha contrassegnato questa guida "completata". Sarai il primo?

Preferiti: 0

Nessuno ha preferito (e si è iscritto) questa guida. Sarai il primo?

Tempo necessario: 15 minuti
Difficoltà: Moderato
Leather Belt Strap Replacement

Introduzione

Vai al passo 1 ↓

In this project proposal, I aim to guide readers through replacing Levi’s leather belt strap. Many people may discard a belt due to a worn or damaged strap, unaware that it can be easily replaced. By offering a step-by-step tutorial, I want to empower readers to save money and extend the life of their belts through simple DIY techniques.

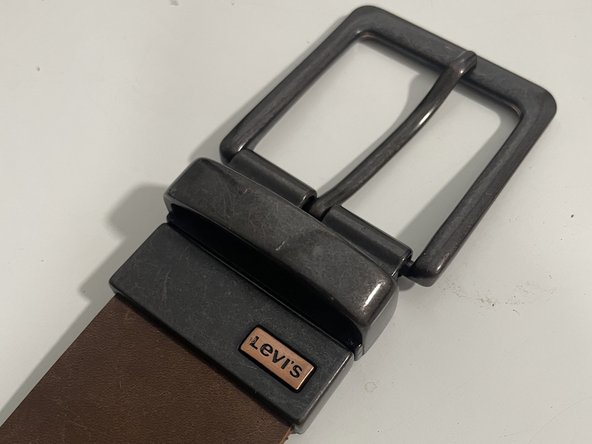
    1. Leather Belt Strap Replacement, Belt Strap: passo 1, immagine 1 di 2 Leather Belt Strap Replacement, Belt Strap: passo 1, immagine 2 di 2
      • Begin by turning the belt buckle around to reveal the screws at the back of the belt.

      Chiedi a FixBot

      Aggiungi Commento

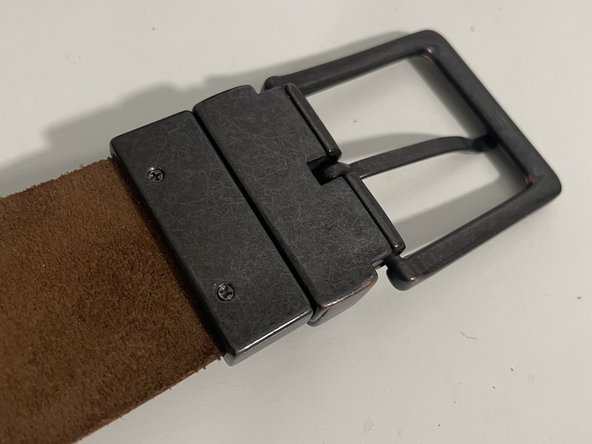
    2. Leather Belt Strap Replacement: passo 2, immagine 1 di 3 Leather Belt Strap Replacement: passo 2, immagine 2 di 3 Leather Belt Strap Replacement: passo 2, immagine 3 di 3
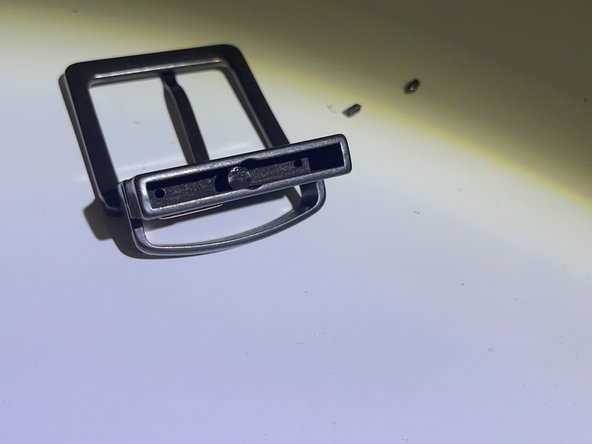
      • Take a small screwdriver and begin unscrewing the two screws on both sides of the belt buckle.

      • The screws are M2.5x5 Cross Slot Tip Screws for leather accessories.

      Chiedi a FixBot

      Aggiungi Commento

    3. Leather Belt Strap Replacement: passo 3, immagine 1 di 3 Leather Belt Strap Replacement: passo 3, immagine 2 di 3 Leather Belt Strap Replacement: passo 3, immagine 3 di 3
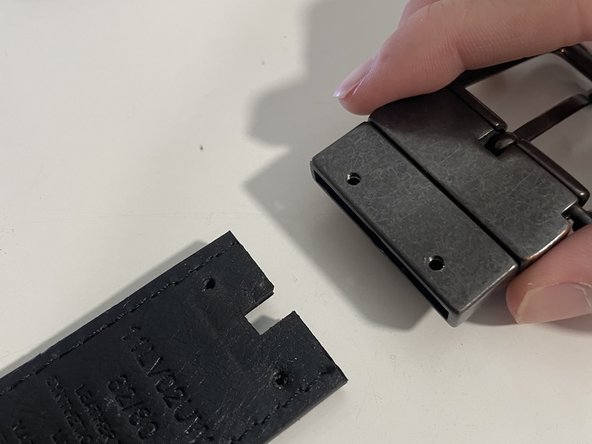
      • Remove the unscrewed belt buckle away from the old leather strap.

      Chiedi a FixBot

      Aggiungi Commento

    4. Leather Belt Strap Replacement: passo 4, immagine 1 di 3 Leather Belt Strap Replacement: passo 4, immagine 2 di 3 Leather Belt Strap Replacement: passo 4, immagine 3 di 3
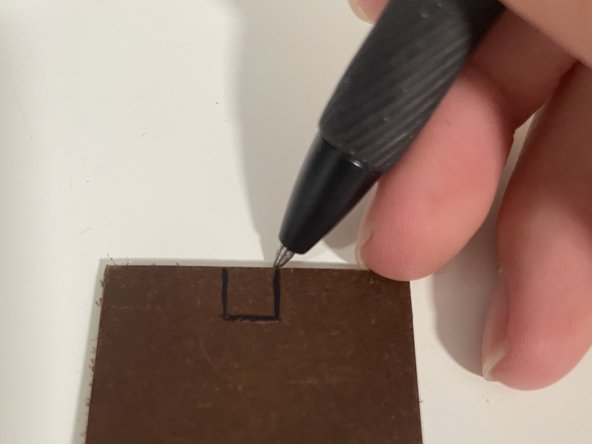
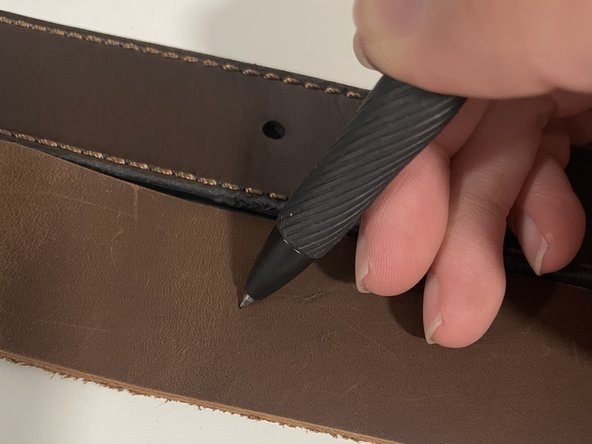
      • Take new leather belt strap and align it with the old leather strap.

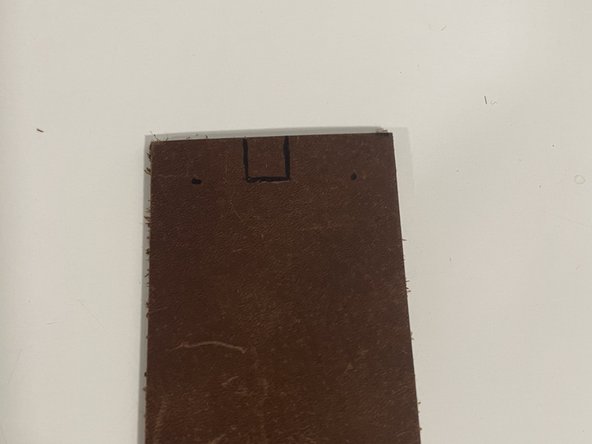
      • Take a pen and approximately mark the areas where the cuts will be made.

      Chiedi a FixBot

      Aggiungi Commento

    5. Leather Belt Strap Replacement: passo 5, immagine 1 di 2 Leather Belt Strap Replacement: passo 5, immagine 2 di 2
      • Take the pen.

      • Draw two circles where the screws will be screwed in.

      Chiedi a FixBot

      Aggiungi Commento

    6. Leather Belt Strap Replacement: passo 6, immagine 1 di 3 Leather Belt Strap Replacement: passo 6, immagine 2 di 3 Leather Belt Strap Replacement: passo 6, immagine 3 di 3
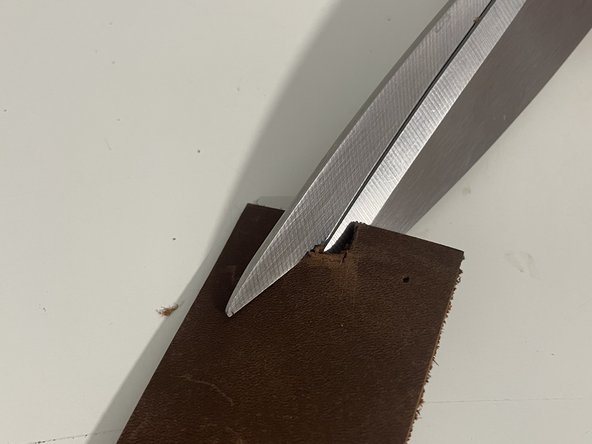
      • Take the new leather belt strap with markings made.

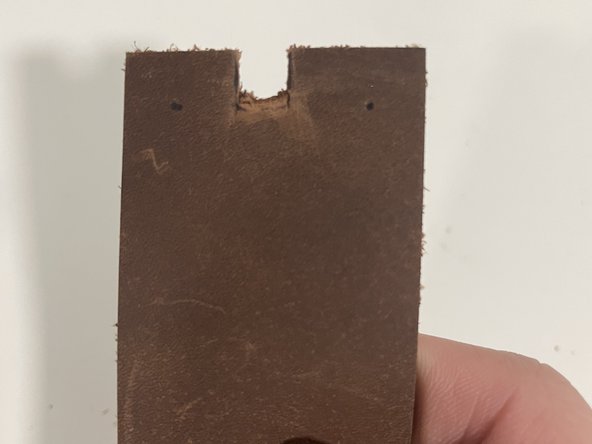
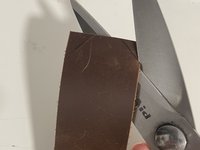
      • Use a scissor to cut out the square mark on the new leather belt strap.

      Chiedi a FixBot

      Aggiungi Commento

    7. Leather Belt Strap Replacement: passo 7, immagine 1 di 3 Leather Belt Strap Replacement: passo 7, immagine 2 di 3 Leather Belt Strap Replacement: passo 7, immagine 3 di 3
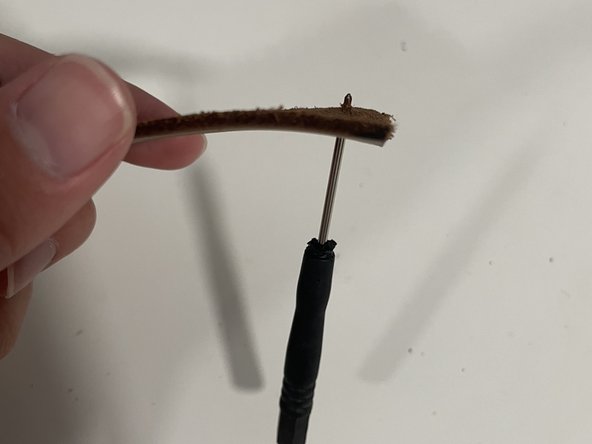
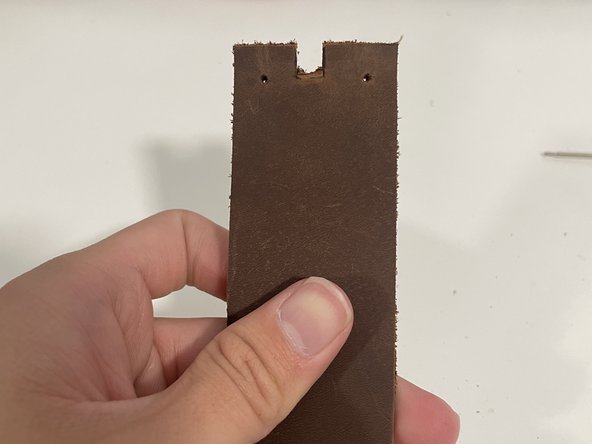
      • Take a small screwdriver and puncture the two small circles on the new leather belt strap.

      • Make sure that the holes are punctured through.

      • If the screwdriver is not sharp enough to puncture the hole, you may use a small sharp object such as a hand held needle.

      Chiedi a FixBot

      Aggiungi Commento

    8. Leather Belt Strap Replacement: passo 8, immagine 1 di 3 Leather Belt Strap Replacement: passo 8, immagine 2 di 3 Leather Belt Strap Replacement: passo 8, immagine 3 di 3
      • Now, take the front side of the belt buckle and insert it into the front side of the new leather belt strap.

      • If the belt buckle does not fit in, make the markings bigger by cutting away excess leather.

      Chiedi a FixBot

      Aggiungi Commento

    9. Leather Belt Strap Replacement: passo 9, immagine 1 di 3 Leather Belt Strap Replacement: passo 9, immagine 2 di 3 Leather Belt Strap Replacement: passo 9, immagine 3 di 3
      • Turn the belt buckle to the back.

      • Take the small screwdriver and the screws.

      • Begin screwing back the screws onto the belt buckle.

      • Make sure the screws are tightly screwed in.

      • The screws are M2.5x5 Cross Slot Tip Screws for leather accessories.

      Chiedi a FixBot

      Aggiungi Commento

    10. Leather Belt Strap Replacement: passo 10, immagine 1 di 3 Leather Belt Strap Replacement: passo 10, immagine 2 di 3 Leather Belt Strap Replacement: passo 10, immagine 3 di 3
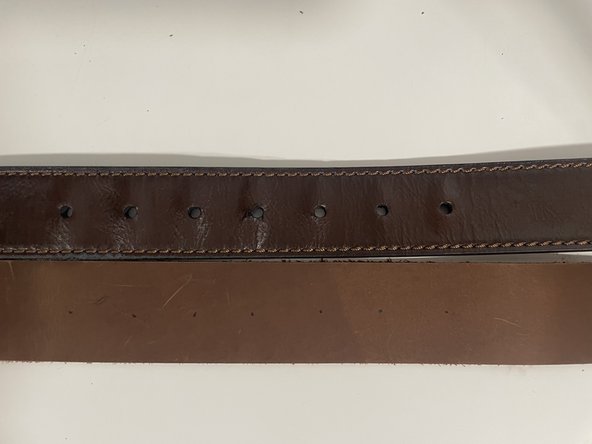
      • Now take the old and new leather belt strap

      • Align both leather belt straps side by side. (The old leather belt strap will be used as a reference)

      • Use a pen to draw circles that are an equal distance apart.

      • Start by drawing the same number of circles that are on the old belt strap.

      Chiedi a FixBot

      Aggiungi Commento

    11. Leather Belt Strap Replacement: passo 11, immagine 1 di 3 Leather Belt Strap Replacement: passo 11, immagine 2 di 3 Leather Belt Strap Replacement: passo 11, immagine 3 di 3
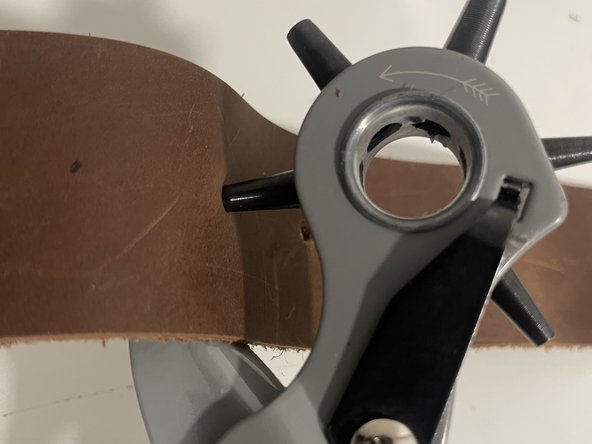
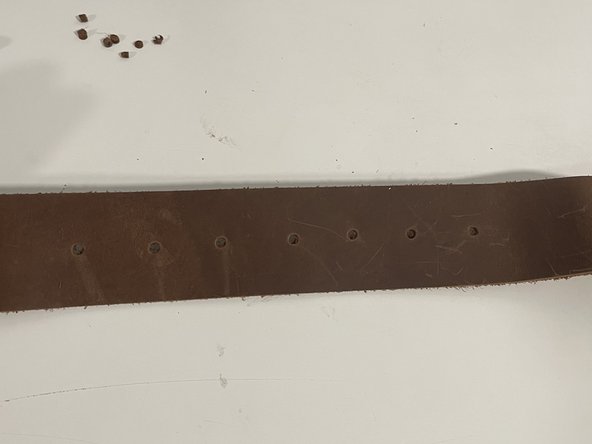
      • Take the revolving leather puncher.

      • Rotate the setting clockwise to the third or fourth-largest setting. (This will ensure that the buckle's prong will fit through the holes)

      • Now insert the leather puncher and align it with the circle.

      • To punch a hole through the leather, squeeze the handle thoroughly until the leather punch clicks.

      Chiedi a FixBot

      Aggiungi Commento

    12. Leather Belt Strap Replacement: passo 12, immagine 1 di 3 Leather Belt Strap Replacement: passo 12, immagine 2 di 3 Leather Belt Strap Replacement: passo 12, immagine 3 di 3
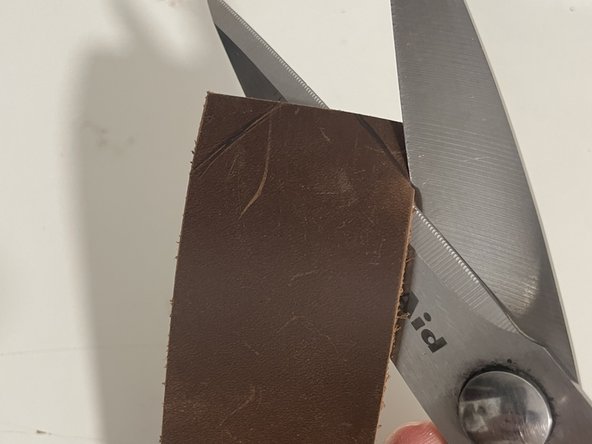
      • THIS STEP IS OPTIONAL

      • Use the pen to draw detail marking to the end of the new leather belt strap.

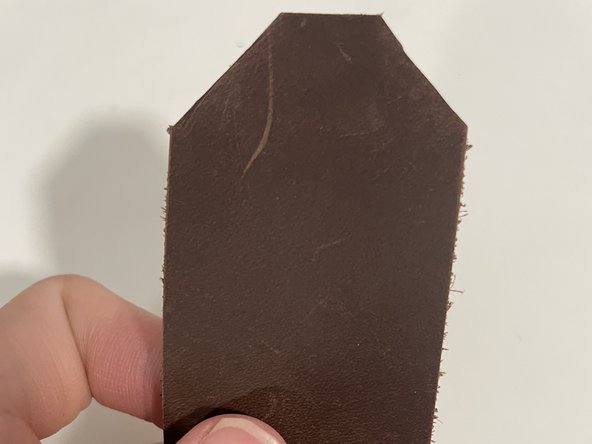
      • Take the kitchen scissors and cut the leather belt according to the detail.

      Chiedi a FixBot

      Aggiungi Commento

    13. Leather Belt Strap Replacement: passo 13, immagine 1 di 1
      • FINISH PRODUCT

      • If the new belt is too loose, consider adding additional holes to the belt.

      Chiedi a FixBot

      Aggiungi Commento

Conclusione

To reassemble your device, follow these instructions in reverse order.
Annulla: non ho completato questa guida.

Dat Lam

Membro da: 03/25/24

217 Reputazione

Una guida realizzata

Team

0Commenti sulla guida

Aggiungi Commento

Visualizza statistiche:

Ultime 24 ore: 4

Ultimi 7 giorni: 37

Ultimi 30 giorni: 127

Tutti i Tempi: 969