Introduzione
Please refer to the Lasko CD08200 Troubleshooting guide before beginning to make sure this prerequisite guide applies to you.
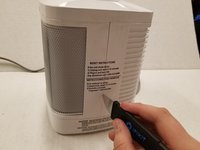
Please disconnect the device and let it sit for 10 minutes so any fuses can drain before beginning this guide.
Cosa ti serve
-
-
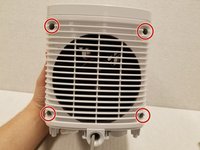
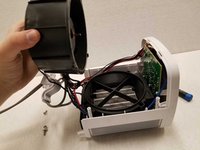
Turn over the device and place it on its head.
-
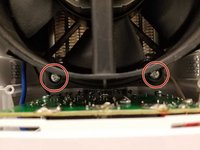
Remove the four 14mm screws holding the bottom using a TR15 screwdriver.
-
-


To reassemble your device, follow these instructions in reverse order.
Annulla: non ho completato questa guida.
Un'altra persona ha completato questa guida.

Team

York University, Team S1-G1, Woodhouse Winter 2020 Membro di York University, Team S1-G1, Woodhouse Winter 2020
YORK-WOODHOUSE-W20S1G1
3 Membri
9 Guide realizzate
1Commento della guida
Very helpful - thanks!
After two years of service my CD08200 started shutting down after 10 minutes on high. It is well built so I figured I would take it apart and try to fix. Why the designer used both Phillips and Torx security fasteners is a mystery but iFixit told me how to disassemble. Blowing out the heating element released a 1/4” thick mat of burnt dust - yikes! Go that and the motor vacuumed out and all seems to be working.