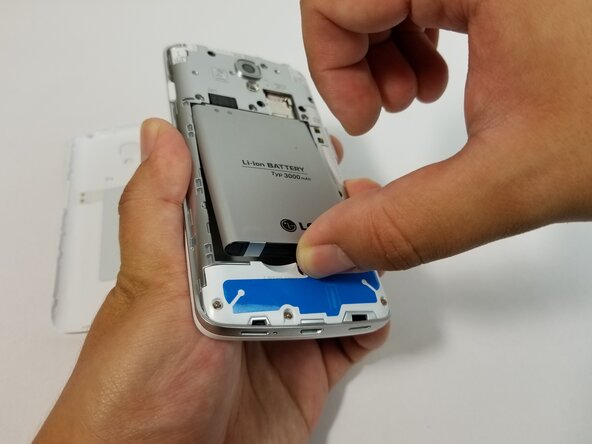
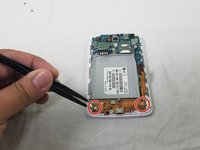
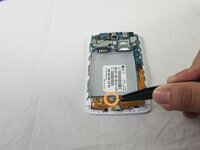
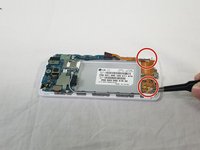
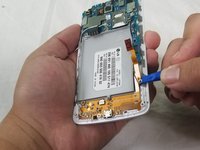
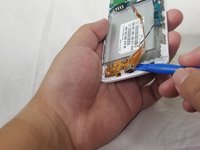
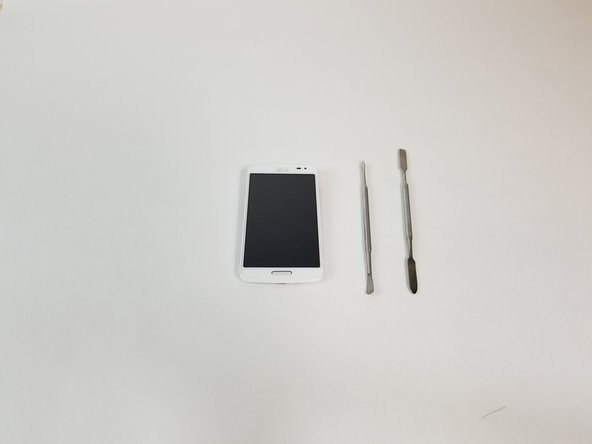
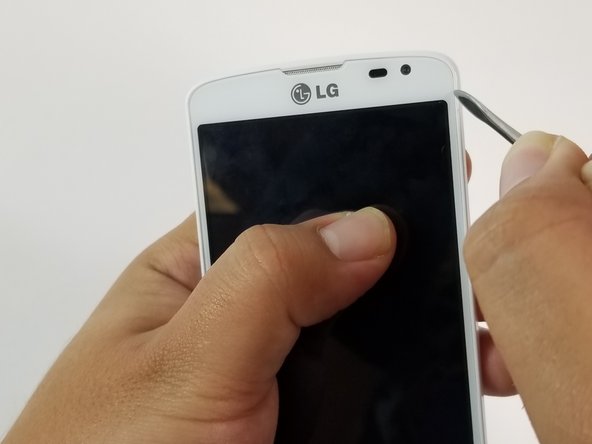
Salta al contenuto principale

LG Volt Screen Replacement

Cosa ti serve

  1. LG Volt Screen Replacement, Screen: passo 1, immagine 1 di 3 LG Volt Screen Replacement, Screen: passo 1, immagine 2 di 3 LG Volt Screen Replacement, Screen: passo 1, immagine 3 di 3
    • Pry back cover with finger in the crease.

    • Remove back casing.

  2. LG Volt Screen Replacement: passo 2, immagine 1 di 3 LG Volt Screen Replacement: passo 2, immagine 2 di 3 LG Volt Screen Replacement: passo 2, immagine 3 di 3
    • With your finger, pry the battery out through the crease made for removal.

  3. LG Volt Screen Replacement: passo 3, immagine 1 di 3 LG Volt Screen Replacement: passo 3, immagine 2 di 3 LG Volt Screen Replacement: passo 3, immagine 3 di 3
    • Remove all 11 (4mm) screws with the JIS #000 screwdriver.

    • There are three screws on top, three above the battery, one next to the battery, one under the battery and three at the bottom of the phone.

  4. LG Volt Screen Replacement: passo 4, immagine 1 di 3 LG Volt Screen Replacement: passo 4, immagine 2 di 3 LG Volt Screen Replacement: passo 4, immagine 3 di 3
    • Use the plastic opening tool to remove the back housing from the frame of the phone.

  5. LG Volt Screen Replacement: passo 5, immagine 1 di 2 LG Volt Screen Replacement: passo 5, immagine 2 di 2
    • Carefully lift all the indicated tabs.

    • Carefully unplug the marked cables.

  6. LG Volt Screen Replacement: passo 6, immagine 1 di 2 LG Volt Screen Replacement: passo 6, immagine 2 di 2
    • Remove motherboard carefully.

  7. LG Volt Screen Replacement: passo 7, immagine 1 di 1
    • Using the precision tweezers set lift the copper tab located on the right side of the device.

  8. LG Volt Screen Replacement: passo 8, immagine 1 di 2 LG Volt Screen Replacement: passo 8, immagine 2 di 2
    • Using a JIS #000 screwdriver, remove the 1 (4mm) screw on right side under copper tab.

    • Using a JIS #000 screwdriver, remove the 1 (4mm) screw on bottom left under battery tray.

  9. LG Volt Screen Replacement: passo 9, immagine 1 di 3 LG Volt Screen Replacement: passo 9, immagine 2 di 3 LG Volt Screen Replacement: passo 9, immagine 3 di 3
    • Disconnect the white and black cables as indicated using the precision tweezers set.

    • Lift indicated flap as shown.

  10. LG Volt Screen Replacement: passo 10, immagine 1 di 3 LG Volt Screen Replacement: passo 10, immagine 2 di 3 LG Volt Screen Replacement: passo 10, immagine 3 di 3
    • Use the plastic opening tool to carefully lift the charger assembly from the phone.

    • Start from the copper tab and continue in a clockwise direction.

    • Once it is loose remove the assembly from the phone.

  11. LG Volt Screen Replacement: passo 11, immagine 1 di 1
    • Heat up iOpener for 30 seconds in the microwave.

  12. LG Volt Screen Replacement: passo 12, immagine 1 di 2 LG Volt Screen Replacement: passo 12, immagine 2 di 2
    • Place iOpener on right side of the screen with the phone facing up for 90 seconds.

    • If necessary, heat up the iOpener for an additional 30 seconds in the microwave.

    • Place iOpener on left side of the screen with the phone facing up for 90 seconds.

  13. LG Volt Screen Replacement: passo 13, immagine 1 di 3 LG Volt Screen Replacement: passo 13, immagine 2 di 3 LG Volt Screen Replacement: passo 13, immagine 3 di 3
    • Once the phone is hot, use the small, pointy tipped metal spudger to remove the adhesive.

    • Once removed, use the large, flat tipped metal spudger to pry the screen off carefully.

Conclusione

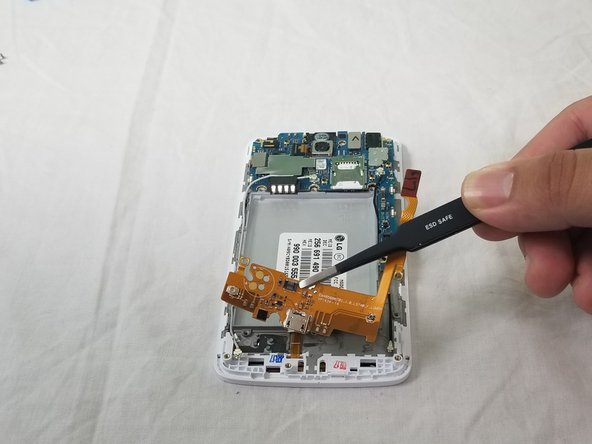
To reassemble your device, follow these instructions in reverse order.

Un'altra persona ha completato questa guida.

Adrian Soldan

Membro da: 09/25/17

464 Reputazione

4 Guide realizzate

Team

USF Tampa, Team S3-G3, Cannon Fall 2017 Membro di USF Tampa, Team S3-G3, Cannon Fall 2017

USFT-CANNON-F17S3G3

3 Membri

8 Guide realizzate

0 Commenti

Aggiungi Commento

Visualizza Statistiche:

Ultime 24 Ore: 0

Ultimi 7 Giorni: 0

Ultimi 30 Giorni: 5

Tutti i Tempi: 910