Salta al contenuto principale

LG VX8700 Ear Piece Replacement

Cosa ti serve

  1. LG VX8700 Ear Piece Replacement, Battery: passo 1, immagine 1 di 2 LG VX8700 Ear Piece Replacement, Battery: passo 1, immagine 2 di 2
    • Power the phone off.

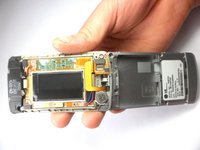
    • Slide the back cover off using the release latch with your fingers to expose the battery.

  2. LG VX8700 Ear Piece Replacement: passo 2, immagine 1 di 2 LG VX8700 Ear Piece Replacement: passo 2, immagine 2 di 2
    • Lift one side of the battery using a plastic opening tool or your fingers.

    • Carefully remove the battery and set it aside.

    • When installing the new battery, align the metal pins with those of the phone.

  3. LG VX8700 Ear Piece Replacement, Front Bezel: passo 3, immagine 1 di 1
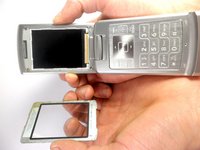
    • Turn your phone around and open the flip phone. The screen is now facing you.

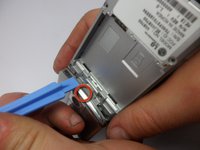
    • Locate the two grey rubber plugs on the bottom corners of the screen. These plugs cover up two screws.

    • Remove the two grey screw-covers.

  4. LG VX8700 Ear Piece Replacement: passo 4, immagine 1 di 2 LG VX8700 Ear Piece Replacement: passo 4, immagine 2 di 2
    • Use the ejection tab at the top to remove the screen.

    • There is a gap between the case and the screen near the ear piece.

    • Insert the plastic opening tool in the gap and pry up the screen.

    • The plastic screen cover is glued onto the phone. It may be difficult to pry off.

  5. LG VX8700 Ear Piece Replacement: passo 5, immagine 1 di 1
    • Unscrew the four corners of the screen using 3.21mm screws to separate the top cover of the phone.

  6. LG VX8700 Ear Piece Replacement: passo 6, immagine 1 di 2 LG VX8700 Ear Piece Replacement: passo 6, immagine 2 di 2
    • Turn your phone around. The battery side will be facing you.

    • Insert the plastic opening tool into the groove to remove the top cover of the phone.

    • Carefully open the cover.

  7. LG VX8700 Ear Piece Replacement, Ear Piece: passo 7, immagine 1 di 1
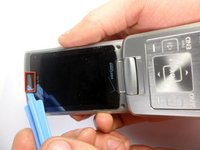
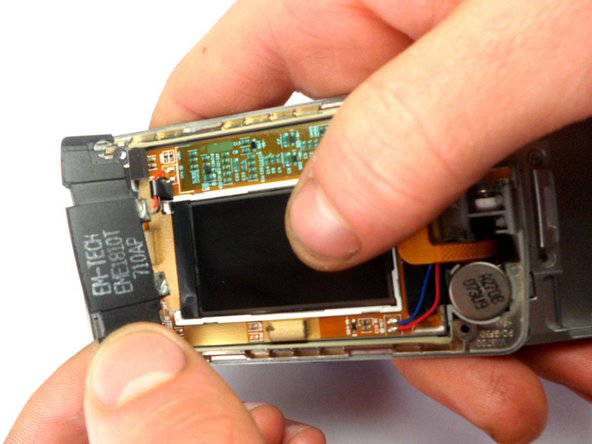
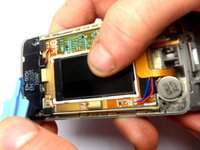
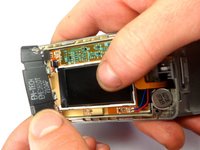
    • Locate the earpiece, which is the black component at the top with black and red wires.

    • Remove the component. Using a soldering iron, desolder the top ear piece.

  8. LG VX8700 Ear Piece Replacement: passo 8, immagine 1 di 2 LG VX8700 Ear Piece Replacement: passo 8, immagine 2 di 2
    • Using the plastic opening tool, lift the earpiece to remove it from the phone.

Conclusione

To reassemble your device, follow these instructions in reverse order.

Team

Cal Poly, Team 8-16, Maness Winter 2012 Membro di Cal Poly, Team 8-16, Maness Winter 2012

CPSU-MANESS-W12S8G16

4 Membri

14 Guide realizzate

0Commenti sulla guida

Aggiungi Commento

Visualizza Statistiche:

Ultime 24 Ore: 0

Ultimi 7 Giorni: 1

Ultimi 30 Giorni: 5

Tutti i Tempi: 1,107