Salta al contenuto principale
Unisciti alla Community delle riparazioni - Crea un account
LG VX5200 Screen Replacement

LG VX5200 Screen Replacement

jmarcum

jmarcum e 6 altri collaboratori

Ultimo aggiornamento il 3 feb 2018

10 minuti
Moderato

Introduzione

Vai al passo 1

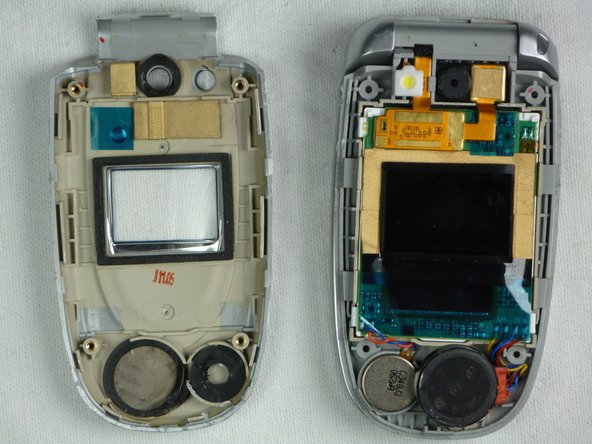
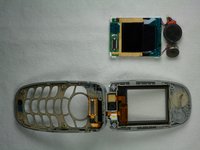
This section covers how to disassemble the upper casing of the LG VX5200 to access the phone's screen.

Cosa ti serve

Strumenti

Mostra di più…

  1. LG VX5200 Screen Replacement, Screen: passo 1, immagine 1 di 3 LG VX5200 Screen Replacement, Screen: passo 1, immagine 2 di 3 LG VX5200 Screen Replacement, Screen: passo 1, immagine 3 di 3
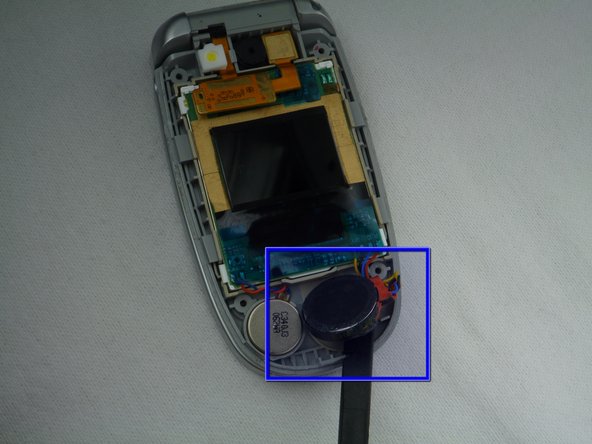
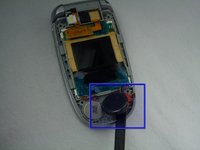
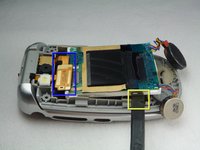
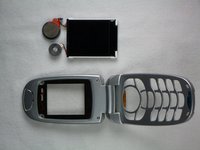
    • Pry the grey pieces of plastic off the corners of the screen with a spudger.

  2. LG VX5200 Screen Replacement: passo 2, immagine 1 di 2 LG VX5200 Screen Replacement: passo 2, immagine 2 di 2
    • Unscrew each of the four screws with a Phillips #00 Screwdriver.

    • These screws are the same size as the ones from the back casing, but are not the same size as the screw from the antenna.

    • These screws are the same size as the ones from the back casing, but are not the same size as the screw from the antenna.

  3. LG VX5200 Screen Replacement: passo 3, immagine 1 di 2 LG VX5200 Screen Replacement: passo 3, immagine 2 di 2
    • Close the phone after removing the screws.

    • Slide a spudger into the cracks in the top half of the phone's casing.

    • Wedge and lever the spudger to remove the casing.

    • Apply constant pressure to avoid cracking the plastic casing. This step can take a few minutes.

  4. LG VX5200 Screen Replacement: passo 4, immagine 1 di 3 LG VX5200 Screen Replacement: passo 4, immagine 2 di 3 LG VX5200 Screen Replacement: passo 4, immagine 3 di 3
    • Remove the chipboard from the screen by sliding a plastic spudger under the screen and lifting.

    • Use a plastic spudger to avoid short-circuiting the phone's electronics.

    • Gently lift the speaker out of the plastic casing using a plastic spudger.

    • Remove the small battery adjacent to the speaker with a plastic spudger.

  5. LG VX5200 Screen Replacement: passo 5, immagine 1 di 3 LG VX5200 Screen Replacement: passo 5, immagine 2 di 3 LG VX5200 Screen Replacement: passo 5, immagine 3 di 3
    • Slide and lever a plastic spudger between the screen and it's housing.

    • Avoid tearing the wires connecting the screen, the small battery and the speaker.

    • Remove the chip connecting the screen to the camera using your fingers.

Conclusione

To reassemble your device, follow these instructions in reverse order.

jmarcum

Membro da: 10/28/09

16 Reputazione

1 Guida realizzata

Team

Cal Poly, Team 9-18, Regan Fall 2009 Membro di Cal Poly, Team 9-18, Regan Fall 2009

CPSU-REGAN-F09S9G18

5 Membri

2 Guide realizzate

1Commento della guida

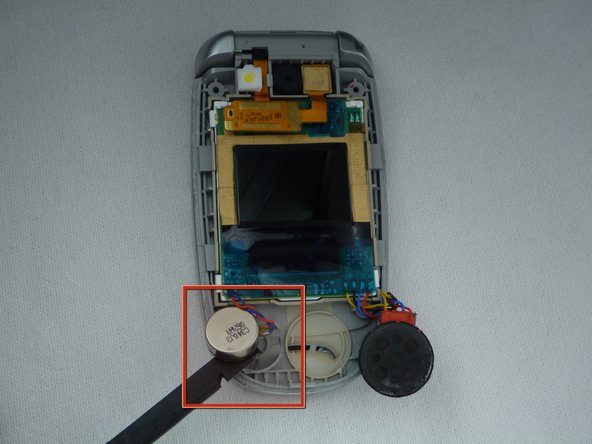
The “battery” beside the speaker isn’t the battery, it’s the phone vibrator. Still a good guide, however

Kaleb White - Replica

Aggiungi Commento

Visualizza Statistiche:

Ultime 24 Ore: 0

Ultimi 7 Giorni: 3

Ultimi 30 Giorni: 10

Tutti i Tempi: 3,475