Salta al contenuto principale

LG VX5200 Keypad Replacement

Cosa ti serve

  1. LG VX5200 Keypad Replacement, Battery: passo 1, immagine 1 di 2 LG VX5200 Keypad Replacement, Battery: passo 1, immagine 2 di 2
    • Turn the phone on its back.

  2. LG VX5200 Keypad Replacement: passo 2, immagine 1 di 2 LG VX5200 Keypad Replacement: passo 2, immagine 2 di 2
    • Orient the phone as shown.

    • Remove the battery cover by pushing upward with your thumb.

  3. LG VX5200 Keypad Replacement: passo 3, immagine 1 di 2 LG VX5200 Keypad Replacement: passo 3, immagine 2 di 2
    • Place your fingernail at the top of the battery and pry the battery out towards you.

  4. LG VX5200 Keypad Replacement, LG VX5200 Rear Body Panel Disassembly: passo 4, immagine 1 di 1
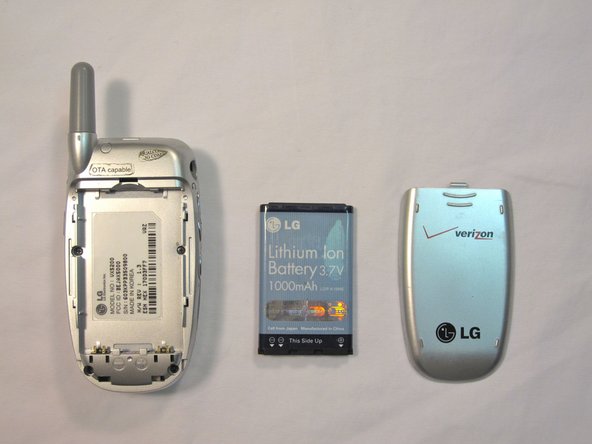
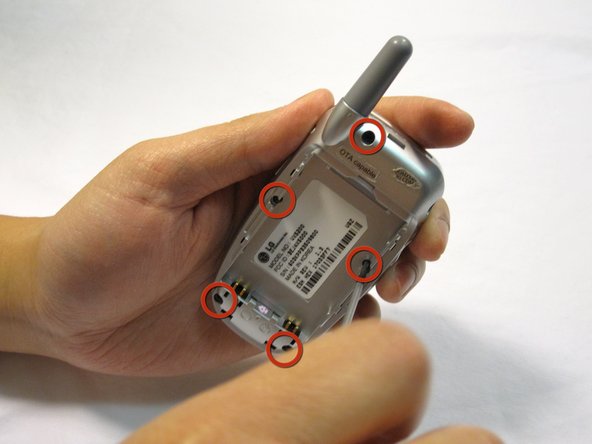
    • Orient the phone as shown with the battery already removed.

  5. LG VX5200 Keypad Replacement: passo 5, immagine 1 di 3 LG VX5200 Keypad Replacement: passo 5, immagine 2 di 3 LG VX5200 Keypad Replacement: passo 5, immagine 3 di 3
    • Remove the 2 plastic plugs located on the side and upper quadrant of the rear body panel by using the push-pin and lifting outwards.

    • Use a Phillips #00 screwdriver to remove the 5 screws as shown here.

  6. LG VX5200 Keypad Replacement: passo 6, immagine 1 di 3 LG VX5200 Keypad Replacement: passo 6, immagine 2 di 3 LG VX5200 Keypad Replacement: passo 6, immagine 3 di 3
    • Place an iPod opener tool in the seam above the antenna.

    • Run the tool around the perimeter of the entire phone.

  7. LG VX5200 Keypad Replacement: passo 7, immagine 1 di 1
    • Check to see that your device looks like the attached photo.

  8. LG VX5200 Keypad Replacement, main board: passo 8, immagine 1 di 3 LG VX5200 Keypad Replacement, main board: passo 8, immagine 2 di 3 LG VX5200 Keypad Replacement, main board: passo 8, immagine 3 di 3
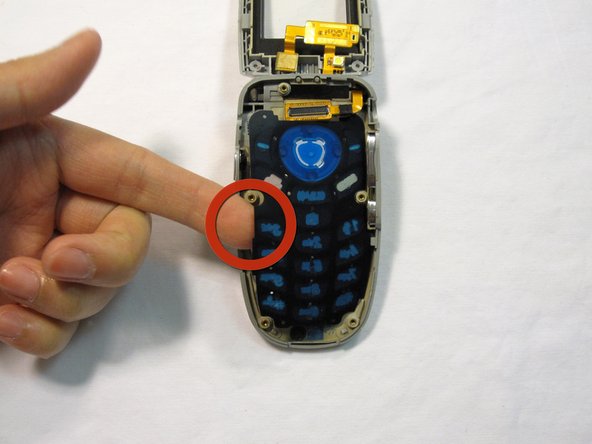
    • Locate the tabs that hold the logic board in place.

    • Pull the outer frame of the phone outwards to release the board from the tabs.

  9. LG VX5200 Keypad Replacement: passo 9, immagine 1 di 3 LG VX5200 Keypad Replacement: passo 9, immagine 2 di 3 LG VX5200 Keypad Replacement: passo 9, immagine 3 di 3
    • Locate the copper connection (orange-colored) on the back of the board.

    • Pry the connector free from the board with your fingernail.

  10. LG VX5200 Keypad Replacement: passo 10, immagine 1 di 1
    • Check to see that your device looks like the image shown.

    • Note: The image is shown with the LCD screen removed. This is not necessary for logic board removal.

  11. LG VX5200 Keypad Replacement, Keypad: passo 11, immagine 1 di 3 LG VX5200 Keypad Replacement, Keypad: passo 11, immagine 2 di 3 LG VX5200 Keypad Replacement, Keypad: passo 11, immagine 3 di 3
    • Use your finger to lift up the keypad.

  12. LG VX5200 Keypad Replacement: passo 12, immagine 1 di 1
    • Check to see that your device looks like the image shown.

    • Do not let the buttons fall out of the side casing of the phone!

    • Note: The image is shown with the LCD screen removed. This is not necessary for keypad repair.

Conclusione

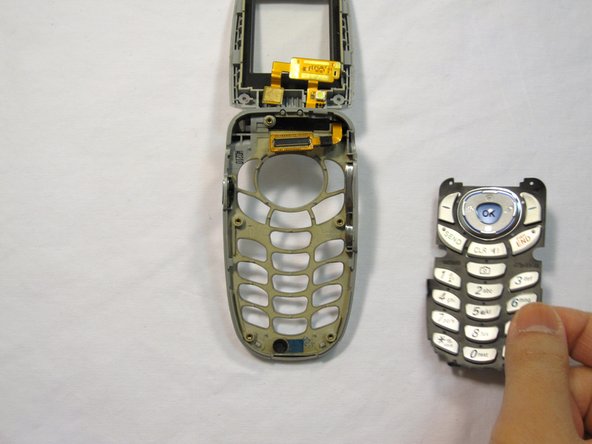
To reassemble your device, follow these instructions in reverse order.

Un'altra persona ha completato questa guida.

Team

Cal Poly, Team 4-13, Forte Winter 2010 Membro di Cal Poly, Team 4-13, Forte Winter 2010

CPSU-FORTE-W10S4G13

5 Membri

15 Guide realizzate

0 Commenti

Aggiungi Commento

Visualizza Statistiche:

Ultime 24 Ore: 0

Ultimi 7 Giorni: 0

Ultimi 30 Giorni: 5

Tutti i Tempi: 1,869