Questa guida ha delle modifiche più recenti. Passa all'ultima versione non verificata.
Introduzione
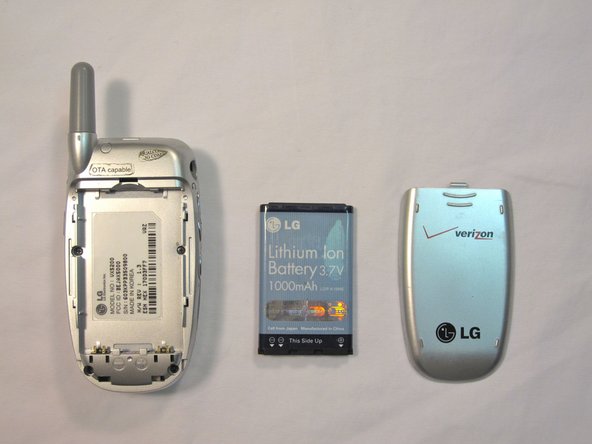
A guide to replace the antenna.
Cosa ti serve
-
-
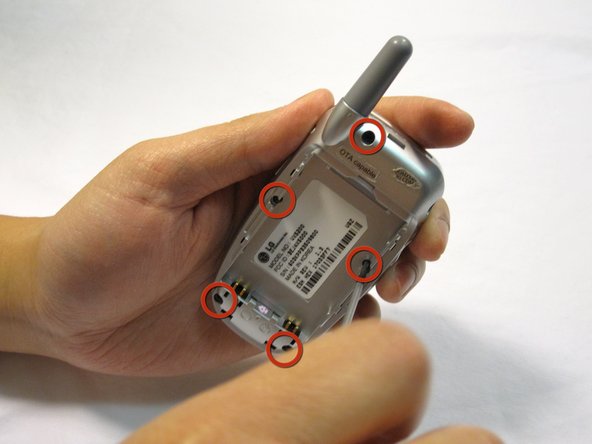
Orient the phone as shown with the battery already removed.
-
-
-
-
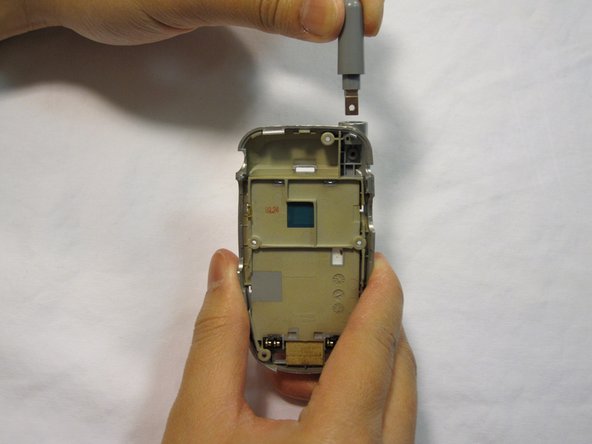
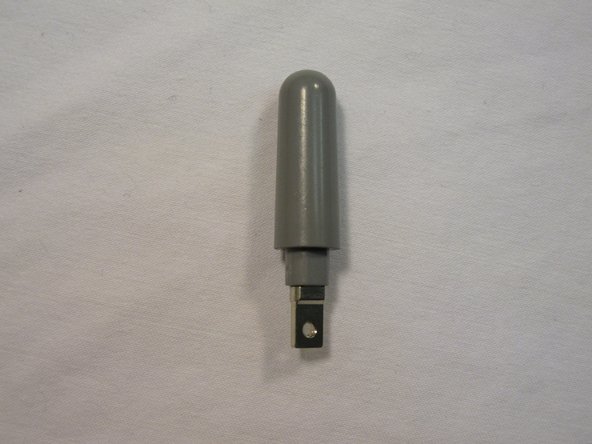
Locate the screw and copper fixture that hold the antenna in place.
-
Remove the screw from the device using a Philips #00 screwdriver.
-


Quasi finito!
To reassemble your device, follow these instructions in reverse order.
Conclusione
To reassemble your device, follow these instructions in reverse order.

Team

Cal Poly, Team 4-13, Forte Winter 2010 Membro di Cal Poly, Team 4-13, Forte Winter 2010
CPSU-FORTE-W10S4G13
5 Membri
15 Guide realizzate