Questa guida ha delle modifiche più recenti. Passa all'ultima versione non verificata.
Introduzione
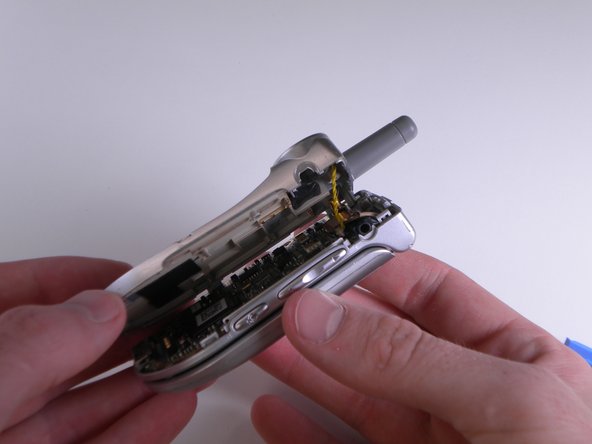
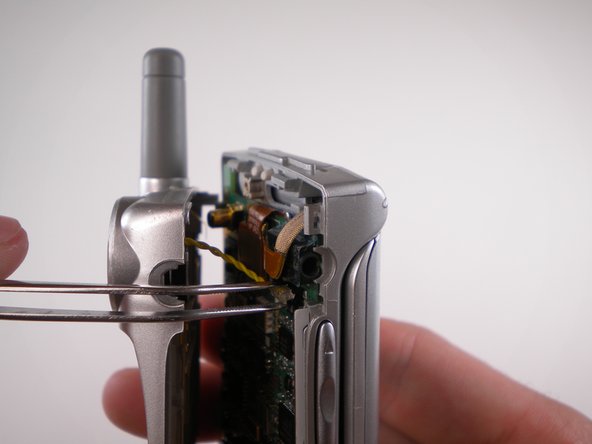
Shows how to remove the rear case to access all of the internals of the phone.
Cosa ti serve
-
-
Turn the closed phone so that the back panel is facing you.
-
Press down and forward firmly on the gray tab in the middle of the phone.
-
-


Quasi finito!
To reassemble your device, follow these instructions in reverse order.
Conclusione
To reassemble your device, follow these instructions in reverse order.
Team

Cal Poly, Team 25-88, Amido Spring 2010 Membro di Cal Poly, Team 25-88, Amido Spring 2010
CPSU-AMIDO-S10S25G88
4 Membri
18 Guide realizzate