Salta al contenuto principale

LG VX4400 Screen Replacement

Cosa ti serve

  1. LG VX4400 Screen Replacement, Screen: passo 1, immagine 1 di 2 LG VX4400 Screen Replacement, Screen: passo 1, immagine 2 di 2
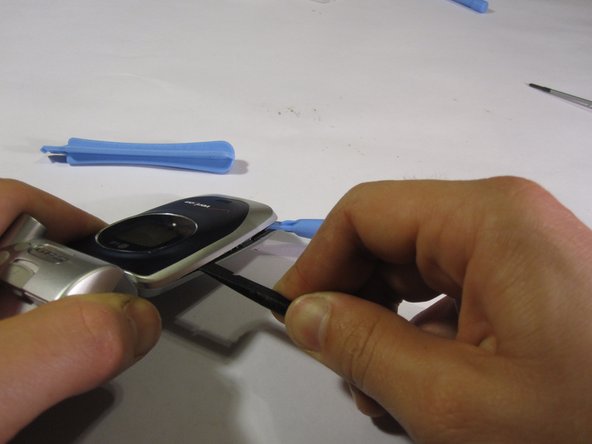
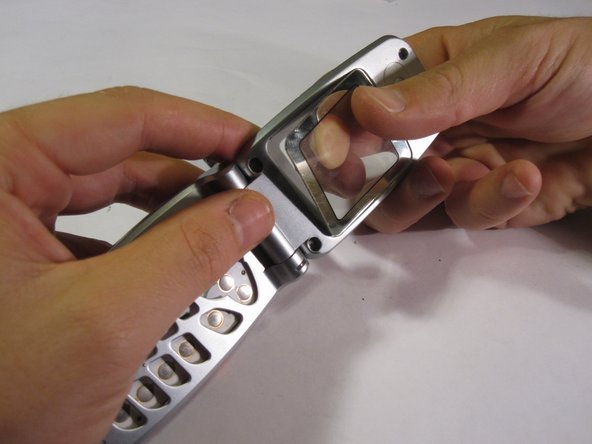
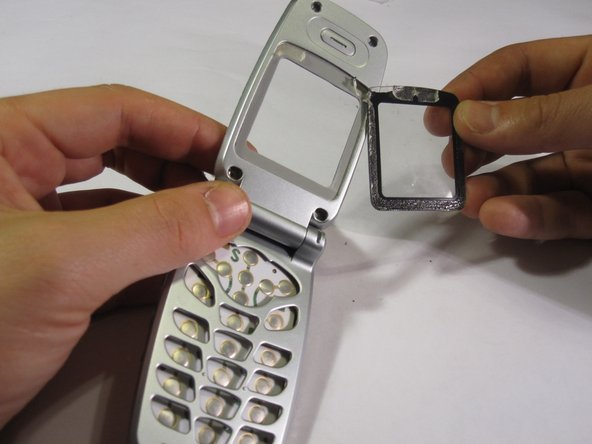
    • Remove the four rubber stoppers around the main screen using the pointed end of the spudger.

  2. LG VX4400 Screen Replacement: passo 2, immagine 1 di 1
    • Use the Phillips #00 screwdriver to remove the four screws that were under the rubber stoppers.

  3. LG VX4400 Screen Replacement: passo 3, immagine 1 di 3 LG VX4400 Screen Replacement: passo 3, immagine 2 di 3 LG VX4400 Screen Replacement: passo 3, immagine 3 di 3
    • Use a plastic opening tool to pry the top end of the phone open.

    • Use a second plastic opening tool to slide down the gap and pry open the case while prying the top panel with the first plastic opening tool.

    • Use the same method on the opposite side of the phone.

  4. LG VX4400 Screen Replacement: passo 4, immagine 1 di 2 LG VX4400 Screen Replacement: passo 4, immagine 2 di 2
    • Remove plastic screen panel to reveal the internal components.

  5. LG VX4400 Screen Replacement: passo 5, immagine 1 di 3 LG VX4400 Screen Replacement: passo 5, immagine 2 di 3 LG VX4400 Screen Replacement: passo 5, immagine 3 di 3
    • Remove the screen board by lifting it away from the phone.

    • Remove the speaker by prying with the spudger.

  6. LG VX4400 Screen Replacement: passo 6, immagine 1 di 3 LG VX4400 Screen Replacement: passo 6, immagine 2 di 3 LG VX4400 Screen Replacement: passo 6, immagine 3 di 3
    • Press out the plastic screen gently.

Conclusione

To reassemble your device, follow these instructions in reverse order.

Team

Cal Poly, Team 8-47, Regan Winter 2010 Membro di Cal Poly, Team 8-47, Regan Winter 2010

CPSU-REGAN-W10S8G47

5 Membri

8 Guide realizzate

0 Commenti

Aggiungi Commento

Visualizza Statistiche:

Ultime 24 Ore: 0

Ultimi 7 Giorni: 2

Ultimi 30 Giorni: 3

Tutti i Tempi: 2,475