Questa versione può contenere modifiche errate. Passa all'ultima istantanea verificata.
Cosa ti serve
-
Questo passaggio è privo di traduzione. Aiuta a tradurlo
-
Press the light grey button in the top-center on the back of the phone.
-
While pressing, slide the battery and cover up.
-
-
Questo passaggio è privo di traduzione. Aiuta a tradurlo
-
Unscrew the antenna by grasping the base and twisting counterclockwise.
-
-
Questo passaggio è privo di traduzione. Aiuta a tradurlo
-
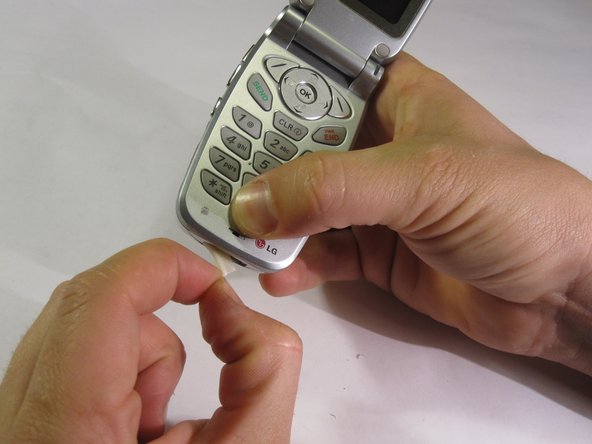
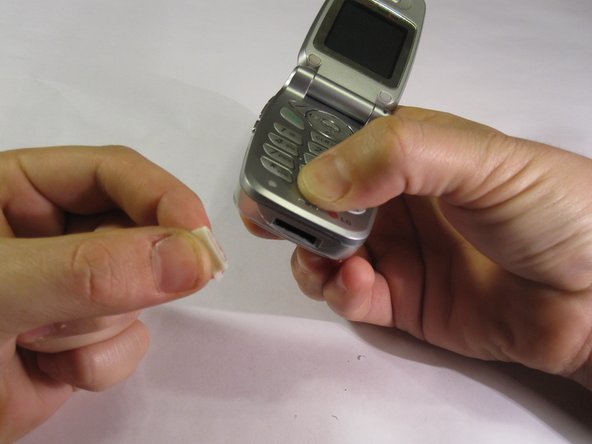
The phone may have a rubber insert in the bottom of the phone (see picture). If this rubber insert exists, remove it from the bottom of phone and set aside.
-
-
-
Questo passaggio è privo di traduzione. Aiuta a tradurlo
-
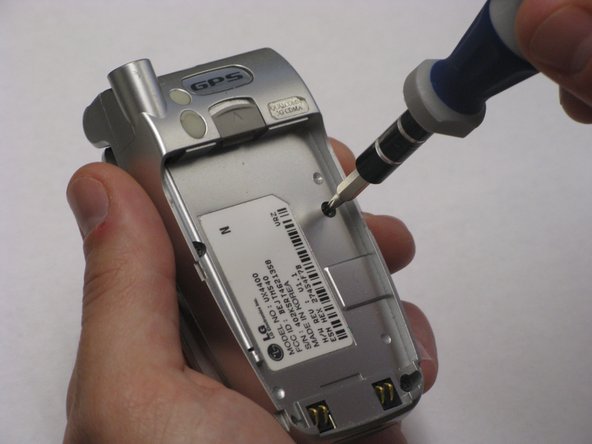
Use a Torx T6 screwdriver to unscrew the four screws on the back of the phone.
-
-
Questo passaggio è privo di traduzione. Aiuta a tradurlo
-
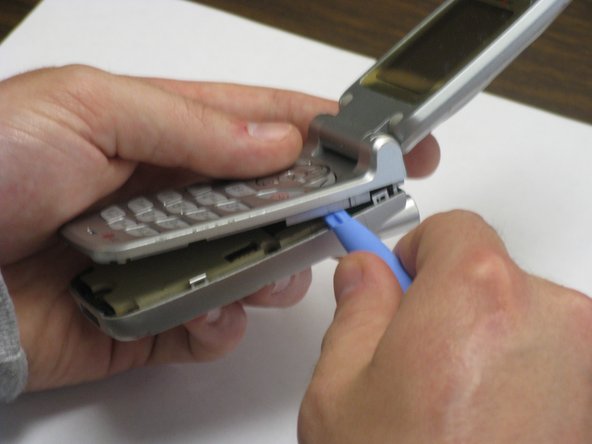
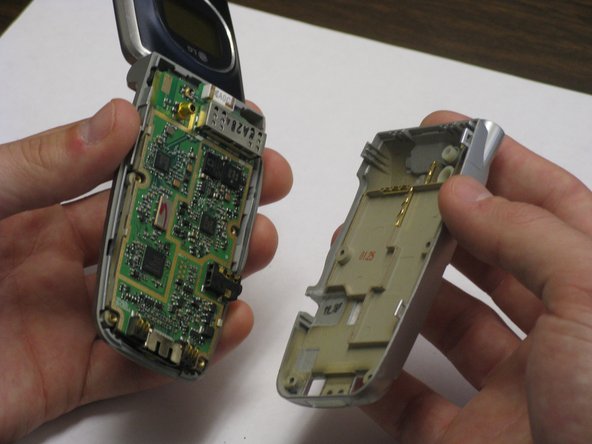
With the phone flipped open, wedge the back cover from the faceplate by running the tip of the plastic opening tool around the seam on the back of the phone.
-
Gently pull the two pieces apart to separate, and set the back casing aside.
-
-
Questo passaggio è privo di traduzione. Aiuta a tradurlo
-
Lift the motherboard to gain access to the keypad and side buttons beneath.
-
-
Questo passaggio è privo di traduzione. Aiuta a tradurlo
-
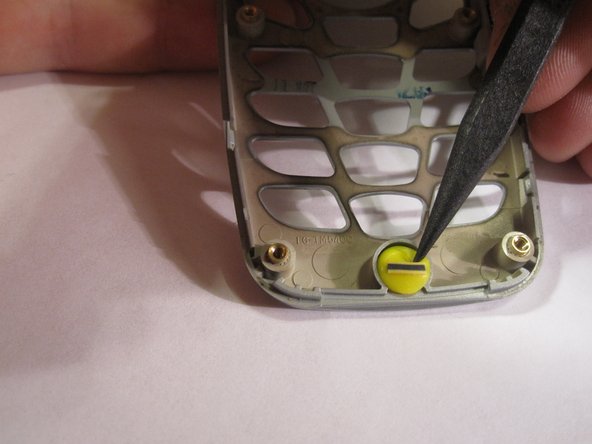
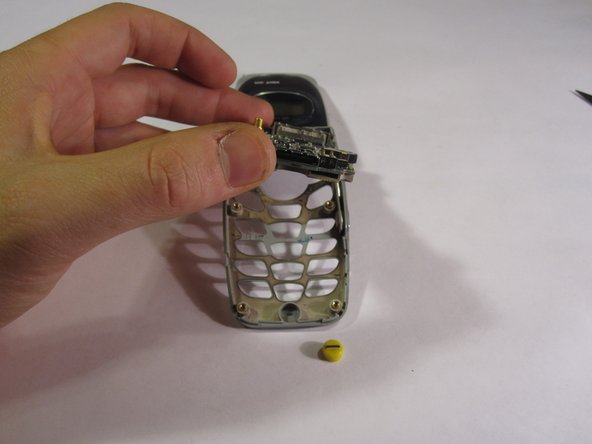
Using your fingers or the pointed end of a black plastic spudger, pry the microphone out and replace.
-


Team

Cal Poly, Team 8-47, Regan Winter 2010 Membro di Cal Poly, Team 8-47, Regan Winter 2010
CPSU-REGAN-W10S8G47
5 Membri
8 Guide realizzate