Questa guida ha delle modifiche più recenti. Passa all'ultima versione non verificata.
Introduzione
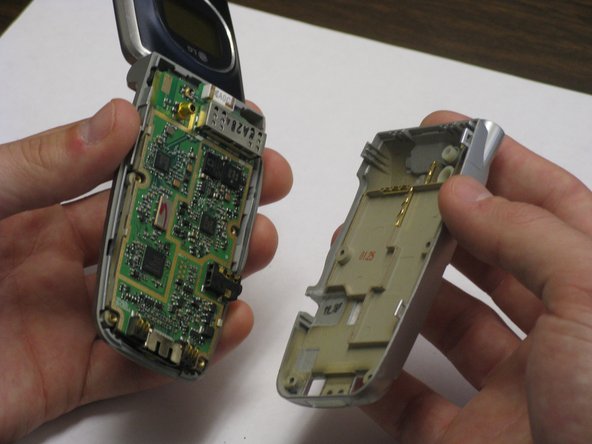
A functioning microphone is essential to any phone call. If this function stops working, it may need to be replaced. A faulty microphone could result in poor audio during recorded videos or the receiver of a phone call having difficulty hearing the user, as the microphone would not be properly picking up sounds. This guide teaches you how to replace the microphone on an LG VX4400 cell phone. Before beginning, be sure to power off the device.
Cosa ti serve
-
-
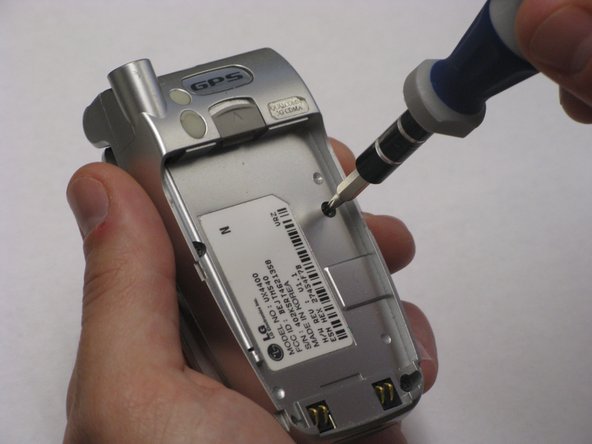
Press the light grey button in the top-center on the back of the phone.
-
While pressing, slide the battery and cover up.
-
-
-
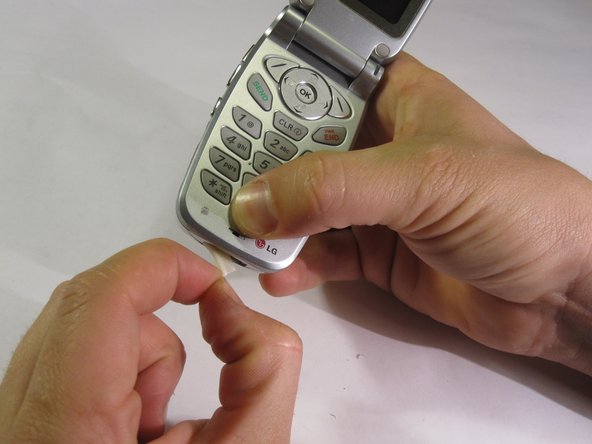
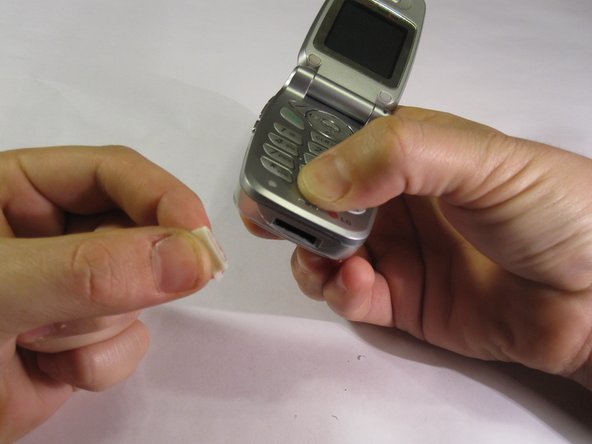
The phone may have a rubber insert in the bottom of the phone (see picture). If this rubber insert exists, remove it from the bottom of phone and set aside.
-
-
-
-
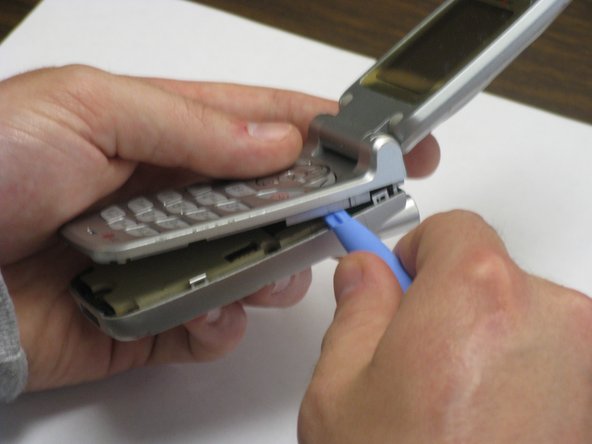
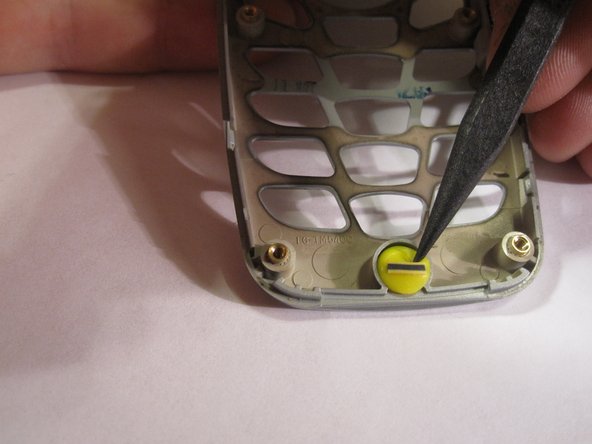
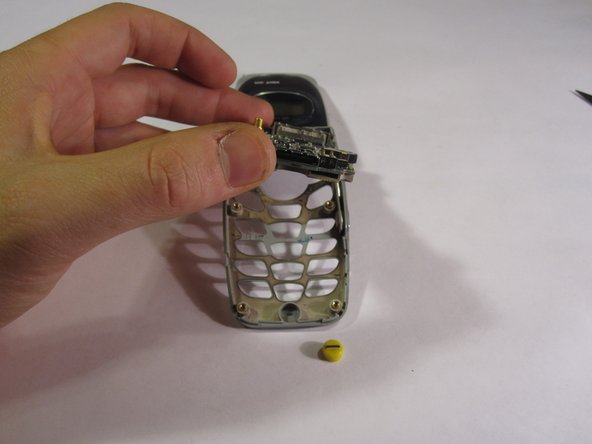
Using your fingers or the pointed end of a black plastic spudger, pry the microphone out and replace.
-


To reassemble your device, follow these instructions in reverse order.
To reassemble your device, follow these instructions in reverse order.
Team

Cal Poly, Team 8-47, Regan Winter 2010 Membro di Cal Poly, Team 8-47, Regan Winter 2010
CPSU-REGAN-W10S8G47
5 Membri
8 Guide realizzate