Questa versione può contenere modifiche errate. Passa all'ultima istantanea verificata.
Cosa ti serve
-
-
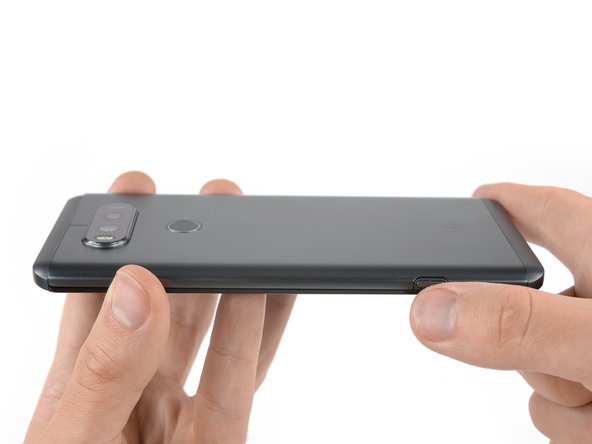
Premi il pulsante sul lato destro in basso dell'LG V20 per aprire il gancio che blocca la cover posteriore sul bordo inferiore del telefono.
-
Rimuovi la cover posteriore.
-
-
-
Inserisci l'estremità piatta di uno spudger nella piccola cavità sul bordo inferiore della batteria.
-
Usa lo spudger per far leva sulla batteria e rimuoverla.
-
-
-
Rimuovi le 16 viti a croce Phillips #00 da 4 mm che collegano la cover posteriore alla scheda madre.
-
-
-
Rovescia il telefono e inserisci un plettro di apertura nella fessura che hai creato.
-
Fai scorrere il plettro di apertura lungo la fessura finché la sezione del telaio non scatta fuori dai suoi ganci in plastica.
People on Reddit are reporting that the V20's antennas are contained in this top piece, and removing it too forcefully can damage the 2G antenna's contacts, resulting in a loss of ability to make calls. Details and a suggested fix if this happens to you:
-
-
-
-
L'altoparlante è attaccato alla cover della scheda madre. Staccalo usando un plettro di apertura.
Be very careful with prying up the speaker or else it will break the connection to the cover.
-
-
-
Usa un plettro di apertura per sollevare la cover della scheda madre nell'angolo inferiore destro del tuo telefono finché non scatta fuori dal gancio di plastica.
Bonjour, en placant le médiator à l’intérieur de l’emplacement de la batterie le démontage est plus facile de l’intérieur vers l’extérieur…
Merci pour l’info!
In English: it is easier work your way around the inside of the battery compartment rather than around the outside. Also, the clip below the power button (i.e., top of the battery compartment) will release the whole top edge.
-
-
-
Usa l'estremità piatta di uno spudger per scollegare il cavo flessibile della fotocamera frontale.
-
Usa delle pinzette per rimuovere con delicatezza la fotocamera frontale.
-
-
-
Usa l'estremità piatta di uno spudger per scollegare il cavo flessibile della fotocamera posteriore di sinistra.
-
La seconda fotocamera posteriore verrà fuori insieme alla scheda madre, dato che è collegata a questa dall'altro lato.
-
Puoi lasciare la fotocamera anteriore al suo posto se farai attenzione a non danneggiarla mentre rimuovi il gruppo della scheda madre. Ma se non ti senti sicuro, rimuovila attentamente con delle pinzette.
-
-
-
Usa l'estremità appuntita di uno spudger per sollevare il gruppo della scheda madre finché non riesci ad afferrarlo bene.
-
Solleva delicatamente il gruppo della scheda madre e rimuovilo.
Be very careful handling motherboard. The numerous spring-type contact points can be easily bent.
-
-
Questo passaggio è privo di traduzione. Aiuta a tradurlo
-
Use a pair of tweezers to remove the vibration motor.
Does the adhesive holding the motor need to be replaced? What kind is needed?
Hi databasebloat,
usually the adhesive can be reused. In case you want to replace it anyway, you can use thin double sided tape and cut it into small pieces or a shape similar to the old adhesive.
-


Annulla: non ho completato questa guida.
Altre 4 persone hanno completato questa guida.


2 Commenti
When I dug down to the motor, I found it wasn’t going to be that easy to pull it out.
Instead, I checked that it actually worked by touching its contacts carefully to a 1.5v AA battery. It turns out that the spring contacts on the motor were a little too compressed, so I stretched them with tweezers, and didn’t need to replace the motor: all works.
my motor also stopped working. after taking it apart i noticed the gold contacts on the PCB were hardly rubbed. connected a 2.5 v PSU to the motor. works! also just ended up stretching the spring. Also added some NT-H1 thermal paste to the area with the thermal pad and the other can beside it. Thermal throttling was reduced significantly.