Introduzione
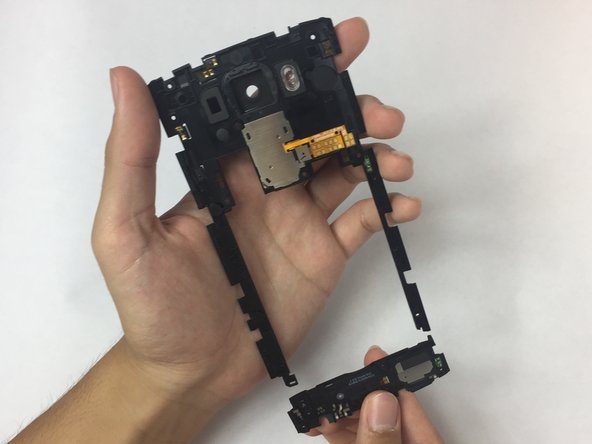
Shutdown the LG V10 before replacing any component. If your music or other audio emitted from the phone's loudspeaker is distorted but is completely fine when listened through headphones/earphones, then the phone’s loudspeaker may need to be replaced.
Cosa ti serve
-
-
Wedge the flat end of the plastic spudger, or the tip of your finger, in between the back cover and the LG V10’s charging port.
-
Carefully lift up on the spudger or with your finger so that the back cover pops up. The rest of the back cover should easily come off by sliding a finger or spudger under the back cover and around the sides.
-
-
-
-
Using a screwdriver with a J000 Phillips bit, remove the ten 3.175 mm screws.
-
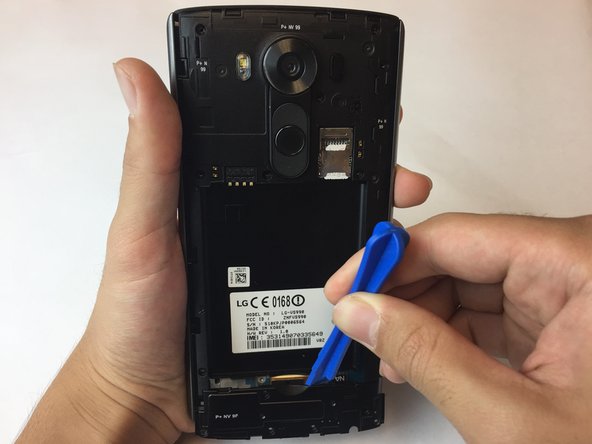
Using a plastic opening tool, pry part of the panel up starting from the sides of the battery slot.
-


After replacing the loudspeaker, follow these instructions in reverse order to reassemble the LG V10.
After replacing the loudspeaker, follow these instructions in reverse order to reassemble the LG V10.
Team

USF Tampa, Team S16-G3, Eyestone Fall 2017 Membro di USF Tampa, Team S16-G3, Eyestone Fall 2017
USFT-EYESTONE-F17S16G3
2 Membri
8 Guide realizzate