Salta al contenuto principale
Unisciti alla Community delle riparazioni - Crea un account

LG Thrill 4G SIM/Micro SD Card Replacement

Cosa ti serve

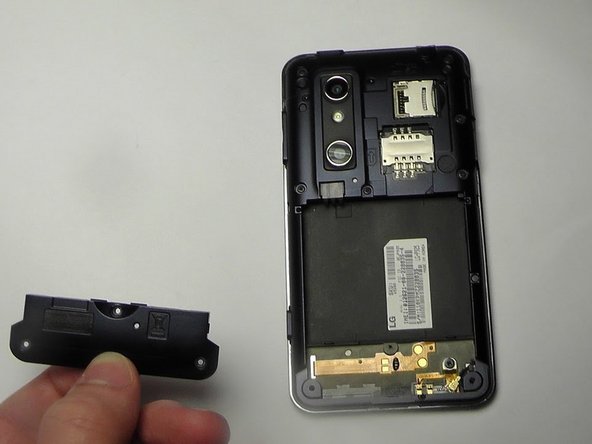
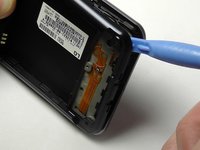
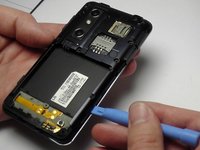
  1. LG Thrill 4G SIM/Micro SD Card Replacement, Back Cover Removal: passo 1, immagine 1 di 2 LG Thrill 4G SIM/Micro SD Card Replacement, Back Cover Removal: passo 1, immagine 2 di 2
    • Pry open the back cover by using a fingernail or a plastic opening tool.

    • There is a small notch at the bottom of the cover for easy removal.

    Chiedi a FixBot
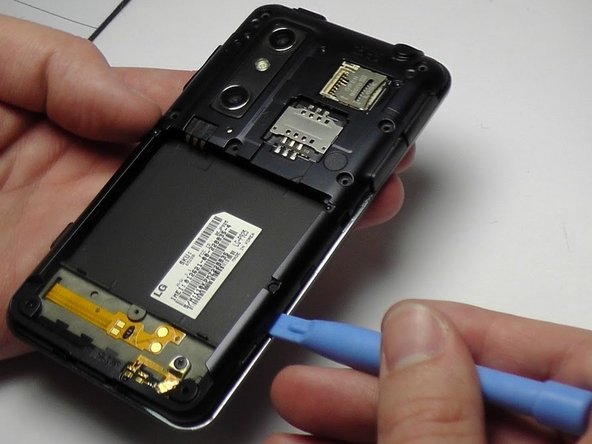
  2. LG Thrill 4G SIM/Micro SD Card Replacement, Battery Removal: passo 2, immagine 1 di 2 LG Thrill 4G SIM/Micro SD Card Replacement, Battery Removal: passo 2, immagine 2 di 2
    • Remove the battery from the phone.

    • There is a small ledge located at the bottom of the battery for easy removal.

    Chiedi a FixBot
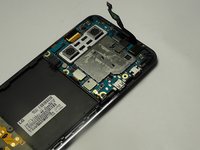
  3. LG Thrill 4G SIM/Micro SD Card Replacement, Screw Removal: passo 3, immagine 1 di 1
    • Remove the three Philips #00 screws from the bottom of the phone.

    • Two 5.5 mm screws

    • One 4 mm screw

    Chiedi a FixBot
  4. LG Thrill 4G SIM/Micro SD Card Replacement, Speaker Removal: passo 4, immagine 1 di 2 LG Thrill 4G SIM/Micro SD Card Replacement, Speaker Removal: passo 4, immagine 2 di 2
    • Use your finger or opening tool to wedge the speaker out starting at the small notch at the bottom of the phone.

    Chiedi a FixBot
  5. LG Thrill 4G SIM/Micro SD Card Replacement, Buttons: passo 5, immagine 1 di 1
    • Remove the three buttons from the side and the top of the phone.

    • Power button

    • Volume button

    • 3D camera button

    Chiedi a FixBot
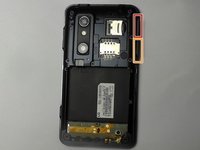
  6. LG Thrill 4G SIM/Micro SD Card Replacement: passo 6, immagine 1 di 3 LG Thrill 4G SIM/Micro SD Card Replacement: passo 6, immagine 2 di 3 LG Thrill 4G SIM/Micro SD Card Replacement: passo 6, immagine 3 di 3
    • Place the plastic opening tool under the bezel at either bottom corner of the HDMI cover.

    • This loosens both the HDMI and USB covers for easy removal.

    • USB Cover

    • HDMI Cover

    Chiedi a FixBot
  7. LG Thrill 4G SIM/Micro SD Card Replacement: passo 7, immagine 1 di 1
    • Remove the six Phillips #00 screws within the mid-cover bezel.

    Chiedi a FixBot
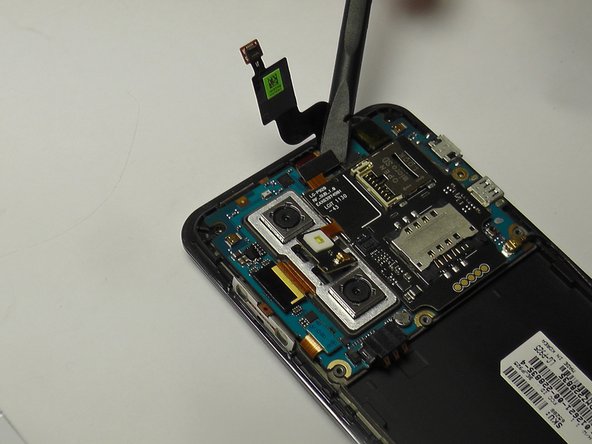
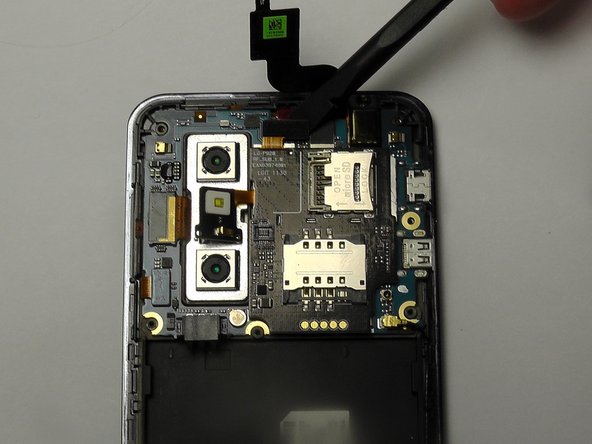
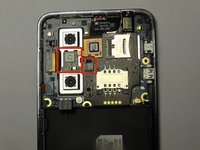
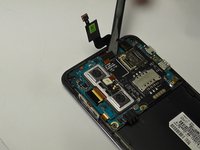
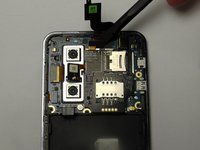
  8. LG Thrill 4G SIM/Micro SD Card Replacement, Ribbon Cable Disconnection: passo 8, immagine 1 di 3 LG Thrill 4G SIM/Micro SD Card Replacement, Ribbon Cable Disconnection: passo 8, immagine 2 di 3 LG Thrill 4G SIM/Micro SD Card Replacement, Ribbon Cable Disconnection: passo 8, immagine 3 di 3
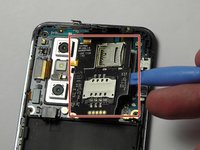
    • Utilize a spudger or plastic opening tool and gently disconnect the ribbon cable that is attached to the black micro-SIM card board.

    Chiedi a FixBot
  9. LG Thrill 4G SIM/Micro SD Card Replacement, SD/SIM Card Board Removal: passo 9, immagine 1 di 3 LG Thrill 4G SIM/Micro SD Card Replacement, SD/SIM Card Board Removal: passo 9, immagine 2 di 3 LG Thrill 4G SIM/Micro SD Card Replacement, SD/SIM Card Board Removal: passo 9, immagine 3 di 3
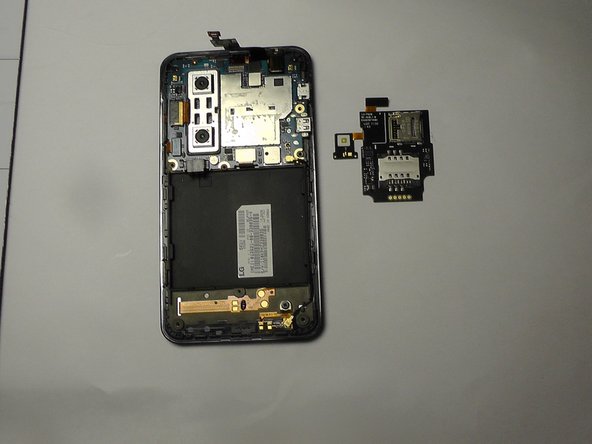
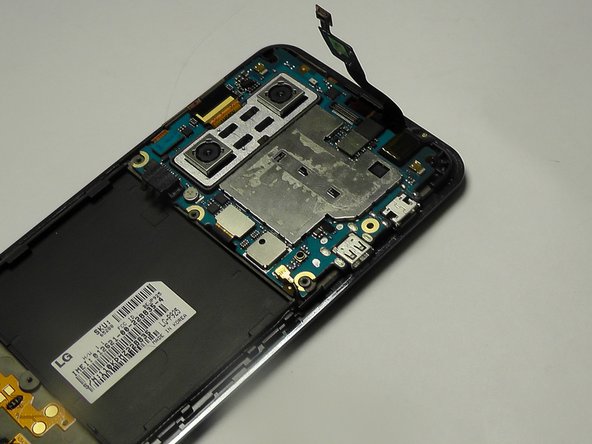
    • Carefully pry the board up to detach it from its place in the phone.

    • Make sure to pry off the small tab connected to the camera unit as well.

    Chiedi a FixBot
Conclusione

To reassemble your device, follow these instructions in reverse order.

Un'altra persona ha completato questa guida.

Khbero Baker

Membro da: 01/19/15

128 Reputazione

Una guida realizzata

Team

USF Tampa, Team 1-6, Blackwell Winter 2015 Membro di USF Tampa, Team 1-6, Blackwell Winter 2015

USFT-BLACKWELL-W15S1G6

3 Membri

10 guide realizzate

0Commenti sulla guida

Aggiungi Commento

Visualizza statistiche:

Ultime 24 ore: 2

Ultimi 7 giorni: 8

Ultimi 30 giorni: 46

Tutti i Tempi: 857