Introduzione
Is the rear camera on your LG Stylo 3 Plus no longer taking great photos? Removing the rear camera for cleaning or replacement may sound daunting, but it only takes about 5 minutes and some simple tools. Follow this guide to quickly replace your rear camera and continue taking great pictures!
Cosa ti serve
-
-
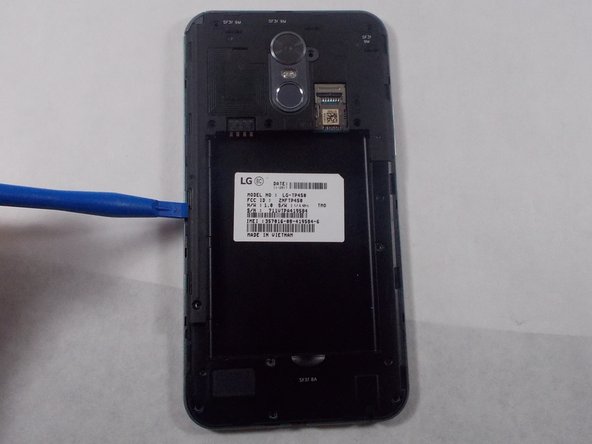
Place the phone face down.
-
Insert a fingernail or a plastic opening tool into the gap on the side of the phone.
-
Carefully slide your finger or the tool throughout the edge of the phone to ease the back case off.
-
-
-
Place the back cover off to the side.
-
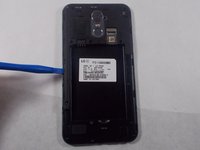
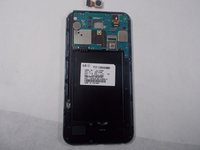
Insert the opening tool into the small gap below the battery.
-
Carefully pop the battery out to prevent damage.
-
-
-
-
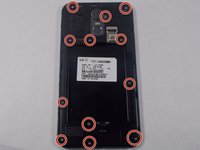
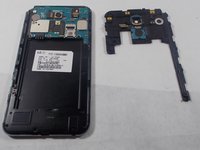
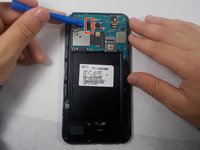
Remove the twelve 4mm screws using the Phillips #000 screwdriver.
-
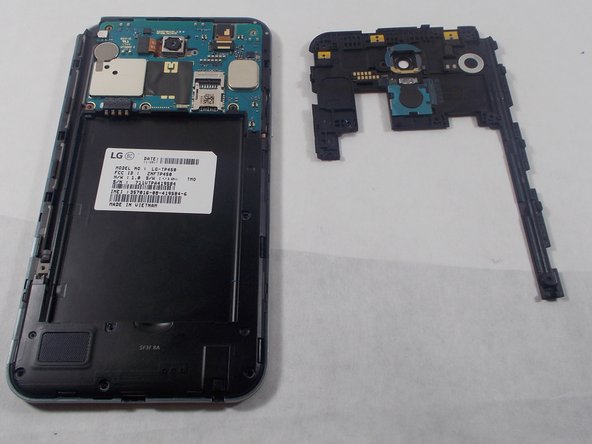
Use the plastic opening tool to remove the inner case.
-
Carefully remove the inner case.
-


To reassemble your device, follow these instructions in reverse order.
Annulla: non ho completato questa guida.
Altre 5 persone hanno completato questa guida.

Team

UMass Dartmouth, Team S2-G6, Peak Fall 2018 Membro di UMass Dartmouth, Team S2-G6, Peak Fall 2018
UMASSD-PEAK-F18S2G6
3 Membri
15 Guide realizzate