Salta al contenuto principale

LG Optimus V Screen Replacement

Cosa ti serve

  1. LG Optimus V Screen Replacement, Battery: passo 1, immagine 1 di 1
    • Turn the LG Optimus V over, so that the back cover is facing upward.

  2. LG Optimus V Screen Replacement: passo 2, immagine 1 di 1
    • Locate the opening above the camera.

    • Use a spudger to detach the back cover.

  3. LG Optimus V Screen Replacement: passo 3, immagine 1 di 3 LG Optimus V Screen Replacement: passo 3, immagine 2 di 3 LG Optimus V Screen Replacement: passo 3, immagine 3 di 3
    • Gently remove the battery with your spudger.

  4. LG Optimus V Screen Replacement, Camera: passo 4, immagine 1 di 2 LG Optimus V Screen Replacement, Camera: passo 4, immagine 2 di 2
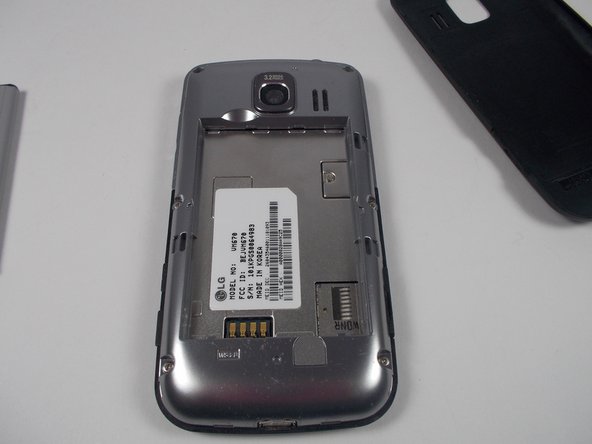
    • Remove the six screws on the silver casing.

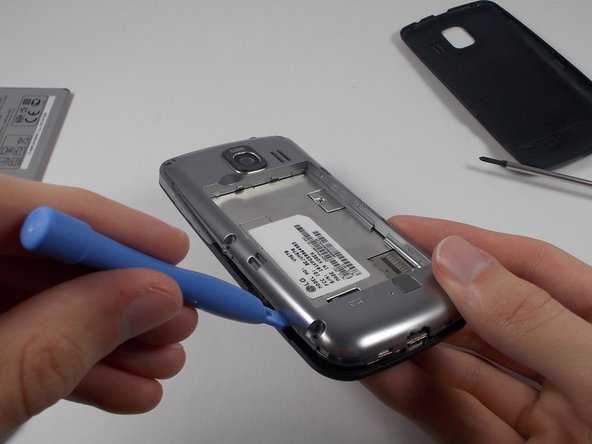
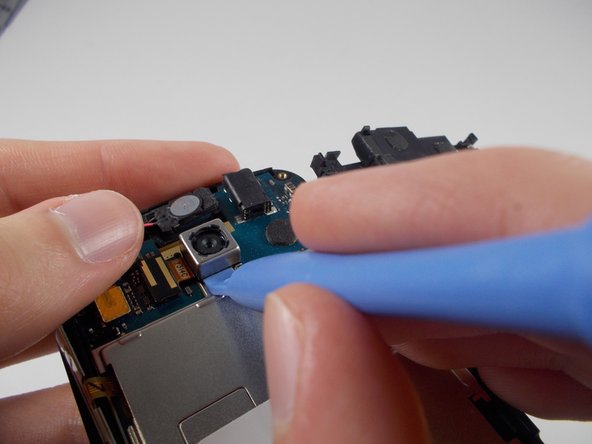
    • Use the plastic opening tool to remove the silver casing.

  5. LG Optimus V Screen Replacement: passo 5, immagine 1 di 3 LG Optimus V Screen Replacement: passo 5, immagine 2 di 3 LG Optimus V Screen Replacement: passo 5, immagine 3 di 3
    • Use a plastic opening tool to remove each area holding the parts together.

  6. LG Optimus V Screen Replacement: passo 6, immagine 1 di 2 LG Optimus V Screen Replacement: passo 6, immagine 2 di 2
    • Use a plastic opening tool to remove the small black and yellow piece that reads Y3114C.

    • Use a plastic opening tool to pry off the camera.

  7. LG Optimus V Screen Replacement, Screen: passo 7, immagine 1 di 1
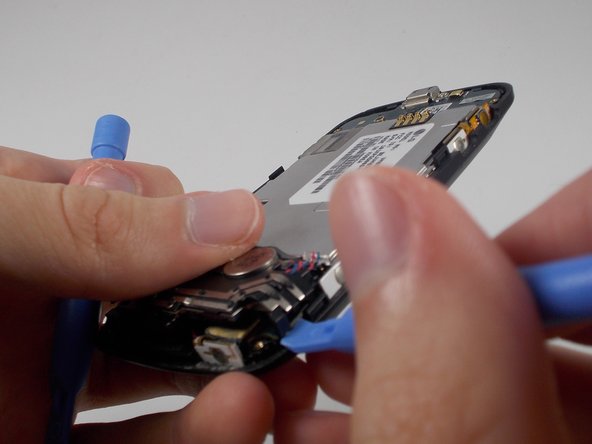
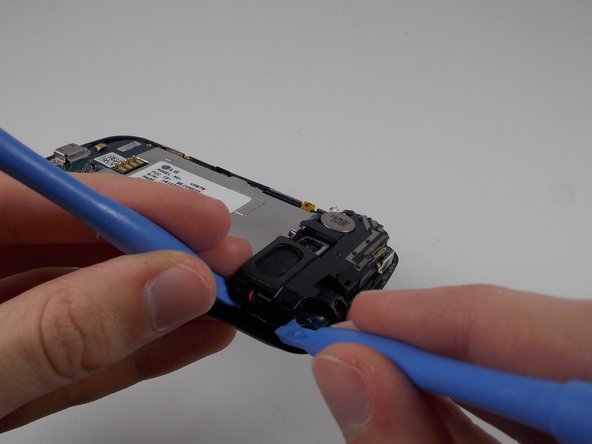
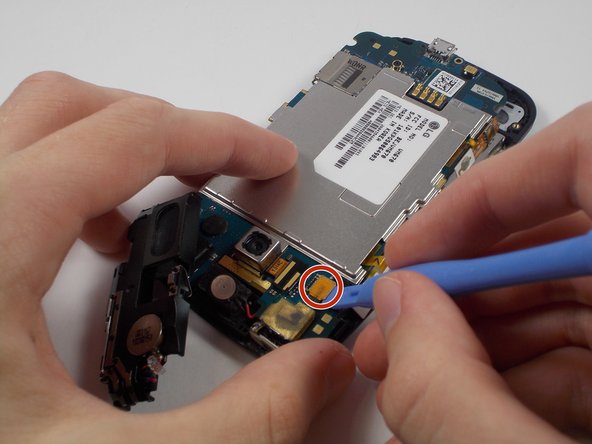
    • Once you have removed the antenna, unscrew the two screws located on the sides of the charging port.

  8. LG Optimus V Screen Replacement: passo 8, immagine 1 di 2 LG Optimus V Screen Replacement: passo 8, immagine 2 di 2
    • Using your plastic opening tool, lift up the connectors on either side of the motherboard.

  9. LG Optimus V Screen Replacement: passo 9, immagine 1 di 1
    • Remove the motherboard and set it aside.

  10. LG Optimus V Screen Replacement: passo 10, immagine 1 di 1
    • Using a plastic opening tool, detach the screen from the plastic casing of the phone.

Conclusione

To reassemble your device, follow these instructions in reverse order.

Altre 3 persone hanno completato questa guida.

0 Commenti

Aggiungi Commento

Visualizza Statistiche:

Ultime 24 Ore: 0

Ultimi 7 Giorni: 7

Ultimi 30 Giorni: 8

Tutti i Tempi: 2,545