Questa versione può contenere modifiche errate. Passa all'ultima istantanea verificata.
Cosa ti serve
-
Questo passaggio è privo di traduzione. Aiuta a tradurlo
-
Use the spudger to pry out the indicated rubber squares.
-
Use the #0 Phillips screwdriver to take out the revealed screws.
-
-
-
Questo passaggio è privo di traduzione. Aiuta a tradurlo
-
Carefully lodge the spudger between the face plate and the hinge mechanism.
-
Gently pry the face plate until it releases from place holders.
-
-
Questo passaggio è privo di traduzione. Aiuta a tradurlo
-
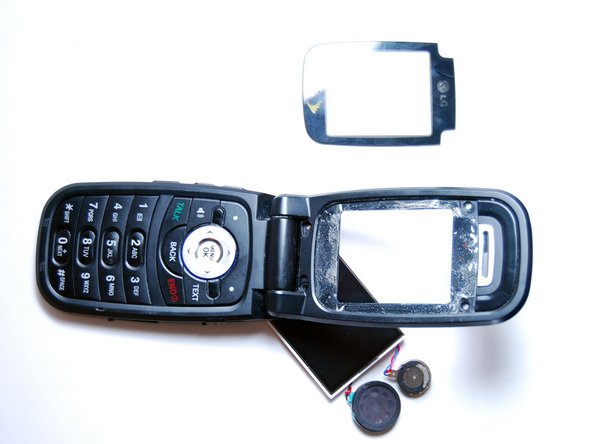
Gently loosen the screen from its adhesive by pressing around the screen's rear perimeter with a spudger. Place upward pressure in crevices between face plate and screen.
-
Carefully use both thumbs and apply pressure to the back of the screen to pop out.
-


Annulla: non ho completato questa guida.
Un'altra persona ha completato questa guida.
Team

Cal Poly, Team 10-44, Garner Spring 2010 Membro di Cal Poly, Team 10-44, Garner Spring 2010
CPSU-GARNER-S10S10G44
4 Membri
18 Guide realizzate