Questa versione può contenere modifiche errate. Passa all'ultima istantanea verificata.
Cosa ti serve
-
Questo passaggio è privo di traduzione. Aiuta a tradurlo
-
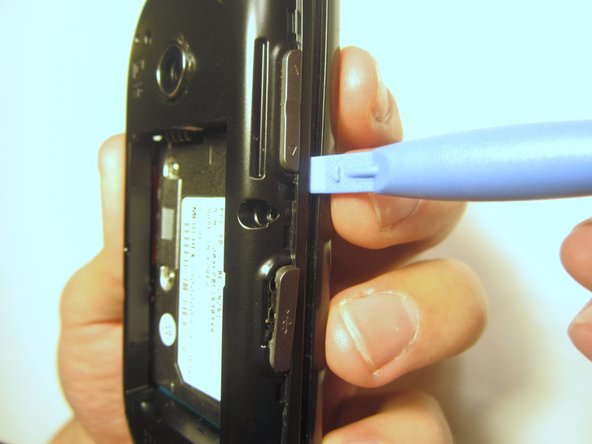
Insert the plastic opener into the slot at the top of the device.
-
Apply gentle pressure with the plastic tool to pop the back case off.
-
-
Questo passaggio è privo di traduzione. Aiuta a tradurlo
-
Use the plastic opener to lift, and remove, the device battery.
-
-
Questo passaggio è privo di traduzione. Aiuta a tradurlo
-
Use a screwdriver and corresponding bit to remove the six 2mm screws that are located along the edge of the rear case. Set the screws aside.
-
-
Questo passaggio è privo di traduzione. Aiuta a tradurlo
-
Use the plastic opener to pry the rear case loose.
-
-
Questo passaggio è privo di traduzione. Aiuta a tradurlo
-
Use a screwdriver and corresponding bit to remove the two 3mm screws that attach the motherboard to the front case. Set the screws aside
-
-
Questo passaggio è privo di traduzione. Aiuta a tradurlo
-
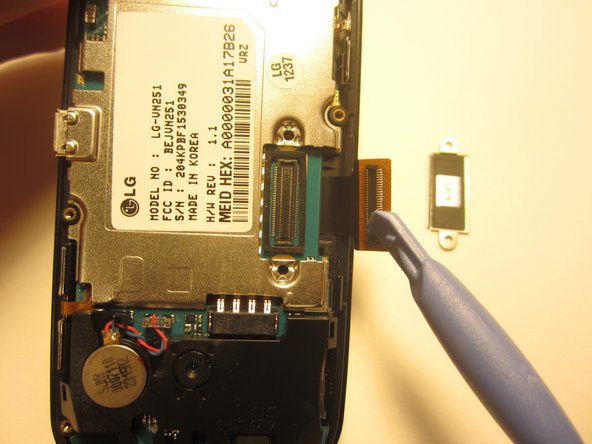
Rotate the phone 180 degrees and use the plastic opener to lift the metal piece that covers the ribbon cable.
-
-
Questo passaggio è privo di traduzione. Aiuta a tradurlo
-
Use the plastic opener to disconnect the ribbon cable.
-
-
-
Questo passaggio è privo di traduzione. Aiuta a tradurlo
-
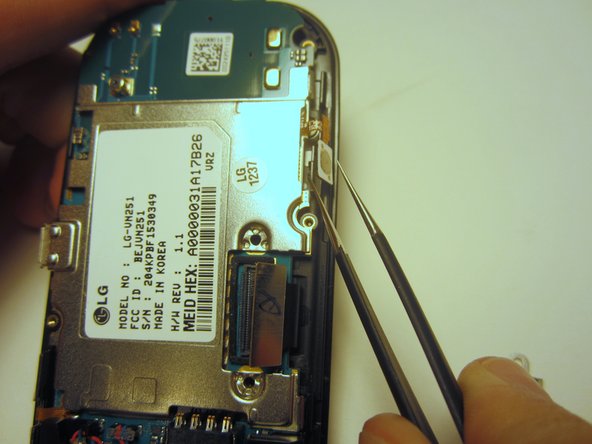
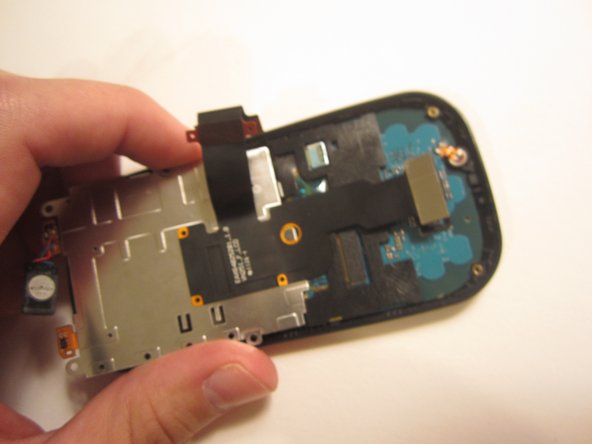
Use tweezers to disconnect the two cables that attach the motherboard to the case.
-
-
Questo passaggio è privo di traduzione. Aiuta a tradurlo
-
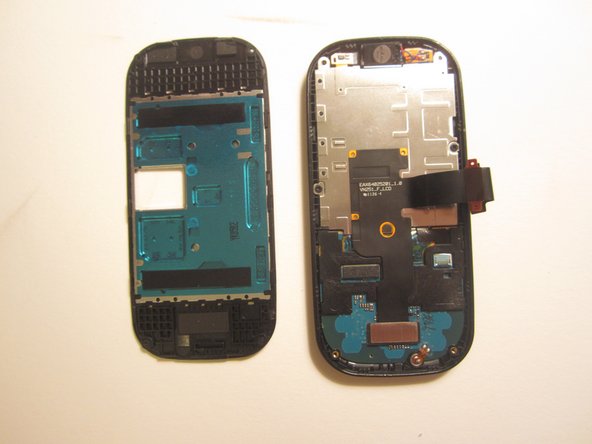
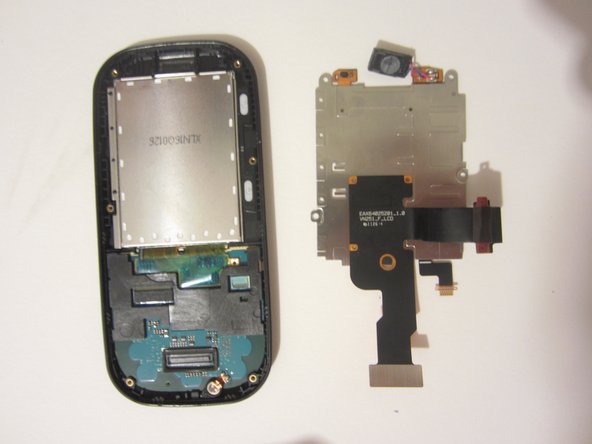
Remove the motherboard from the front case.
-
-
Questo passaggio è privo di traduzione. Aiuta a tradurlo
-
Use a screwdriver and corresponding bit to remove the four 1mm screws. Set the screws aside.
-
-
Questo passaggio è privo di traduzione. Aiuta a tradurlo
-
Pull the ribbon cable through the slit in the keyboard case to separate it from the sliding mechanism.
-
-
Questo passaggio è privo di traduzione. Aiuta a tradurlo
-
Use a screwdriver and corresponding bit to remove the four 3mm screws. Set the screws aside.
-
-
Questo passaggio è privo di traduzione. Aiuta a tradurlo
-
Use the plastic opener to pry open the front of the phone.
-
Slip the ribbon cable through the slit to fully separate the two pieces.
-
-
Questo passaggio è privo di traduzione. Aiuta a tradurlo
-
Use a screwdriver and corresponding bit to remove the two 1mm screws. Set the screws aside.
-
-
Questo passaggio è privo di traduzione. Aiuta a tradurlo
-
Detach the ribbon cable with the plastic opener.
-
-
Questo passaggio è privo di traduzione. Aiuta a tradurlo
-
Use the spudger to pry the metal piece loose.
-
Remove the metal piece along with the two ribbon cables.
-
-
Questo passaggio è privo di traduzione. Aiuta a tradurlo
-
Flip the front of the phone over and the old option buttons will fall out.
-
Insert new option buttons.
-
-
Questo passaggio è privo di traduzione. Aiuta a tradurlo
-
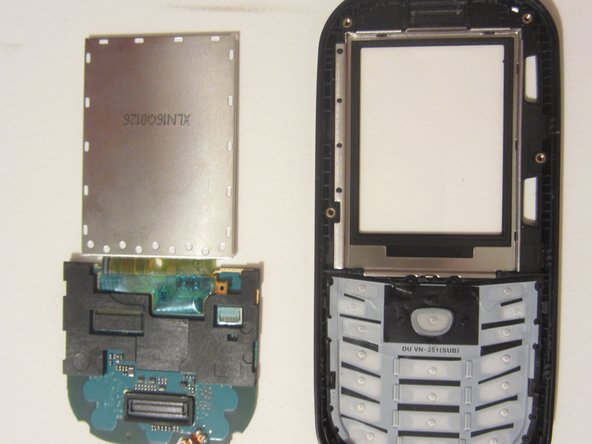
Use a tool to pry open the LCD display. Remove the display and the motherboard-looking device that it's connected to.
-
-
Questo passaggio è privo di traduzione. Aiuta a tradurlo
-
Rotate and remove the keypad from the front case.
-


Team

Clemson, Team 13-1, Benson Fall 2013 Membro di Clemson, Team 13-1, Benson Fall 2013
CLEM-BENSON-F13S13G1
3 Membri
16 Guide realizzate