Salta al contenuto principale

Kyocera Event Ear Piece Speaker Replacement

Cosa ti serve

  1. Kyocera Event Ear Piece Speaker Replacement, Battery: passo 1, immagine 1 di 3 Kyocera Event Ear Piece Speaker Replacement, Battery: passo 1, immagine 2 di 3 Kyocera Event Ear Piece Speaker Replacement, Battery: passo 1, immagine 3 di 3
    • Locate the small notch on the bottom right side of the phone.

    • To remove the cover, hook your thumb or fingernail into the slot. Then, gently lift the cover up and off.

    • The back cover may flex slightly as you remove it. This is normal, but avoid applying excessive force.

  2. Kyocera Event Ear Piece Speaker Replacement: passo 2, immagine 1 di 1
    • Locate the small notch below the battery. You may see a white plastic notch sticking out of this space; if so, grasp that tab to pull the battery out of its compartment. If you do not see a white plastic tab, then place your fingernail in the notch and pull upward to release the battery from its compartment.

    • The plastic prying tool can be used to help remove the battery.

  3. Kyocera Event Ear Piece Speaker Replacement, Remove the screws.: passo 3, immagine 1 di 2 Kyocera Event Ear Piece Speaker Replacement, Remove the screws.: passo 3, immagine 2 di 2
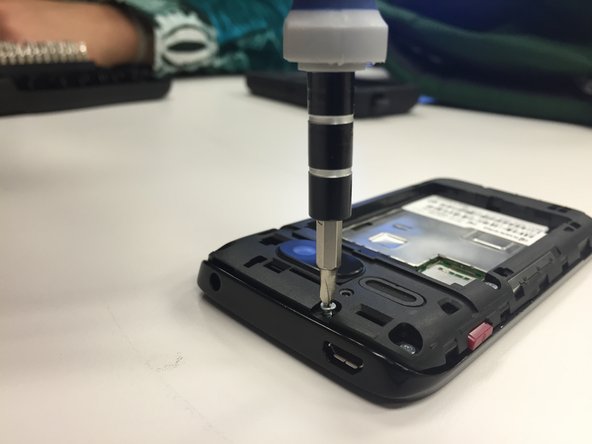
    • Remove seven of the 4.9mm tri-head screws. Keep them in a secure location.

  4. Kyocera Event Ear Piece Speaker Replacement, Remove the back assembly: passo 4, immagine 1 di 3 Kyocera Event Ear Piece Speaker Replacement, Remove the back assembly: passo 4, immagine 2 di 3 Kyocera Event Ear Piece Speaker Replacement, Remove the back assembly: passo 4, immagine 3 di 3
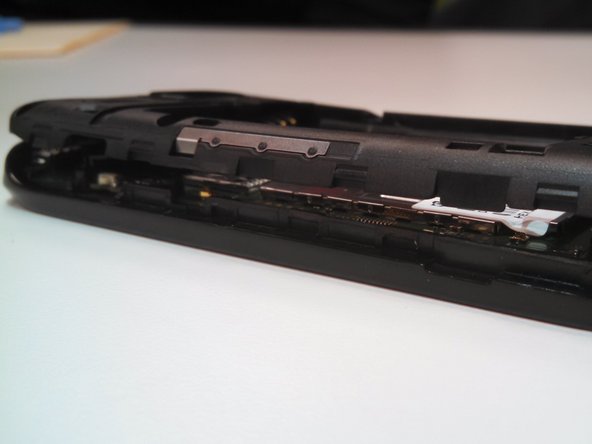
    • Pry the back assembly away from the body on all four sides of the phone.

    • Start prying at the top and work around.

    • Remove the buttons for the volume and power-this will allow for easier disassembly.

    • The back assembly is firmly attached to the body of the phone so removing it will require some force.

  5. Kyocera Event Ear Piece Speaker Replacement, Ear Piece Speaker: passo 5, immagine 1 di 3 Kyocera Event Ear Piece Speaker Replacement, Ear Piece Speaker: passo 5, immagine 2 di 3 Kyocera Event Ear Piece Speaker Replacement, Ear Piece Speaker: passo 5, immagine 3 di 3
    • Soldering required to complete replacement

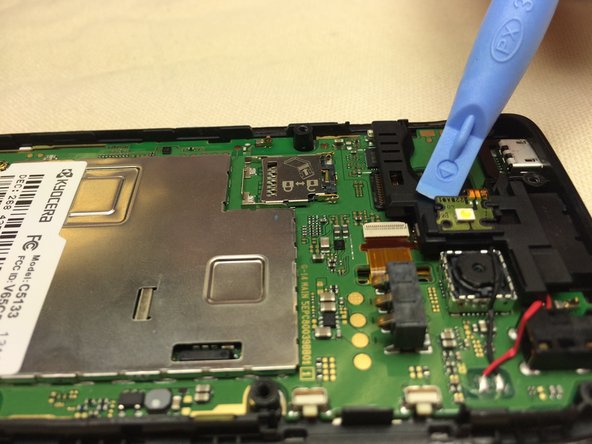
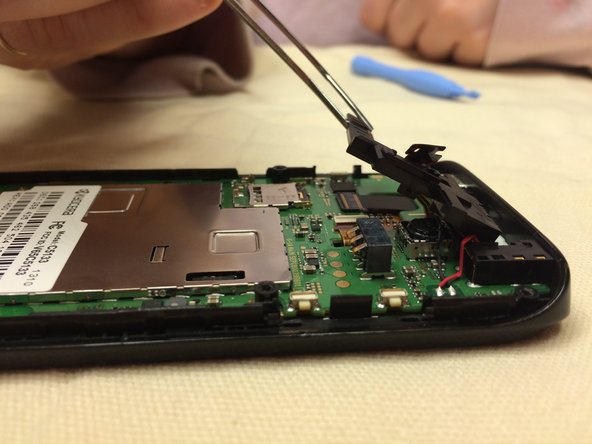
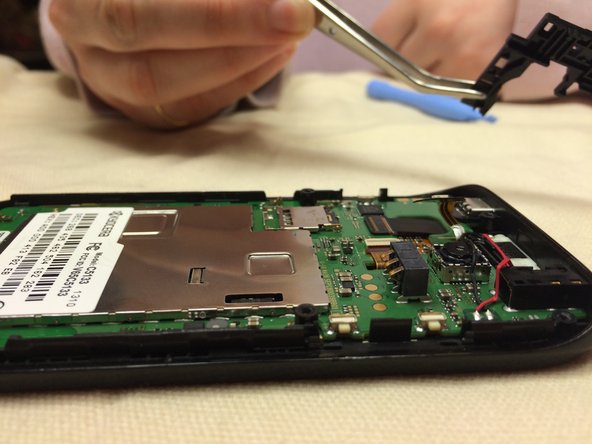
    • Start by un-attaching the small olive colored chip from the plastic casing.

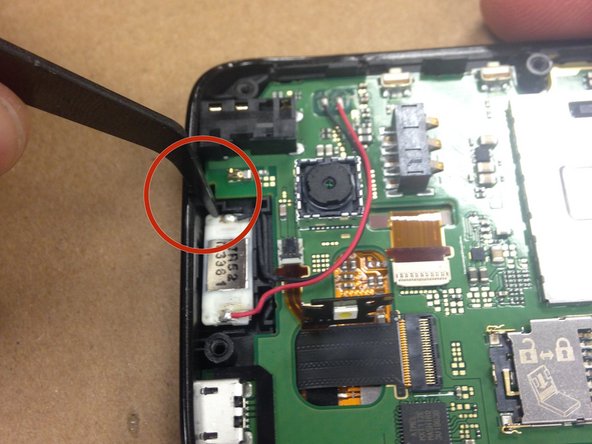
    • The chip is connected to the phone by a small orange wire. Keep the wire connected to the chip and the phone body while removing the chip from the black plastic casing.

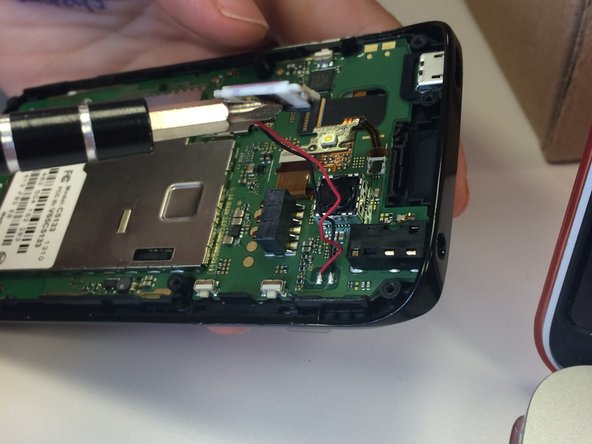
    • Pry underneath the chip with the plastic opener until it pops off. Leave the orange wires attached.

  6. Kyocera Event Ear Piece Speaker Replacement: passo 6, immagine 1 di 3 Kyocera Event Ear Piece Speaker Replacement: passo 6, immagine 2 di 3 Kyocera Event Ear Piece Speaker Replacement: passo 6, immagine 3 di 3
    • Use tweezers to lift up the black plastic cover.

    • The cover will pop out. Set it aside.

  7. Kyocera Event Ear Piece Speaker Replacement: passo 7, immagine 1 di 3 Kyocera Event Ear Piece Speaker Replacement: passo 7, immagine 2 di 3 Kyocera Event Ear Piece Speaker Replacement: passo 7, immagine 3 di 3
    • Speaker is magnetized.

    • Use a metal object to lift the speaker out OR use tweezers to grab underneath the top corner of the speaker and lift/pry it out.

  8. Kyocera Event Ear Piece Speaker Replacement: passo 8, immagine 1 di 1
    • Unsolder the speaker wires from the phone.

Conclusione

To reassemble your device, follow these instructions in reverse order.

Altre 2 persone hanno completato questa guida.

cmiller24

Membro da: 02/13/15

19 Reputazione

1 Guida realizzata

Team

Ohio State, Team 1-2, Michaels Spring 2015 Membro di Ohio State, Team 1-2, Michaels Spring 2015

OSU-MICHAELS-S15S1G2

3 Membri

2 Guide realizzate

0 Commenti

Aggiungi Commento

Visualizza Statistiche:

Ultime 24 Ore: 0

Ultimi 7 Giorni: 1

Ultimi 30 Giorni: 3

Tutti i Tempi: 835