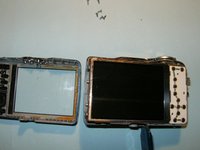
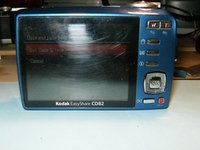
Salta al contenuto principale

Kodak EasyShare CD82 LCD Display Screen Replacement

Cosa ti serve

  1. Kodak EasyShare CD82 LCD Display Screen Replacement, LCD Screen: passo 1, immagine 1 di 3 Kodak EasyShare CD82 LCD Display Screen Replacement, LCD Screen: passo 1, immagine 2 di 3 Kodak EasyShare CD82 LCD Display Screen Replacement, LCD Screen: passo 1, immagine 3 di 3
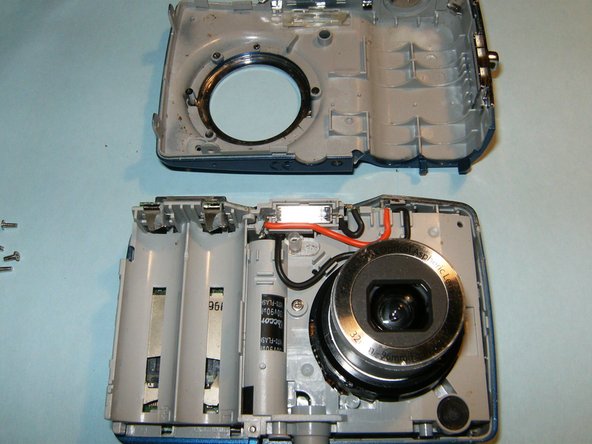
    • Remove the batteries and the memory card from the device.

    • Remove the 2 screws located at the bottom of the device.

  2. Kodak EasyShare CD82 LCD Display Screen Replacement: passo 2, immagine 1 di 3 Kodak EasyShare CD82 LCD Display Screen Replacement: passo 2, immagine 2 di 3 Kodak EasyShare CD82 LCD Display Screen Replacement: passo 2, immagine 3 di 3
    • Remove the 2 screws on the side, to the left of the camera lens.

    • Remove the 2 screws on the side, to the right of the camera lens.

    • Pry the casing from the device starting at the battery compartment and following the seem around the camera.

  3. Kodak EasyShare CD82 LCD Display Screen Replacement: passo 3, immagine 1 di 3 Kodak EasyShare CD82 LCD Display Screen Replacement: passo 3, immagine 2 di 3 Kodak EasyShare CD82 LCD Display Screen Replacement: passo 3, immagine 3 di 3
    • Remove the front panel from the device first, then remove the back panel.

    • Do not remove the LCD screen from the device once it becomes visible.

  4. Kodak EasyShare CD82 LCD Display Screen Replacement: passo 4, immagine 1 di 3 Kodak EasyShare CD82 LCD Display Screen Replacement: passo 4, immagine 2 di 3 Kodak EasyShare CD82 LCD Display Screen Replacement: passo 4, immagine 3 di 3
    • Flip the LCD screen away from the top of the device to reveal the ribbon cable.

    • This is water damage the has afflicted the camera.

    • Remove the 3 screws from the LCD screen holder.

    • Pry the screen holder from the circuit board connector.

  5. Kodak EasyShare CD82 LCD Display Screen Replacement: passo 5, immagine 1 di 2 Kodak EasyShare CD82 LCD Display Screen Replacement: passo 5, immagine 2 di 2
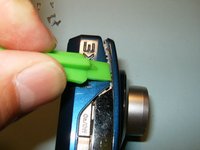
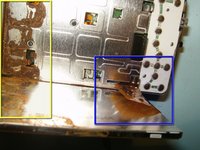
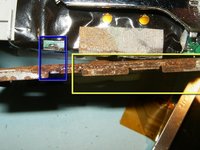
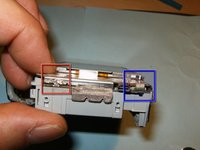
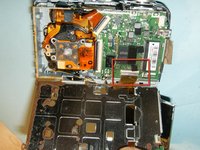
    • Disconnect the logic board from the right side of the frame.

    • Remove the small ribbon cable that is connecting the button panel to the logic board, using a small pair of tweezers or hemostat.

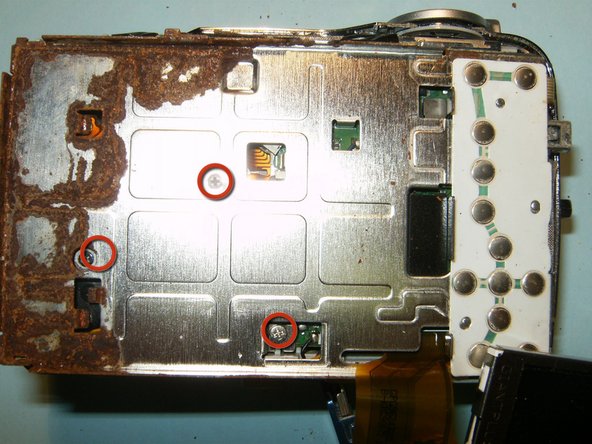
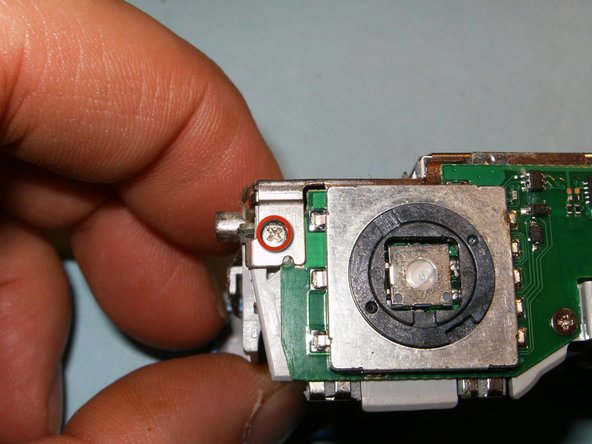
    • Remove the screw on the top right side of the device.

  6. Kodak EasyShare CD82 LCD Display Screen Replacement: passo 6, immagine 1 di 2 Kodak EasyShare CD82 LCD Display Screen Replacement: passo 6, immagine 2 di 2
    • Open the connector and move the black clip into the upward position, freeing the cable. Remove the LCD screen and the holder.

    • While the camera is disassembled, use isopropyl alcohol to remove rust and clean the device.

    • Follow these steps in reverse order to reassemble. The device should be fully functional upon completion.

Conclusione

To reassemble your device, follow these instructions in reverse order.

Altre 2 persone hanno completato questa guida.

oldturkey03

Membro da: 09/29/10

782.145 Reputazione

119 Guide realizzate

Team

Global Fixers Membro di Global Fixers

Community

33 Membri

537 Guide realizzate

Un commento

Is there any repair for Kodak CD80 easy share camera…..as my camera is not working

Januchowdary - Replica

Aggiungi Commento

Visualizza Statistiche:

Ultime 24 Ore: 0

Ultimi 7 Giorni: 0

Ultimi 30 Giorni: 9

Tutti i Tempi: 1,475