Introduzione
The KitchenAid #KUDS01DJSS dishwasher's electronic control board can be replaced using this guide. You can verify your dishwasher's model by checking inside the door.
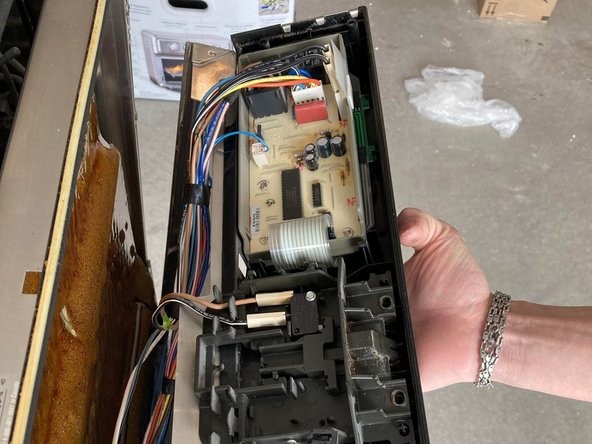
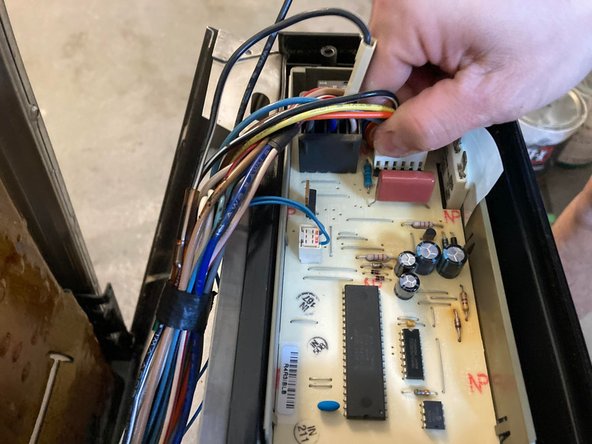
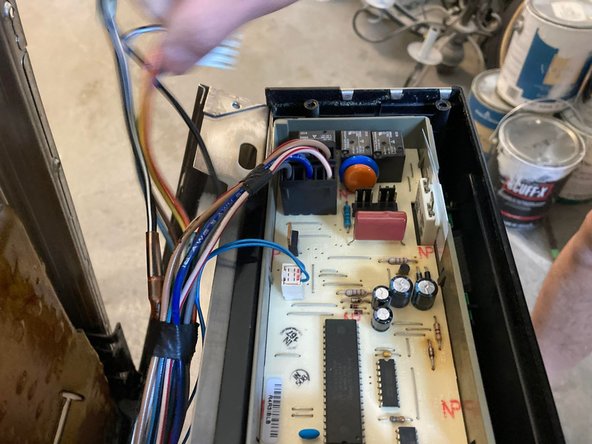
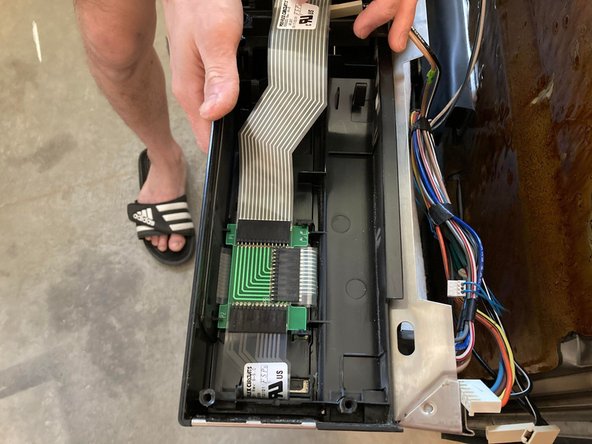
The control board controls all of the dishwasher's functions, such as filling, washing, drying, and draining. Symptoms that match your issue can be diagnosed by viewing these Dishwasher Repairs. During the time it takes to replace the dishwasher control board, remind your family not to run the dishwasher for about 30 minutes.
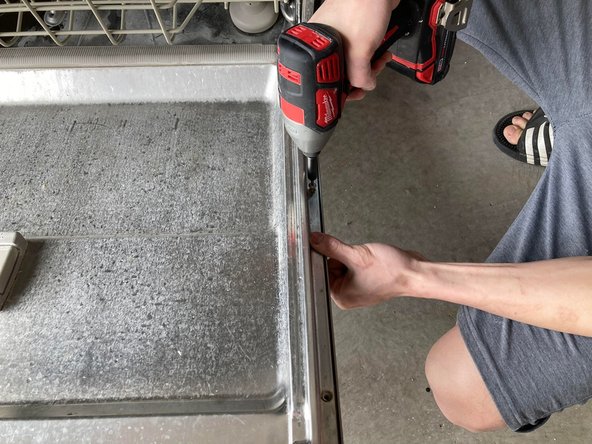
Before replacing the electronic control board, make sure the power/electricity is off. Disconnect the dishwasher from any external power source before starting the process and turn off the dishwasher completely.
Cosa ti serve
-
-
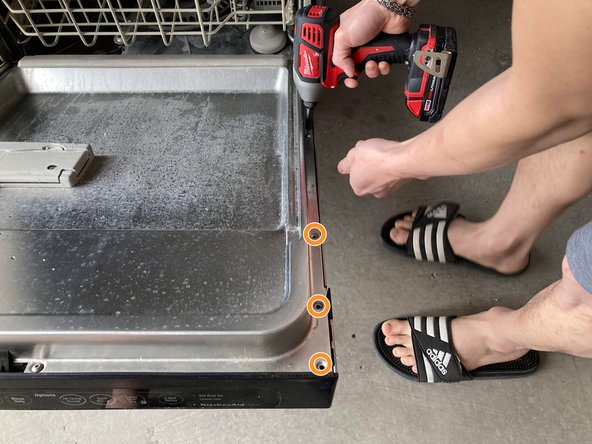
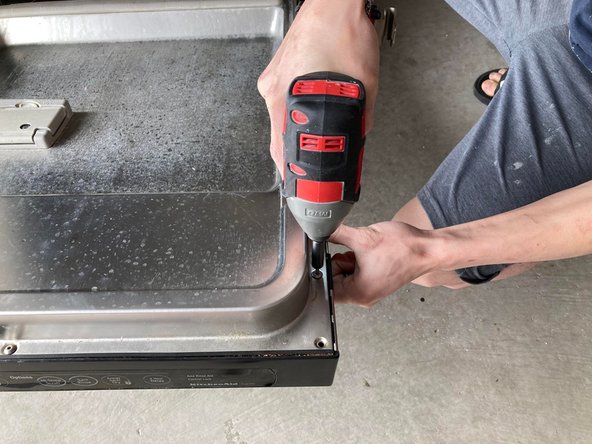
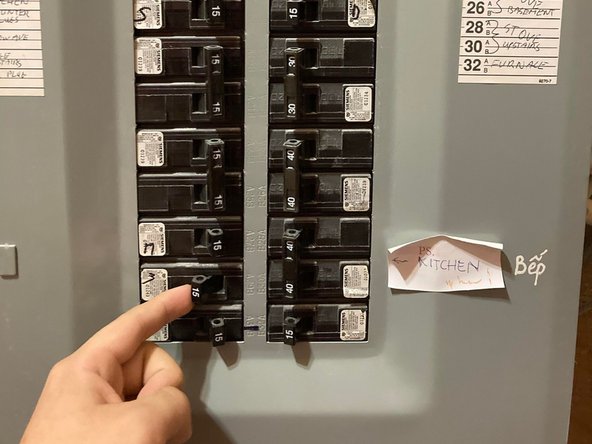
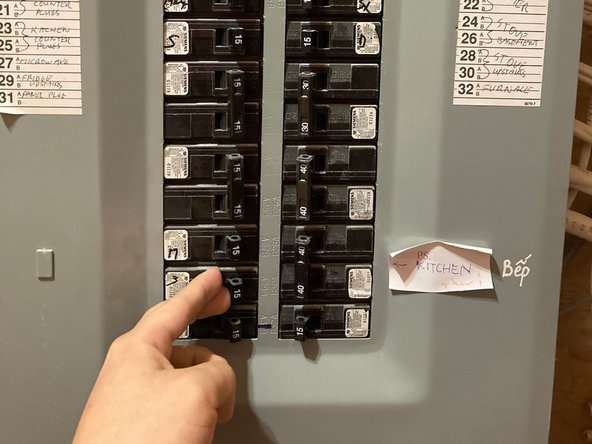
Unplug the dishwasher or shut off the house circuit breaker for the dishwasher.
-
-


Annulla: non ho completato questa guida.
Altre 2 persone hanno completato questa guida.
Team

York University, Team S-29, Woodhouse Winter 2022 Membro di York University, Team S-29, Woodhouse Winter 2022
YORK-WOODHOUSE-W22SSG29
1 Membro
2 Guide realizzate
4 Commenti
Excellent illustration!!!
عمل فنى رائع وجميل وبدقة متناهية
عمل فنى جميل ورائع وبدقة متناهية
Excellent how to! However the part attached to purchase doesn’t look like the original control board. Help!