Introduzione
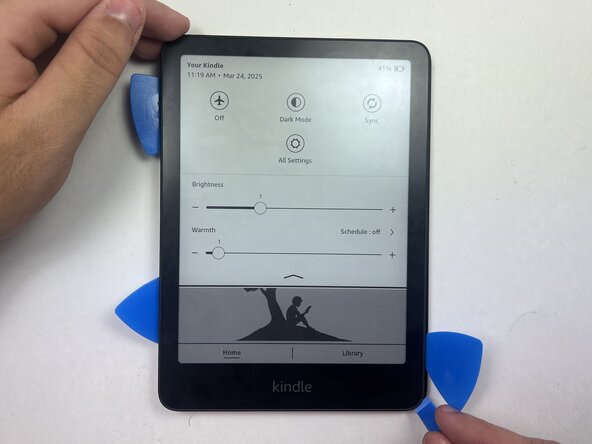
The power button on the Kindle Paperwhite 12th Gen is the only button on the device, located to the left of the charging port at the bottom of the device. It is held in with simple rubber placeholders, and can easily be replaced.
This replacement may be necessary if the button is damaged, overly sensitive, or unresponsive, making it difficult to properly use your Kindle.
Before you begin the repair, make sure to power off your Kindle and unplug the charger and any connected accessories.
Cosa ti serve
-
-
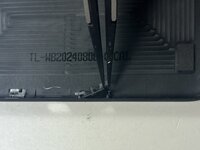
Use an opening tool or opening picks and insert the tip between the back case and screen.
-
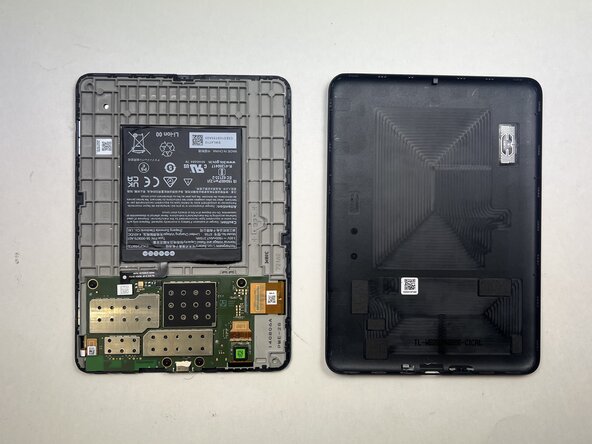
Slide the opening tool around the edge of the tablet to release the clips holding them together and avoid damaging the connectors.
-
-
-
-
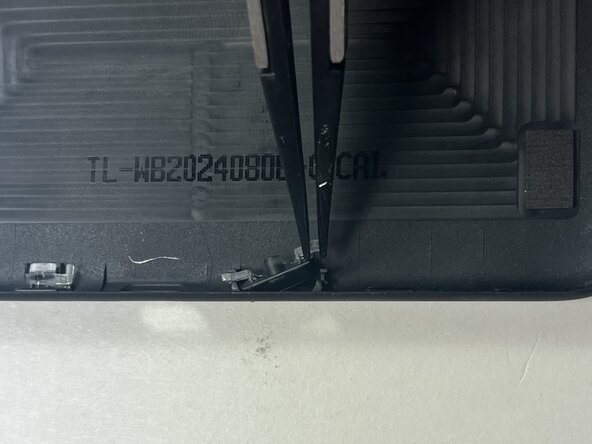
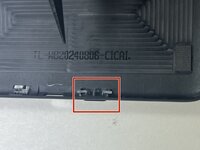
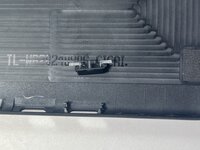
Use tweezers or your fingers to release the clips on each side of the button, gently lifting one side at a time.
-


To reassemble your device, follow these instructions in reverse order.

Team

Austin Community College, Team 18-1, Watkins Spring 2025 Membro di Austin Community College, Team 18-1, Watkins Spring 2025
AUSTINCC-WATKINS-S25S18G1
4 Membri
5 Guide realizzate