Questa traduzione è stata generata automaticamente e non è stata ancora revisionata da una persona. Parli questa lingua? Dai un’occhiata.
Introduzione
Se lo schermo del tuo Kindle di seconda generazione è incrinato, non risponde al touch screen o presenta un display malfunzionante, potrebbe essere arrivato il momento di sostituirlo. Sostituisci lo schermo del tuo Kindle 2 con questa guida all'installazione.
I display LCD del Kindle (2ª gen) possono essere acquistati su eBay, AliExpress, Amazon, ecc.
Cosa ti serve
-
-
-
Appoggia il Kindle a faccia in giù su un panno morbido per proteggere lo schermo.
-
Inserisci lo strumento di apertura in plastica nella piccola apertura tra la plastica grigia e la scocca in metallo.
-
Fai scorrere lo strumento di apertura in plastica lungo l'apertura mentre premi per separare la plastica grigia dalla scocca in metallo.
-
Fai scorrere il coperchio superiore in plastica grigia allontanandolo dalla scocca in metallo del Kindle.
-
Una volta che il coperchio superiore in plastica grigia è staccato dalla cover posteriore in metallo, rimuovilo.
 Chiedi a FixBot
-
-
-
Usa un cacciavite a croce Phillips #00 per rimuovere le due viti da 4 mm dall'involucro metallico.
-
-
-
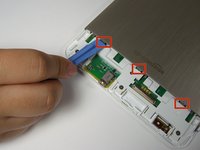
Usa lo strumento di apertura in plastica per spingere verso il basso e fare leva verso il telaio in metallo per rilasciare ognuna delle tre clip che mantengono in posizione il telaio in metallo.
-
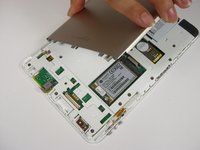
Rimuovi il telaio in metallo.
-
-
-
Usa un cacciavite a croce Phillips #00 per rimuovere le due viti da 3 mm che fissano la batteria.
-
-
-
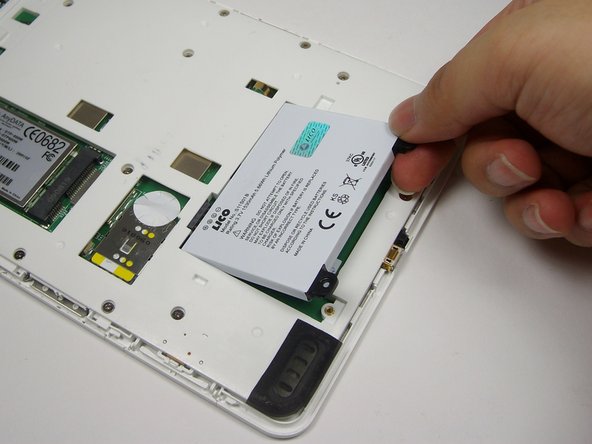
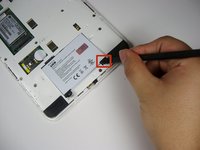
Fai leva verso l'alto sotto la linguetta nera con lo spudger per staccare la batteria.
-
Usa le dita per sollevare la batteria ed estrarla dal dispositivo.
-
-
-
-
-
Usa un cacciavite a croce Phillips #00 per rimuovere le due viti a croce Phillips da 2 mm dalla scheda wireless.
-
-
-
-
Usa lo strumento di apertura in plastica per fare leva sotto la connessione e sganciare delicatamente il cappuccio del cablaggio.
-
-
-
Usa le dita per sollevare l'estremità sinistra della scheda wireless.
-
Estrai la scheda dallo slot.
-
-
-
-
-
Usa lo strumento di apertura in plastica per allontanare tra loro i lati della crimpatura. Questo aprirà la crimpatura che trattiene il cavo.
-
Usa le dita per sollevare il cavo dalla crimpatura quando c'è abbastanza spazio tra i lati della crimpatura stessa.
-
-
Strumento utilizzato in questo passaggio:Tweezers$4.99
-
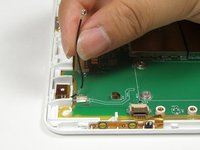
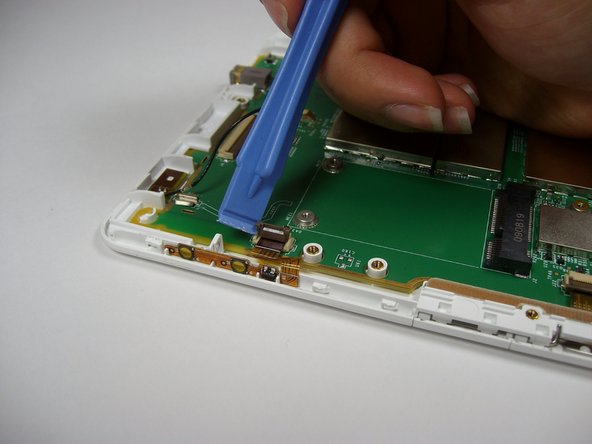
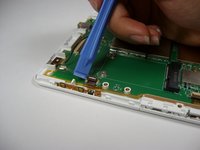
Infila lo strumento di apertura sotto il nastro in plastica e tira delicatamente verso l'alto per sollevare la aletta marrone del connettore.
-
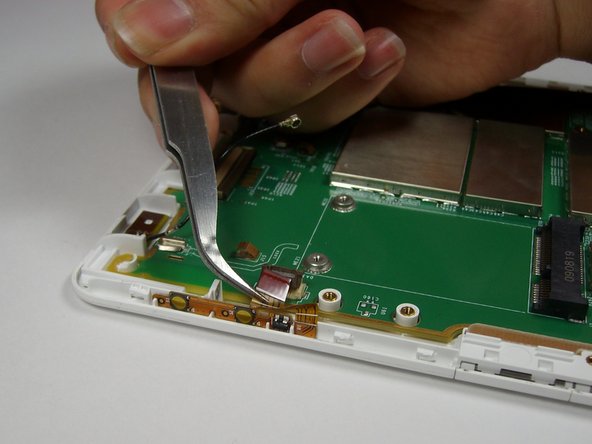
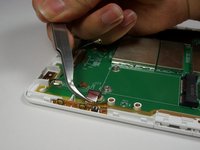
Afferra delicatamente il nastro in plastica con le pinzette e tiralo lontano dal connettore per rimuoverlo.
-
-
-
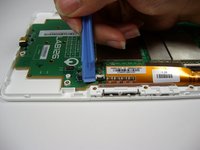
Individua il connettore marrone successivo, a circa 7,5 cm a destra del connettore precedente, e ripeti il passaggio 10 per rimuovere il nastro di plastica.
-
-
-
Ruota il dispositivo di 180 gradi e individua un connettore marrone più piccolo sul lato sinistro del dispositivo.
-
Ripeti il passaggio 10.
-
-
-
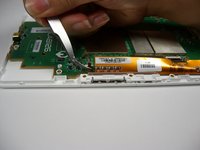
Premi con il dito sull'ultima piattina in plastica.
-
Fai scorrere il dito lontano dal connettore per rimuovere l'ultima piattina.
-
-
-
Usa un cacciavite a croce Phillips #00 per rimuovere le quattro viti da 4 mm dalla scheda madre, posizionate attorno al logo LAB126.
-
-
-
Afferra l'angolo inferiore della scheda madre e rimuovila con attenzione dal Kindle.
-
-
-
-
Capovolgi la scheda madre in modo che lo schermo sia rivolto verso l'alto.
-
Usando le dita, stacca delicatamente la barra di intestazione in plastica situata nella parte superiore dello schermo e collegata alla scheda madre.
-
-
-
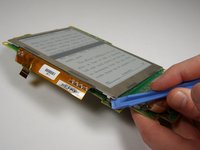
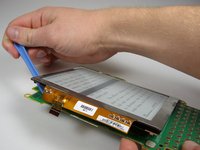
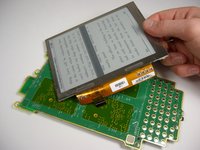
Fai leva sotto tutti e quattro i lati del dispositivo con lo strumento di apertura per rimuovere lo schermo dalla scheda madre.
-
-




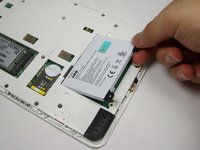


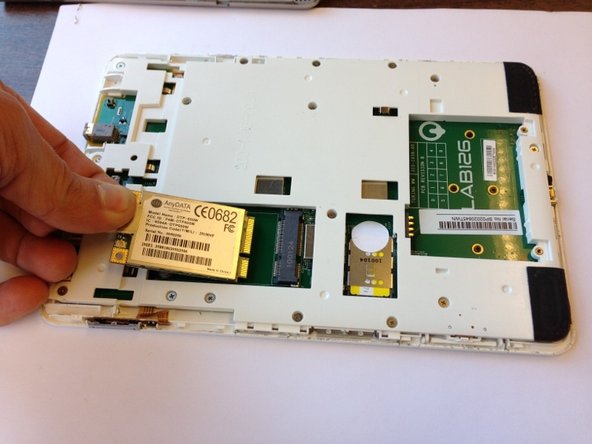


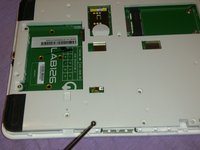
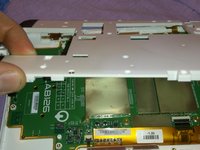


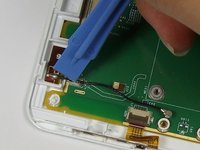
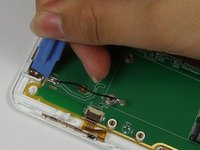






Per rimontare il dispositivo, segui queste istruzioni in ordine inverso.
Annulla: non ho completato questa guida.
Altre 25 persone hanno completato questa guida.

Team

Cal Poly, Team 12-32, Amido Spring 2013 Membro di Cal Poly, Team 12-32, Amido Spring 2013
CPSU-AMIDO-S13S12G32
4 Membri
72 guide realizzate
7Commenti sulla guida
Great guide!
My replacement screen came with a spudger like the one shown, but it was pretty mangled by the time I got the back off. I had much better luck with another spudger shaped like a guitar pick.
Yeah, the step to remove the inner plastic protector is missing. It is pretty obvious that it needs to happen, but it would be good to include in the guide.
The ribbon for the screen needs to be pushed in further than the other ribbons, and took a bit of wiggling. FYI for others attempting this!
I followed this guide, but the screen is still on the "Amazon Kindle" screen that was on the replacement when it came in the mail. I opened it to ensure the ribbons are all in place. It's fully charged (green light) and the computer can see it as a hard drive. Calibre can also see all the books are still in place. Any ideas what connection I need to recheck to get the replacement screen working? I'd love to get my old Kindle 2 back in business!
Answering my own question in case it helps anyone. It turns out the ribbon for the screen (the last one removed in Step 14) wasn't far enough in the connector. I was trying it with the line about even with the "39" on the board, which wasn't far enough. After the eBay seller kindly gave me some tips, I was able to manhandle the ribbon closer to the connector, and now the screen works great!
In order to be pre-prepared, (I'm pretty sure the double-sided tape holding the screen to the motherboard will need replacement after years of service) is the tape of the fairly thick foam variety or the much thinner plastic ribbon style?
