Salta al contenuto principale

Kenwood KD-37R Turntable Belt Replacement and Modification

Cosa ti serve

  1. Kenwood KD-37R Turntable Belt Replacement and Modification, Turntable Belt: passo 1, immagine 1 di 1
    • Always dust your turntable before performing any maintenance or repairs.

  2. Kenwood KD-37R Turntable Belt Replacement and Modification: passo 2, immagine 1 di 1
    • Remove the rubber mat from the platter and set it aside in a clean, dust free area.

  3. Kenwood KD-37R Turntable Belt Replacement and Modification: passo 3, immagine 1 di 1
    • Remove the metal platter by placing your thumb on the center spindle and two to three fingers in one of the holes.

    • Pull the platter up firmly, but carefully.

  4. Kenwood KD-37R Turntable Belt Replacement and Modification: passo 4, immagine 1 di 1
    • Remove the old belt.

    • Throw the old belt away if it's damaged.

  5. Kenwood KD-37R Turntable Belt Replacement and Modification: passo 5, immagine 1 di 1
    • Turn the metal platter over.

    • Place the new belt around the inner lip of the metal platter, ensuring there are no twists.

  6. Kenwood KD-37R Turntable Belt Replacement and Modification: passo 6, immagine 1 di 2 Kenwood KD-37R Turntable Belt Replacement and Modification: passo 6, immagine 2 di 2
    • Put the metal platter back on the turn table.

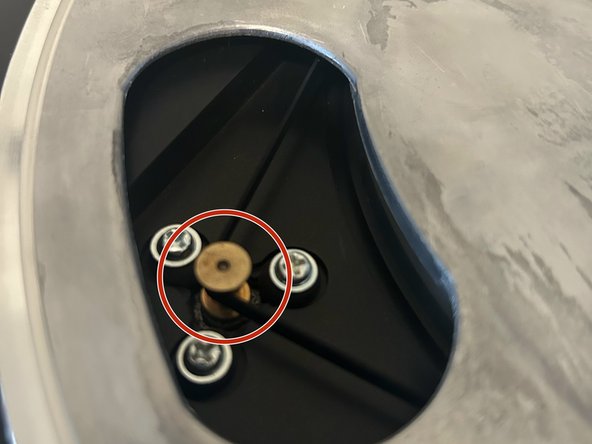
    • Use your thumb and forefinger to pull a small section of the belt behind the pulley shaft.

  7. Kenwood KD-37R Turntable Belt Replacement and Modification: passo 7, immagine 1 di 1
    • Replace the rubber mat.

    • Play a record to test the new belt.

    • This is when I discovered the belt that was sent to me was slightly too big. Not to fear! We can fix that.

  8. Kenwood KD-37R Turntable Belt Replacement and Modification: passo 8, immagine 1 di 3 Kenwood KD-37R Turntable Belt Replacement and Modification: passo 8, immagine 2 di 3 Kenwood KD-37R Turntable Belt Replacement and Modification: passo 8, immagine 3 di 3
    • Remove the rubber mat.

    • Before removing the metal platter, carefully remove the belt from behind the pulley shaft.

    • Remove the metal platter and the belt.

  9. Kenwood KD-37R Turntable Belt Replacement and Modification: passo 9, immagine 1 di 2 Kenwood KD-37R Turntable Belt Replacement and Modification: passo 9, immagine 2 di 2
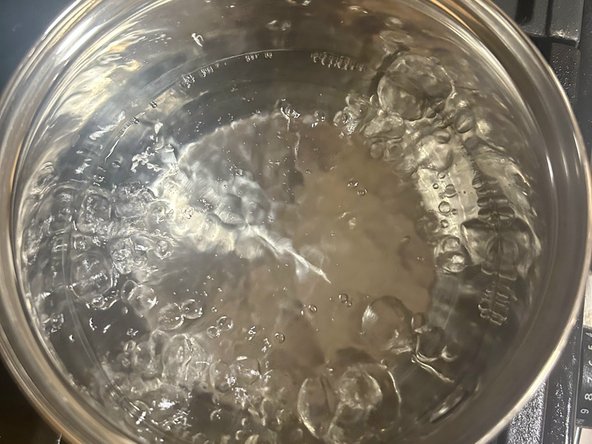
    • Bring two cups of water to a full boil.

  10. Kenwood KD-37R Turntable Belt Replacement and Modification: passo 10, immagine 1 di 3 Kenwood KD-37R Turntable Belt Replacement and Modification: passo 10, immagine 2 di 3 Kenwood KD-37R Turntable Belt Replacement and Modification: passo 10, immagine 3 di 3
    • Turn off heat.

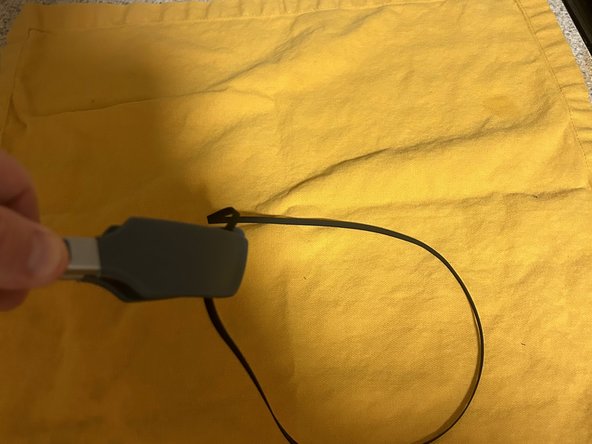
    • Using tongs, fully submerge the belt into the water.

    • Be careful, the water should be very hot for this to work, and can burn your skin.

    • Let the belt sit in the water for between 6-8 minutes.

  11. Kenwood KD-37R Turntable Belt Replacement and Modification: passo 11, immagine 1 di 2 Kenwood KD-37R Turntable Belt Replacement and Modification: passo 11, immagine 2 di 2
    • Using tongs, remove the belt from the water and let it dry completely.

    • The water may still be very hot.

  12. Kenwood KD-37R Turntable Belt Replacement and Modification: passo 12, immagine 1 di 1
    • Repeat steps 5, 6, and 7, and enjoy the music!

Linea Traguardo

Un'altra persona ha completato questa guida.

Tim

Membro da: 09/27/23

229 Reputazione

1 Guida realizzata

0 Commenti

Aggiungi Commento

Visualizza Statistiche:

Ultime 24 Ore: 1

Ultimi 7 Giorni: 11

Ultimi 30 Giorni: 29

Tutti i Tempi: 147