Salta al contenuto principale
Unisciti alla Community delle riparazioni - Crea un account
Kano Computer Kit Complete Raspberry Pi Replacement

Kano Computer Kit Complete Raspberry Pi Replacement

Julia Sherrill

Julia Sherrill e 5 altri collaboratori

Ultimo aggiornamento il February 6, 2025

2 minuti
Molto facile
Introduzione Migliore
Studente al lavoro

Introduzione

Vai al passo 1

Use this guide to replace the Raspberry Pi in your Kano Computer Kit.

The Raspberry Pi is the brain of your Kano Computer, which is crucial for its operation.

If you notice frequent crashes or freezes, overheating despite proper ventilation, inconsistent power such as the device not powering on, unexpected shutdowns, or issues with the keyboard or mouse, these could be signs that your Raspberry Pi is failing and needs replacement.

Replacing the Raspberry Pi can resolve these issues and restore your Kano Computer to normal functionality.

Before starting the repair process, ensure your Kano Computer is powered off and disconnected from any external power source.

  1. Kano Computer Kit Complete Raspberry Pi Replacement, Raspberry Pi: passo 1, immagine 1 di 2 Kano Computer Kit Complete Raspberry Pi Replacement, Raspberry Pi: passo 1, immagine 2 di 2
    • Take off the clear backing of the computer and set it aside.

    • The Raspberry Pi is located in the top right corner of the case.

  2. Kano Computer Kit Complete Raspberry Pi Replacement: passo 2, immagine 1 di 3 Kano Computer Kit Complete Raspberry Pi Replacement: passo 2, immagine 2 di 3 Kano Computer Kit Complete Raspberry Pi Replacement: passo 2, immagine 3 di 3
    • Unplug the battery from the power button.

  3. Kano Computer Kit Complete Raspberry Pi Replacement: passo 3, immagine 1 di 3 Kano Computer Kit Complete Raspberry Pi Replacement: passo 3, immagine 2 di 3 Kano Computer Kit Complete Raspberry Pi Replacement: passo 3, immagine 3 di 3
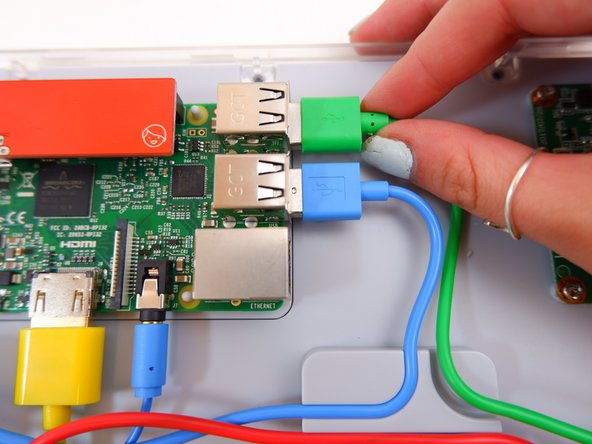
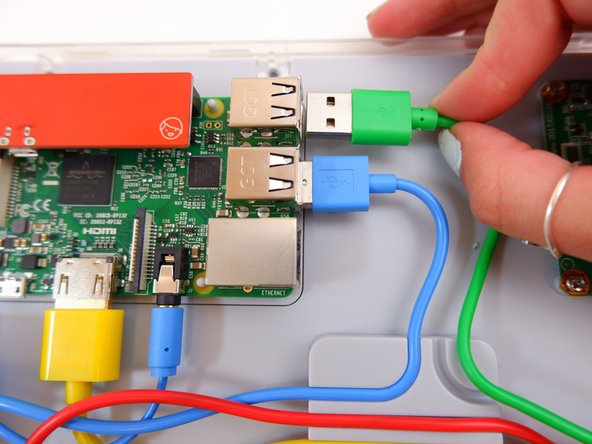
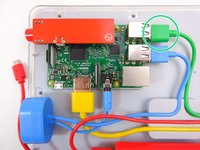
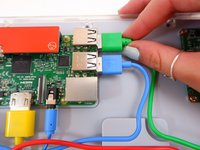
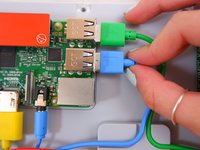
    • Unplug the green cable

  4. Kano Computer Kit Complete Raspberry Pi Replacement: passo 4, immagine 1 di 3 Kano Computer Kit Complete Raspberry Pi Replacement: passo 4, immagine 2 di 3 Kano Computer Kit Complete Raspberry Pi Replacement: passo 4, immagine 3 di 3
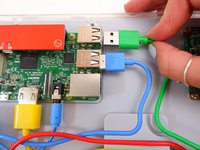
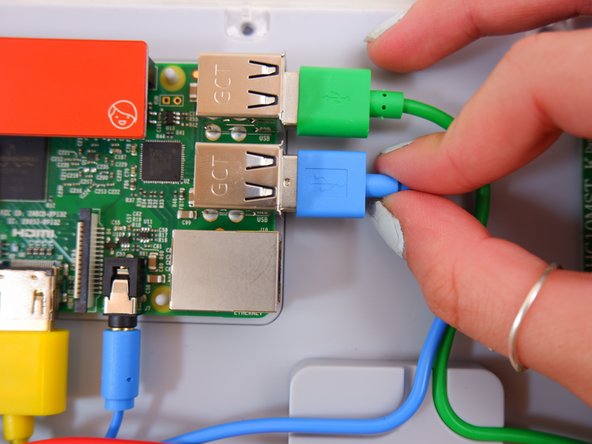
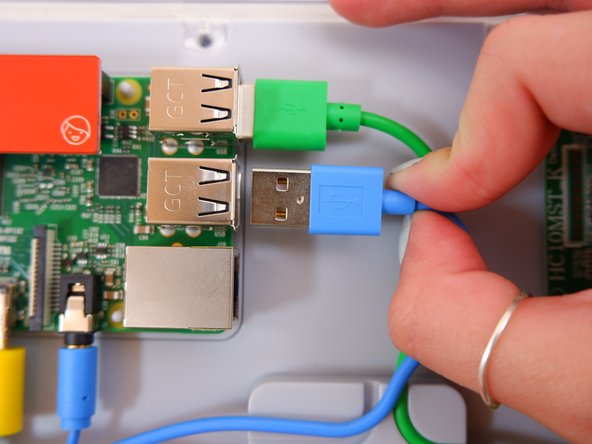
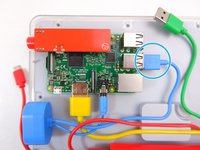
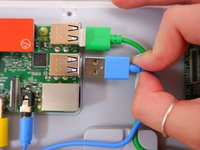
    • Unplug the blue USB cable.

  5. Kano Computer Kit Complete Raspberry Pi Replacement: passo 5, immagine 1 di 3 Kano Computer Kit Complete Raspberry Pi Replacement: passo 5, immagine 2 di 3 Kano Computer Kit Complete Raspberry Pi Replacement: passo 5, immagine 3 di 3
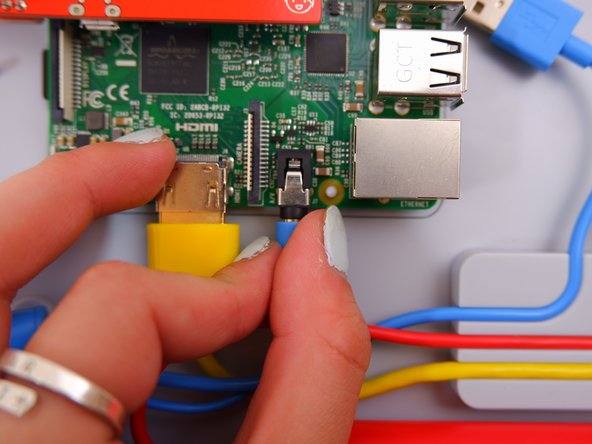
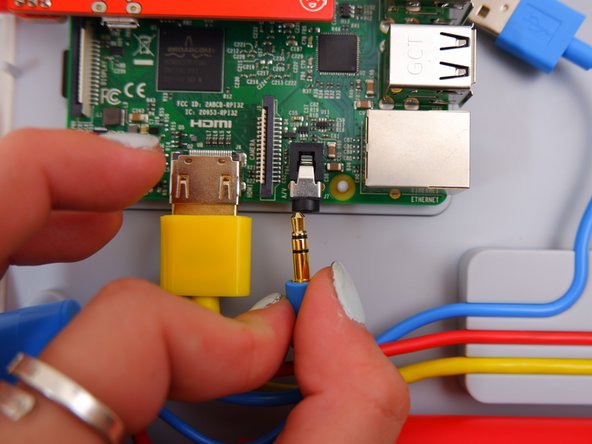
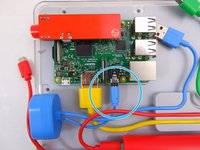
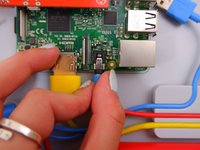
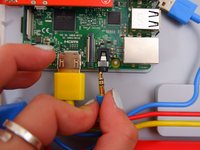
    • Unplug the blue audio jack.

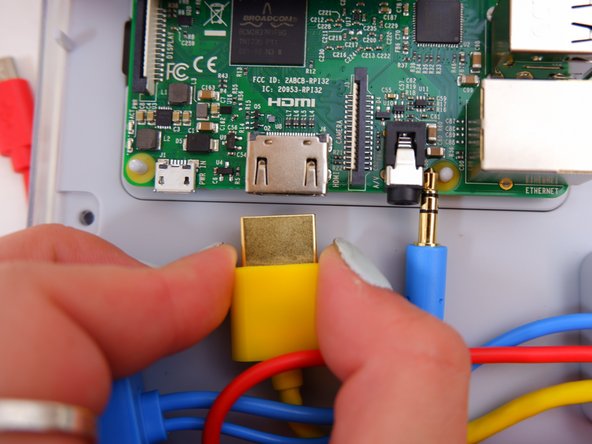
  6. Kano Computer Kit Complete Raspberry Pi Replacement: passo 6, immagine 1 di 3 Kano Computer Kit Complete Raspberry Pi Replacement: passo 6, immagine 2 di 3 Kano Computer Kit Complete Raspberry Pi Replacement: passo 6, immagine 3 di 3
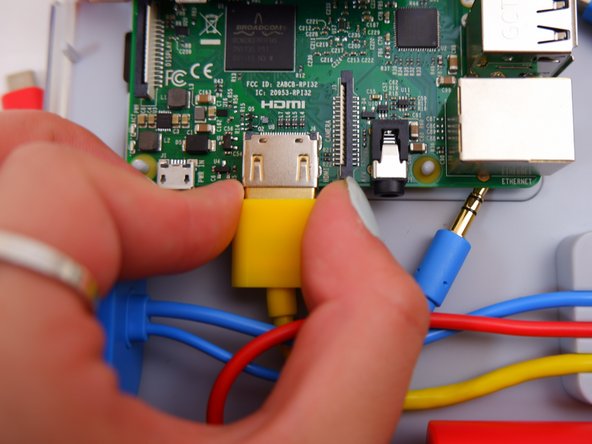
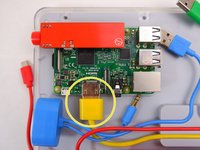
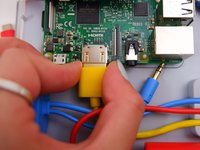
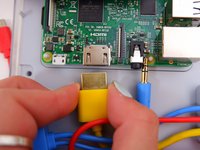
    • Unplug the yellow cable.

  7. Kano Computer Kit Complete Raspberry Pi Replacement: passo 7, immagine 1 di 2 Kano Computer Kit Complete Raspberry Pi Replacement: passo 7, immagine 2 di 2
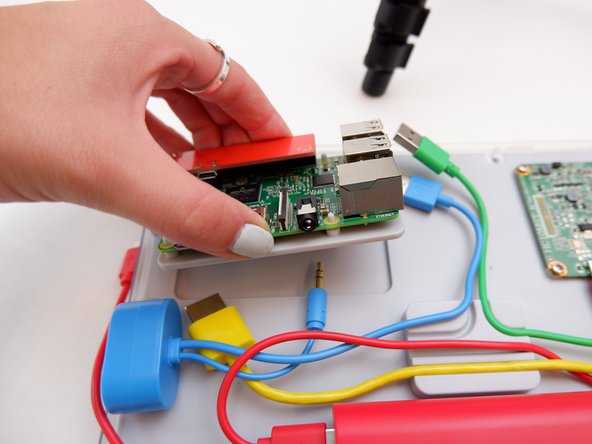
    • Pop off the entire board from of the back of the screen.

  8. Kano Computer Kit Complete Raspberry Pi Replacement: passo 8, immagine 1 di 1
    • Remove the backing off the Raspberry Pi.

  9. Kano Computer Kit Complete Raspberry Pi Replacement: passo 9, immagine 1 di 2 Kano Computer Kit Complete Raspberry Pi Replacement: passo 9, immagine 2 di 2
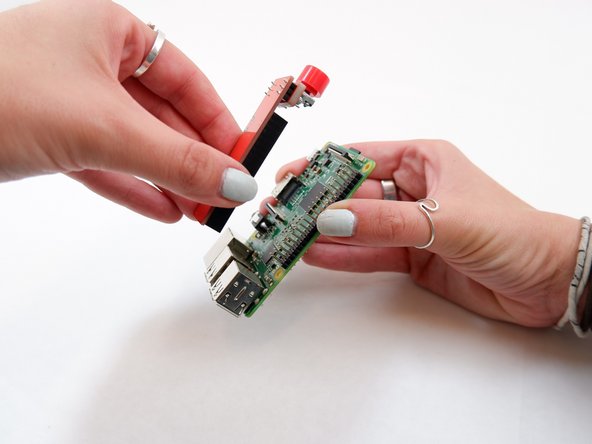
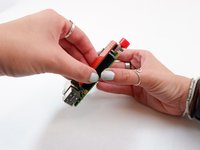
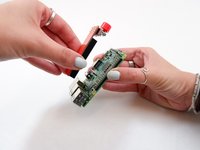
    • Remove the power button from the Raspberry Pi.

Conclusione

To reassemble your device, follow these instructions in reverse order with the new Raspberry Pi.

Un'altra persona ha completato questa guida.

0Commenti sulla guida

Aggiungi Commento

Visualizza Statistiche:

Ultime 24 Ore: 0

Ultimi 7 Giorni: 3

Ultimi 30 Giorni: 18

Tutti i Tempi: 1,468