Salta al contenuto principale
Unisciti alla Community delle riparazioni - Crea un account
Kano Computer Kit Complete Display Board Replacement

Kano Computer Kit Complete Display Board Replacement

Julia Sherrill

Julia Sherrill e 5 altri collaboratori

Ultimo aggiornamento il 18 dic 2023

2 minuti
Facile
Introduzione Migliore

Introduzione

Vai al passo 1

If your computer continuously gives off a burning odor or it keeps crashing after bugs have supposedly been fixed, chances are you need to replace your Display driver. This guide will show you exactly how to do that through simple, easy to follow steps with pictures to help you along. The only tool you will be needing is a Phillips #1 Screwdriver for the four 8.5mm screws to complete this guide.

Cosa ti serve

Strumenti

  1. Kano Computer Kit Complete Display Board Replacement, Display Board: passo 1, immagine 1 di 2 Kano Computer Kit Complete Display Board Replacement, Display Board: passo 1, immagine 2 di 2
    • Take off the clear backing of the computer and set it aside.

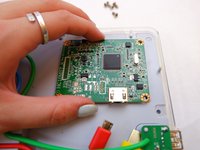
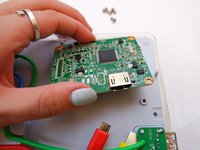
    • The Display board is located in the top right corner of the case.

  2. Kano Computer Kit Complete Display Board Replacement: passo 2, immagine 1 di 2 Kano Computer Kit Complete Display Board Replacement: passo 2, immagine 2 di 2
    • Always disconnect the battery before performing repairs.

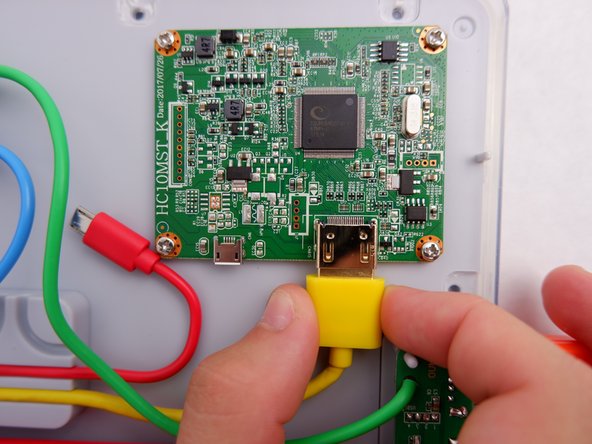
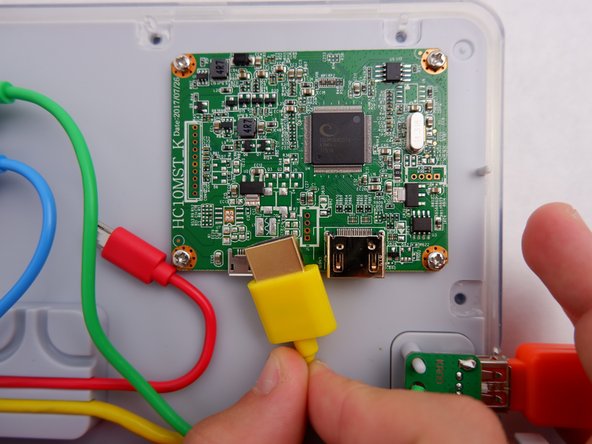
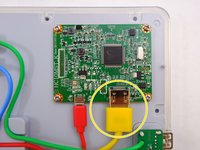
    • Remove the power cable (Circled in red) from the board.

  3. Kano Computer Kit Complete Display Board Replacement: passo 3, immagine 1 di 3 Kano Computer Kit Complete Display Board Replacement: passo 3, immagine 2 di 3 Kano Computer Kit Complete Display Board Replacement: passo 3, immagine 3 di 3
    • Unplug the HDMI cable (Circled in Yellow) from the board

  4. Kano Computer Kit Complete Display Board Replacement: passo 4, immagine 1 di 1
    • Unscrew the four 8.5mm screws with your Phillips #1 Screwdriver.

  5. Kano Computer Kit Complete Display Board Replacement: passo 5, immagine 1 di 2 Kano Computer Kit Complete Display Board Replacement: passo 5, immagine 2 di 2
    • Lift the board off the back of the screen.

    • Be gentle as there is a ribbon cable on the underside that will prevent the board from being removed completely.

  6. Kano Computer Kit Complete Display Board Replacement: passo 6, immagine 1 di 2 Kano Computer Kit Complete Display Board Replacement: passo 6, immagine 2 di 2
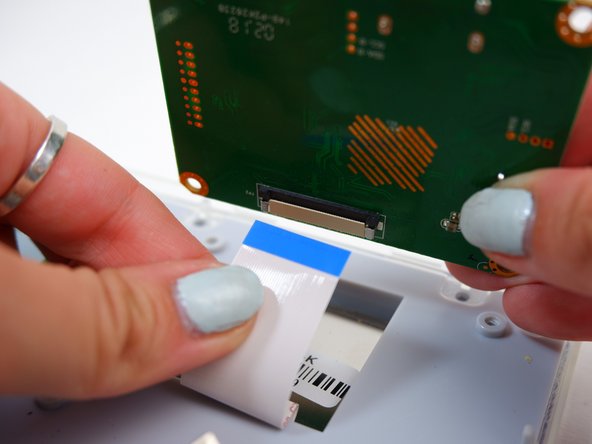
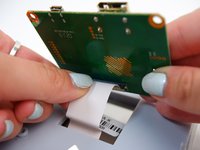
    • Disconnect the white ribbon cable that you find underneath the board.

    • Be careful; it will take some force.

Conclusione

To reassemble your device, follow these instructions in reverse order.

Un'altra persona ha completato questa guida.

0Commenti sulla guida

Aggiungi Commento

Visualizza Statistiche:

Ultime 24 Ore: 3

Ultimi 7 Giorni: 7

Ultimi 30 Giorni: 41

Tutti i Tempi: 1,620