Salta al contenuto principale
Unisciti alla Community delle riparazioni - Crea un account

Jura Impressa C E F Models dismantling the brewing unit

Cosa ti serve

  1. Jura Impressa C E F Models dismantling the brewing unit, Brewgroup: passo 1, immagine 1 di 3 Jura Impressa C E F Models dismantling the brewing unit, Brewgroup: passo 1, immagine 2 di 3 Jura Impressa C E F Models dismantling the brewing unit, Brewgroup: passo 1, immagine 3 di 3
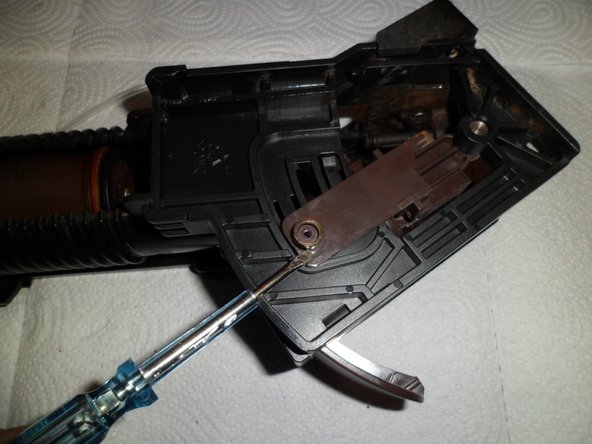
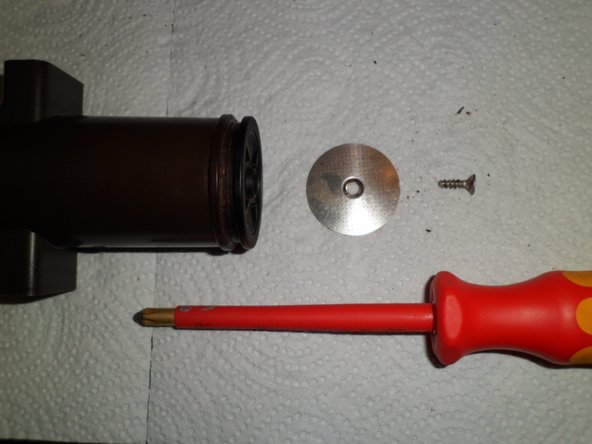
    • When deinstalled a Jura brew group, it only has ONE screw (in the metal strainer, its a PH2). Everything is easlily clicked together.

    • First you pull off the coffee hose on top. Just pull.

    Chiedi a FixBot

    Aggiungi Commento

  2. Jura Impressa C E F Models dismantling the brewing unit: passo 2, immagine 1 di 3 Jura Impressa C E F Models dismantling the brewing unit: passo 2, immagine 2 di 3 Jura Impressa C E F Models dismantling the brewing unit: passo 2, immagine 3 di 3
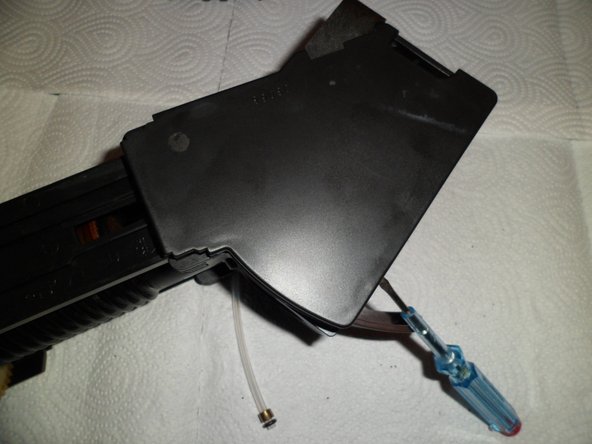
    • Also pull off the hose at the other end.

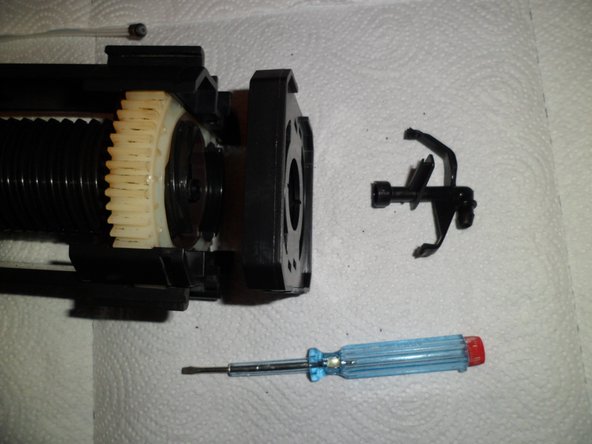
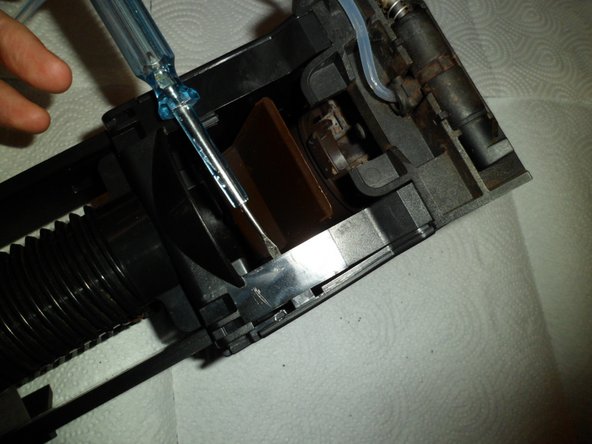
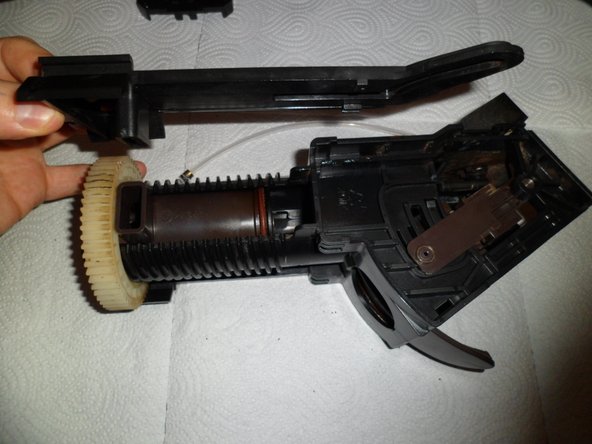
    • Pull off the shovel. It's clipped at top. It's very flexible.

    • For this guide I have chosen a allready cleaned brew group. When you maintenance this, it will be very greasey and everywhere will coffee crumbs skip away. Take some Paper-towels to work on. For degrease take Toothpick, Toothbrush and Degrease-spray.

    Chiedi a FixBot

    Aggiungi Commento

  3. Jura Impressa C E F Models dismantling the brewing unit: passo 3, immagine 1 di 1
    • Here you can see the clipse of the shovel, also the white part which holds the coffee-hose in place.

    Chiedi a FixBot

    Aggiungi Commento

  4. Jura Impressa C E F Models dismantling the brewing unit: passo 4, immagine 1 di 2 Jura Impressa C E F Models dismantling the brewing unit: passo 4, immagine 2 di 2
    • The upper part of the coffee-tube is also clipsed in. Turn it and push the clips. It will snap off. There is no sealing-ring. The sealing-ring for this connection is inside the upper coffee-piston on top of the tube from the Crema-Valve. I show it later.

    • The cover over the white gearwheel has 4 clipse, one at each corner. Use a small screwdriver to leverage it up.

    Chiedi a FixBot

    Aggiungi Commento

  5. Jura Impressa C E F Models dismantling the brewing unit: passo 5, immagine 1 di 3 Jura Impressa C E F Models dismantling the brewing unit: passo 5, immagine 2 di 3 Jura Impressa C E F Models dismantling the brewing unit: passo 5, immagine 3 di 3
    • Now release the side cover. It has 4 clipse. You can open them by pushing with a fingertip or a small screwdriver.

    Chiedi a FixBot

    Aggiungi Commento

  6. Jura Impressa C E F Models dismantling the brewing unit: passo 6, immagine 1 di 1
    • Deatil of the four clipse. Be careful they may break.

    Chiedi a FixBot

    Aggiungi Commento

  7. Jura Impressa C E F Models dismantling the brewing unit: passo 7, immagine 1 di 3 Jura Impressa C E F Models dismantling the brewing unit: passo 7, immagine 2 di 3 Jura Impressa C E F Models dismantling the brewing unit: passo 7, immagine 3 di 3
    • I don't know how this piece is named. It can easy pulled up like shown on the photos.

    • There is a small metal ring. The screwdriver points at it. Lift it up.

    • On the other side the same procedure.

    • In the brew group are totally FOUR metal rings. One is at this part on each side, and one is inside the mechanic on each side.

    Chiedi a FixBot

    Aggiungi Commento

  8. Jura Impressa C E F Models dismantling the brewing unit: passo 8, immagine 1 di 3 Jura Impressa C E F Models dismantling the brewing unit: passo 8, immagine 2 di 3 Jura Impressa C E F Models dismantling the brewing unit: passo 8, immagine 3 di 3
    • Now write "TOP" on the white gearwheel. When it's mounted upside down when reassembled it can't rotate properly. Really truth.

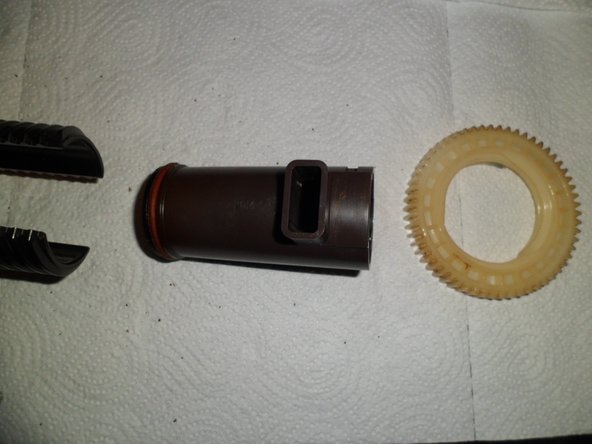
    • Turn off the Gearwheel and pull out the upper brew-cylinder (Piston).

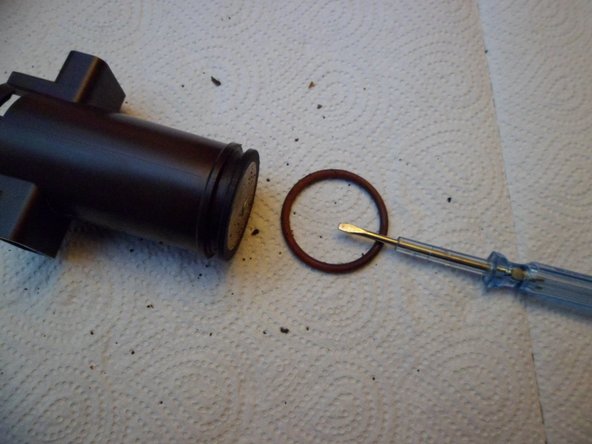
    • Now you can change the seal-ring.

    • If a broken seal was the problem and you don't wish to dissect the brew-group to the end you can now start to reassemble the way backwards. :) But think about it: At the lower brew-group-piston is a sceond seal-ring.

    Chiedi a FixBot

    Aggiungi Commento

  9. Jura Impressa C E F Models dismantling the brewing unit: passo 9, immagine 1 di 3 Jura Impressa C E F Models dismantling the brewing unit: passo 9, immagine 2 di 3 Jura Impressa C E F Models dismantling the brewing unit: passo 9, immagine 3 di 3
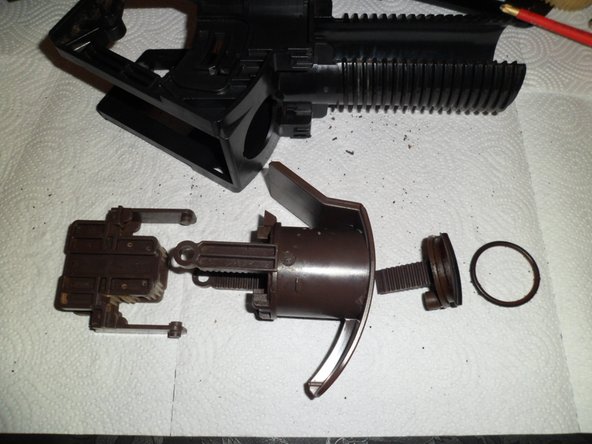
    • Inside the upper Piston is a pipe which can be turned a bit and then pulled out. Carefully. At both ends are black sealings. Please note the orientation of that piece !

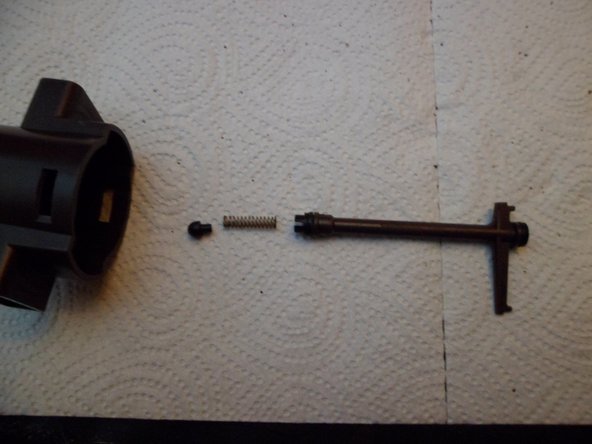
    • Inside this Coffee-Pipe at the lower end is the Crema-Valve. This Valve makes the pressure in the coffee-fluid; that makes the good Taste and Crema from the etheric oils of the coffee-beans because the Coffee is squeezed through this valve. Thats the secret why a Jura coffee tastes great. :)

    • The Crema-Valve Nozzle has a spring and a rubber lid. Both can easy pulled away.

    • On the other side of the piston is the coffee strainer. It's hold in place by a PH2 screw. When the screw is turned out the metal strainer can pushed off.

    Chiedi a FixBot

    Aggiungi Commento

  10. Jura Impressa C E F Models dismantling the brewing unit: passo 10, immagine 1 di 2 Jura Impressa C E F Models dismantling the brewing unit: passo 10, immagine 2 di 2
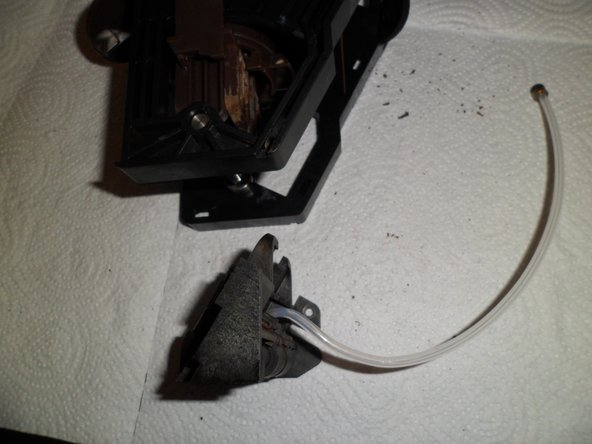
    • To get to the lower piston of the brew-group you need to pull away the Drainage Valve.

    • Perhaps the Drainage Valve allready falled off from the brew-group because it is hold in place only by the two side covers of the brew-group. Don't panic, it can simply pushed back in place.

    Chiedi a FixBot

    Aggiungi Commento

  11. Jura Impressa C E F Models dismantling the brewing unit: passo 11, immagine 1 di 3 Jura Impressa C E F Models dismantling the brewing unit: passo 11, immagine 2 di 3 Jura Impressa C E F Models dismantling the brewing unit: passo 11, immagine 3 di 3
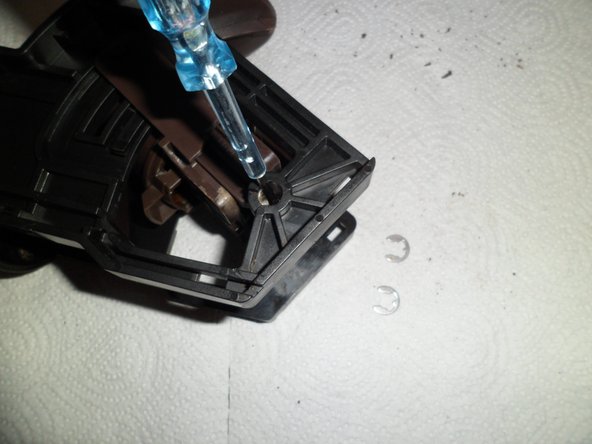
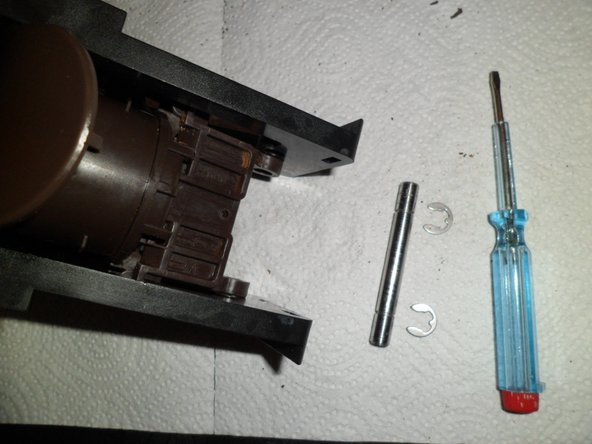
    • Now remove the axle. Inside are two snaprings. The screwdriver points at one. Use the screwdriver to unlock these snaprings.

    • Now push the axle through the chassis. When the brew-group is filthy and greasey it will move bad - so lay the brew-group on the side and push the axle with the screwdriver.

    Chiedi a FixBot

    Aggiungi Commento

  12. Jura Impressa C E F Models dismantling the brewing unit: passo 12, immagine 1 di 2 Jura Impressa C E F Models dismantling the brewing unit: passo 12, immagine 2 di 2
    • Turn the lower Piston-Gear a bit like shown on the picture. Now should fall off the two rings which I allready told earlier.

    • Then use the srewdriver to push out the lower Piston from the lower gear mechanic. Please note the POSITION of the Piston because of the orientation of the nozzle where the water flows into the brew-group. If it's mounted wrong at the reassembly the brew-group will break !!!

    Chiedi a FixBot

    Aggiungi Commento

  13. Jura Impressa C E F Models dismantling the brewing unit: passo 13, immagine 1 di 2 Jura Impressa C E F Models dismantling the brewing unit: passo 13, immagine 2 di 2
    • The guideway of the lower piston also can pulled off the brew-group. The first picture shows the orientation from piston and guideway how it is right.

    • The Gear from the guideway mechanics can by turned a little and also pulled off from the brew-group. The second picture also shows the sealing-ring from the lower piston.

    Chiedi a FixBot

    Aggiungi Commento

  14. Jura Impressa C E F Models dismantling the brewing unit: passo 14, immagine 1 di 1
    • When a lot of water occurs under the brew-group it could be a damaged seal inside the drainage. So I created a Drainage Valve Special, you find it at Coffe Maker Maintenance.

    Chiedi a FixBot

    Aggiungi Commento

Conclusione

To reassemble your device, follow these instructions in reverse order.

Annulla: non ho completato questa guida.

Altre 2 persone hanno completato questa guida.

Un ringraziamento speciale a questi traduttori:

de en

100%

VauWeh ci sta aiutando ad aggiustare il mondo! Vuoi partecipare?
Inizia a tradurre ›

VauWeh

Membro da: 10/19/15

336.119 Reputazione

311 guide realizzate

0Commenti sulla guida

Aggiungi Commento

Visualizza statistiche:

Ultime 24 ore: 6

Ultimi 7 giorni: 35

Ultimi 30 giorni: 124

Tutti i Tempi: 3,813